If you’ve ever dreamed of growing fresh herbs, crisp lettuce, or vibrant tomatoes right in your home without dealing with messy soil, you’re in for a treat. Hydroponic gardening flips traditional growing methods on their head by using water enriched with nutrients instead of dirt. It sounds futuristic, but it’s actually simpler than you might think.
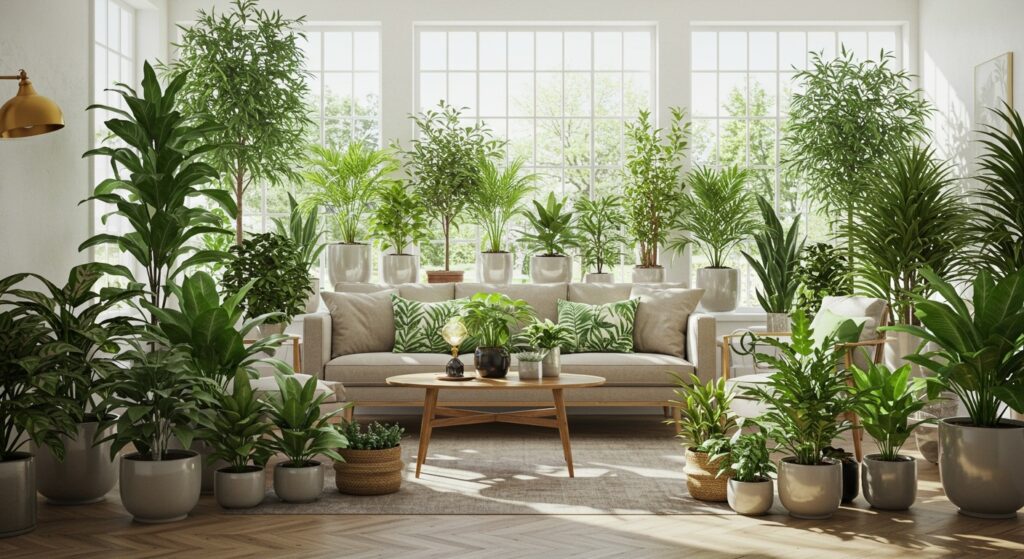
This approach to gardening has been gaining serious momentum, especially among apartment dwellers and anyone who wants to bring a bit of greenery indoors year-round. Whether you have a sunny kitchen corner or a dedicated space in your living room, a soilless garden setup can fit into almost any home style. You’ll be surprised how quickly plants grow when their roots get direct access to everything they need.
I’ve always been fascinated by how plants can thrive without traditional soil, and the more I learned about water-based growing tips, the more I realized this method isn’t just for science enthusiasts or commercial farms. It’s practical, space-saving, and honestly pretty satisfying to watch your plants flourish in such a clean, controlled environment. Let me walk you through everything you need to get started with indoor hydroponics.
What Exactly Is Hydroponic Gardening?
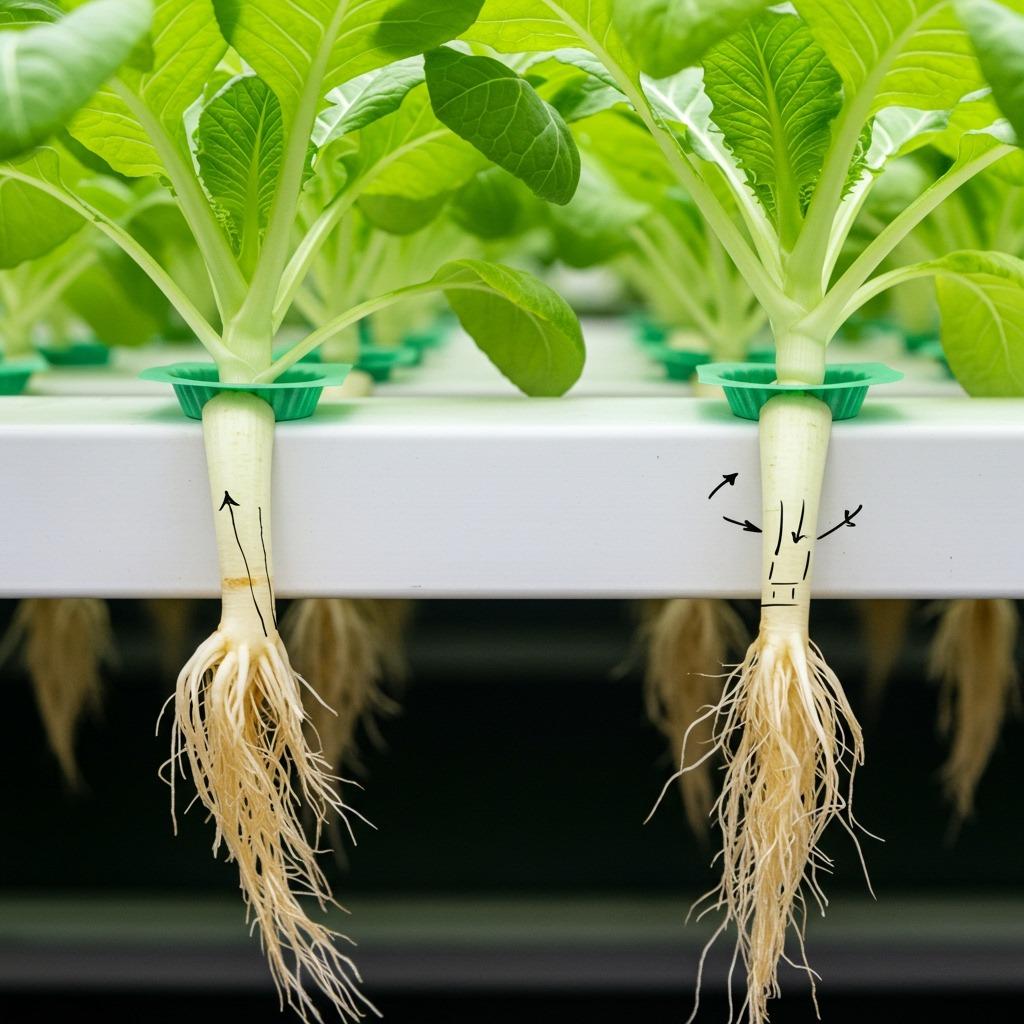
At its core, hydroponic gardening means growing plants in a water solution that’s packed with all the essential nutrients they’d normally extract from soil. The roots either sit directly in this nutrient-rich water or are supported by an inert medium like clay pellets or coconut coir. There’s no dirt involved, which means no weeding, less mess, and fewer soil-borne diseases to worry about.
The beauty of this system lies in its efficiency. Plants spend less energy developing extensive root systems to search for water and nutrients because everything they need is readily available. This often translates to faster growth rates and higher yields compared to traditional
gardening methods. You’re basically removing the middleman and giving plants direct access to their food source.
What surprised me most when I first explored this was how customizable it can be. You can start with something as simple as a mason jar on your windowsill or scale up to a multi-tiered system that produces enough greens to share with neighbors. The fundamentals remain the same regardless of size.
Why Choose Hydroponics Over Traditional Gardening?
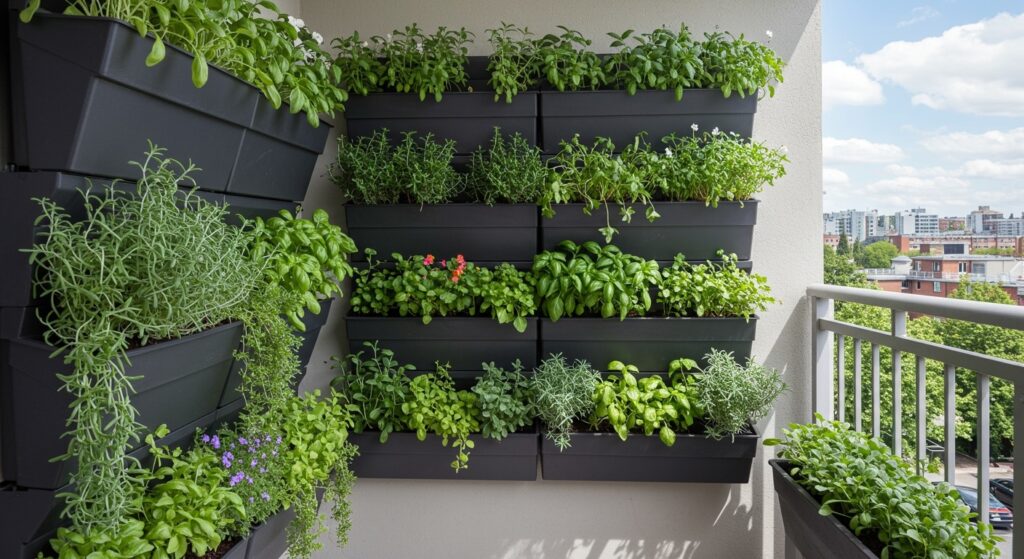
Space constraints are probably the biggest reason people turn to indoor hydroponics. If you’re living in an apartment or a home without much outdoor area, vertical gardening ideas combined with hydroponic systems can maximize your growing potential in the smallest footprints. You can stack systems vertically or tuck them into corners that would never work for traditional pots and planters.
Water conservation is another huge advantage that doesn’t get talked about enough. Hydroponic systems use up to 90% less water than soil-based gardens because the water recirculates through the system rather than draining away or evaporating into the ground. In areas where water is precious or expensive, this efficiency makes a real difference in both environmental impact and utility bills.
Then there’s the year-round growing season. When you’re not dependent on outdoor weather conditions, you can harvest fresh basil in January or grow strawberries in October.
Types of Hydroponic Systems You Can Set Up
1. Deep Water Culture (DWC)
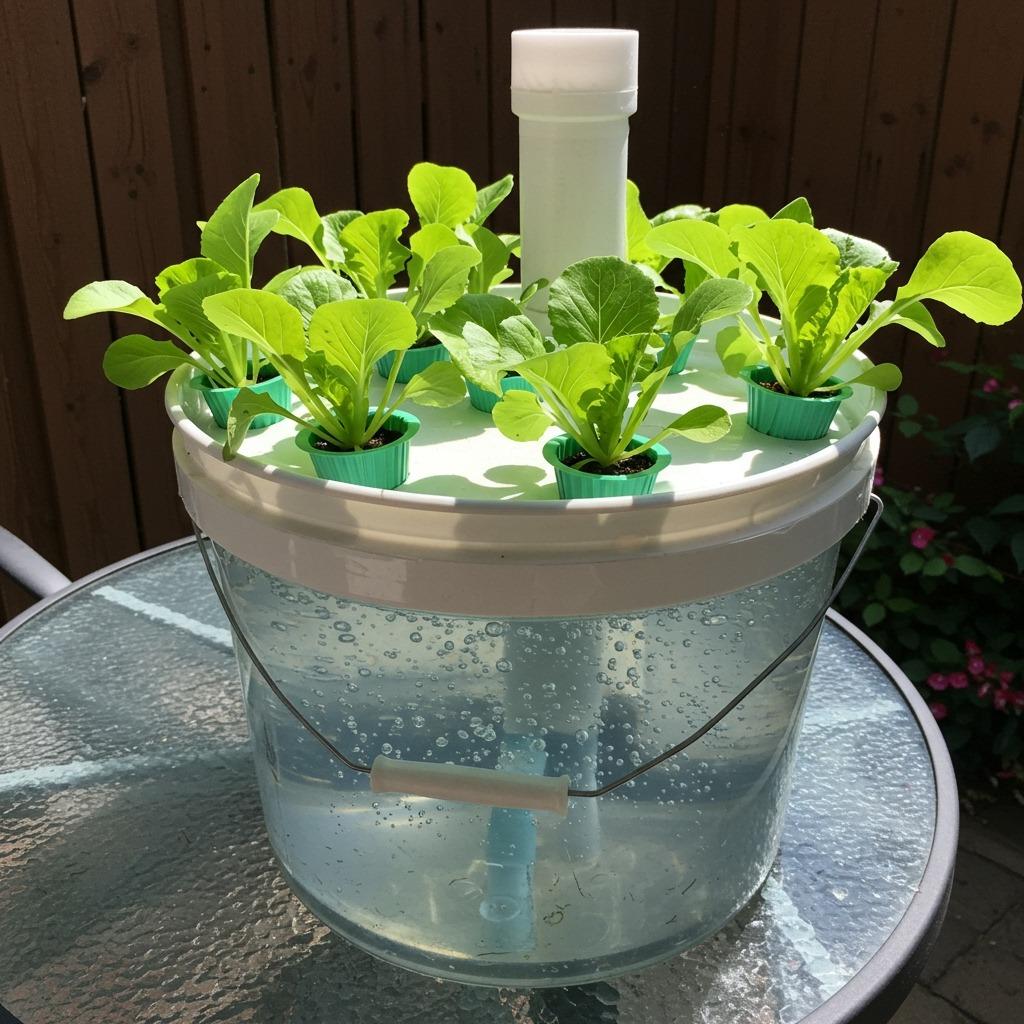
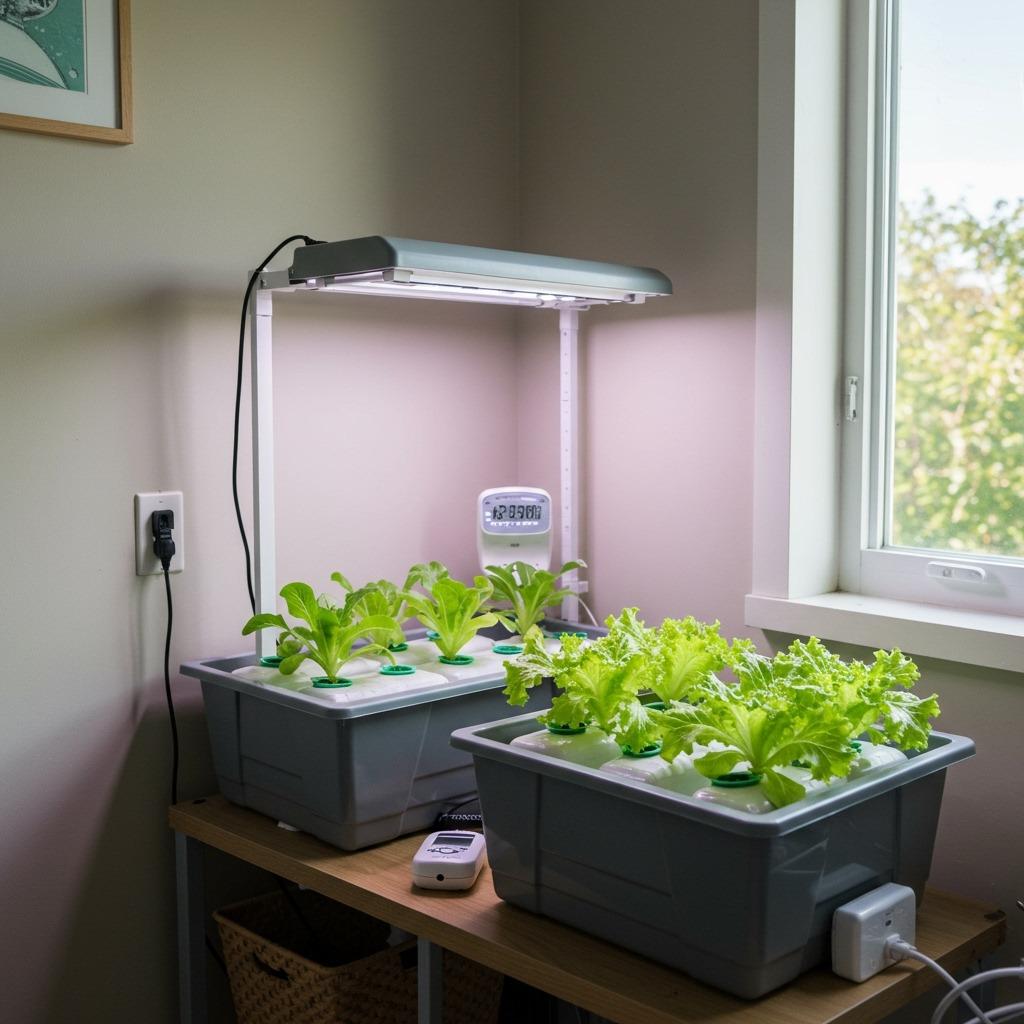
This is probably the most beginner-friendly system you can start with. Plants sit in net pots suspended over a reservoir of nutrient solution, and an air pump keeps the water oxygenated so roots don’t drown. It’s low-maintenance once you get it running, and you can literally build one with a storage container, an aquarium air pump, and some basic supplies from a hardware store.
The simplicity of DWC makes it perfect for leafy greens like lettuce, spinach, and kale. I’ve seen people grow gorgeous butter lettuce on their kitchen counters using nothing more than a five-gallon bucket. The plants grow surprisingly fast because their roots have constant access to both oxygen and nutrients.
One thing to keep in mind is that you’ll need to monitor water levels and nutrient concentration more carefully during hot weather or if your plants are growing rapidly. But honestly, checking in on your system becomes part of a pleasant daily routine rather than a chore.
2. Nutrient Film Technique (NFT)

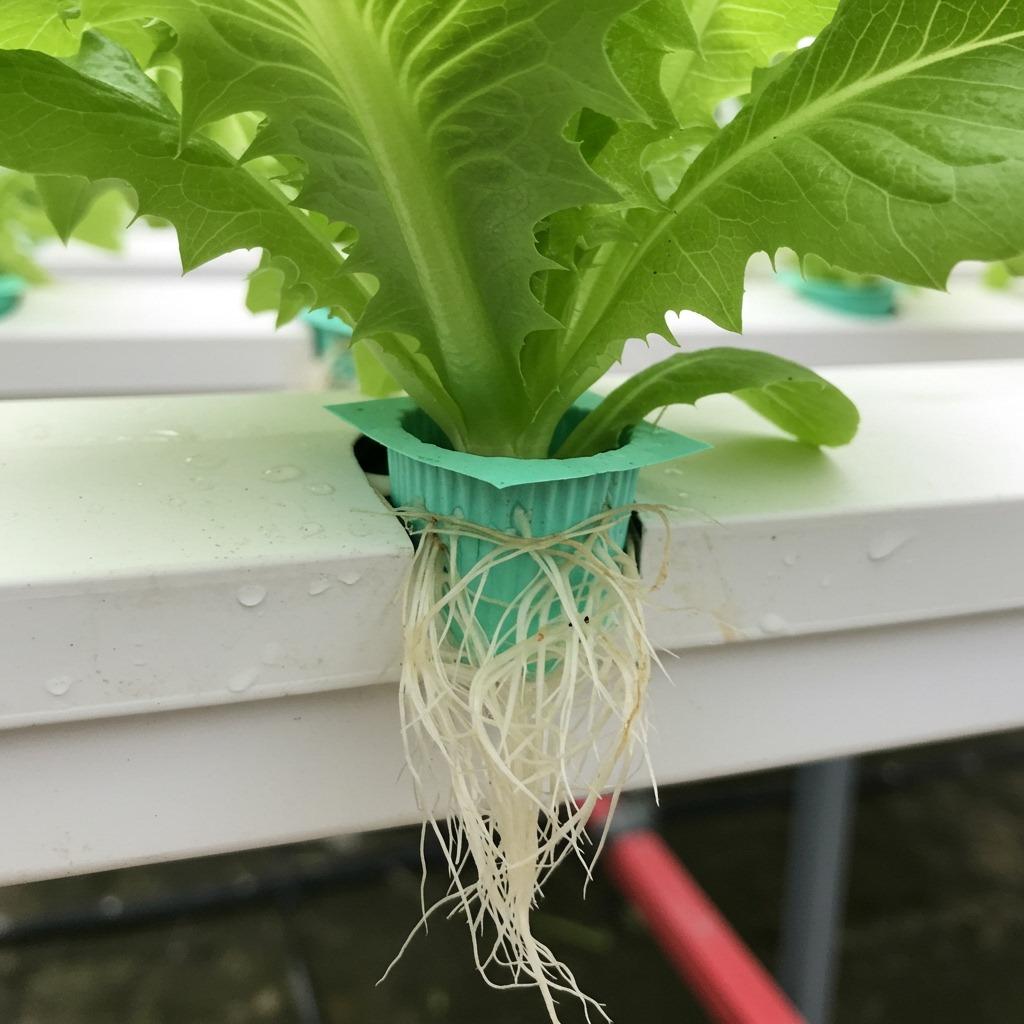
NFT systems involve a thin film of nutrient solution continuously flowing over plant roots that are housed in sloped channels. Gravity does most of the work as the water flows from a reservoir through the growing channels and back again. It’s elegant in its simplicity and works beautifully for herbs and smaller vegetables.
These systems look incredibly modern and can become a real conversation piece if you’re incorporating them into your home improvement ideas. The visual of water flowing through clean white or clear channels with vibrant green plants creates an almost sculptural quality that fits perfectly in contemporary spaces.
The main consideration here is that if the pump fails, your plants will dry out faster than in a DWC system since there’s no water reservoir beneath them. A backup power source or quick pump replacement plan is worth thinking about if you’re going all-in on this method.
3. Wick System
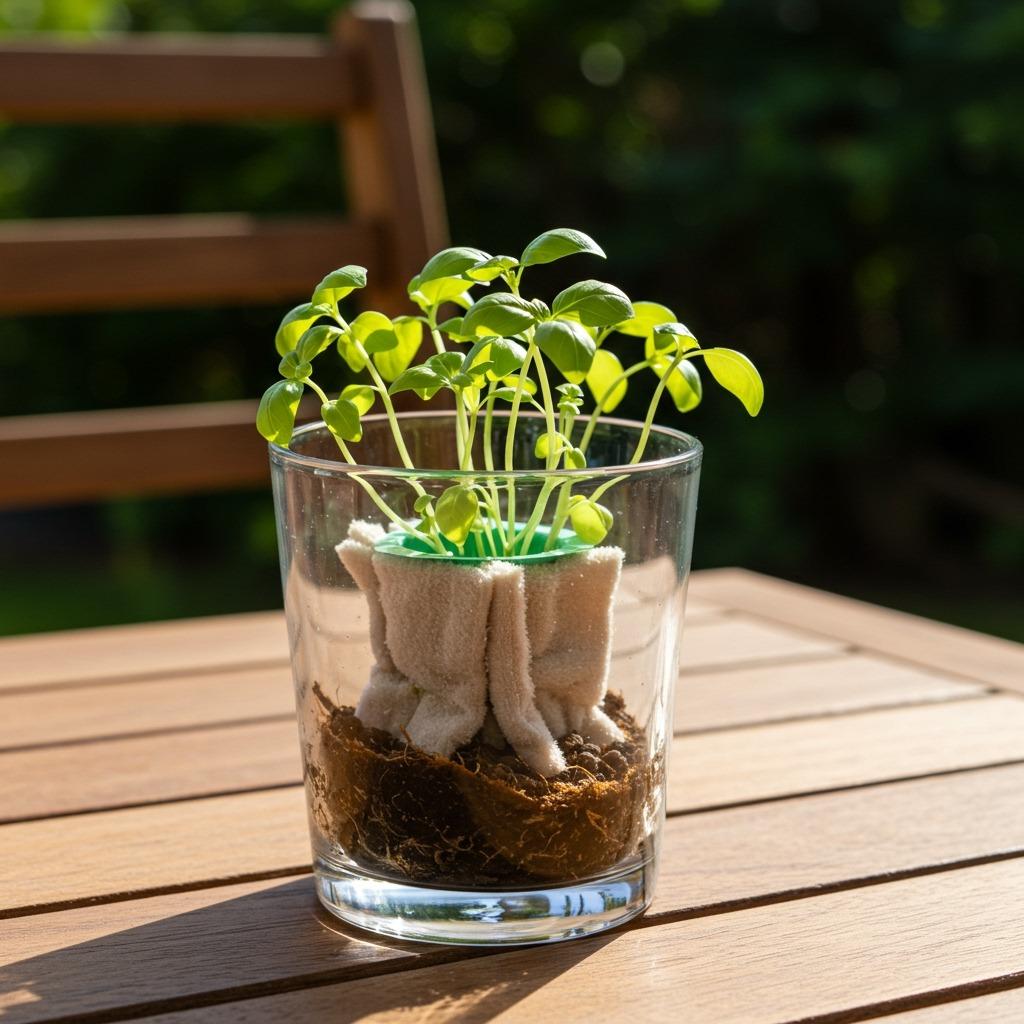
If you want something truly passive that requires no electricity, the wick system might be your answer. Absorbent wicks draw nutrient solution from a reservoir up to the plant roots through capillary action. It’s the same principle as an oil lamp, just applied to plant care.
This ultra-simple approach works best for small plants that don’t need a lot of water, like herbs or small decorative plants. You won’t get the explosive growth rates of more advanced systems, but you also won’t need to worry about pumps, timers, or power outages. It’s perfect for someone who wants to dip their toes into water-based growing tips without any technical complexity.
I think of wick systems as the gateway drug to hydroponics. They’re forgiving, require minimal investment, and prove the concept without overwhelming you with equipment and monitoring.
4. Ebb and Flow (Flood and Drain)
This system periodically floods the plant roots with nutrient solution and then drains it back into a reservoir. The flooding provides nutrients and water while the draining phase ensures roots get oxygen. It’s like giving your plants regular drinks followed by breathing space.
The versatility of ebb and flow systems is impressive. You can grow everything from lettuce to tomatoes to peppers, making it ideal if you want variety in your harvest. The periodic flooding also helps flush out any salt buildup from the nutrients, which keeps your growing medium cleaner over time.
Setting up the timing takes a bit of experimentation based on your plants, growing medium, and environmental conditions. But once you dial it in, this system practically runs itself and can support a pretty substantial garden.
5. Drip System

Drip systems deliver nutrient solution directly to each plant’s base through small tubes and emitters, similar to drip irrigation in traditional gardening. You can set it up as either a recovery system (where excess solution returns to the reservoir) or non-recovery (where excess drains away).
This method gives you incredible control over exactly how much each plant receives, which is helpful when you’re growing different species with varying needs in the same space. The recovery version is more water-efficient and economical with nutrients, though it requires slightly more monitoring to maintain proper solution strength.
Commercial growers love drip systems for their scalability, but they work just as well in a home setting. If you’re planning a larger setup in a spare room or basement, this might be the way to go.
6. Aeroponics

This is where things get really interesting. Aeroponic systems suspend plant roots in air and mist them with nutrient solution at regular intervals. The roots hang freely, getting maximum oxygen exposure while receiving precisely timed doses of nutrients and water.
The growth rates you can achieve with aeroponics are honestly stunning. Plants can grow 30-50% faster than soil because they’re getting optimal oxygen and nutrients without any restrictions. But there’s a trade-off in terms of complexity and the need for reliable equipment since roots will dry out quickly if the misting system fails.
I’d recommend starting with a simpler system and working your way up to aeroponics once you’re comfortable with the basics. It’s like learning to drive with a standard transmission before getting a sports car. The principles are similar, but the precision required is higher.
Essential Components for Your Hydroponic Setup
Growing Medium
Even though you’re not using soil, most hydroponic systems need something to support the plants and anchor their roots. Popular options include clay pellets (hydroton), coconut coir, perlite, and rockwool. Each has different properties in terms of water retention, aeration, and pH neutrality.
Clay pellets are reusable and provide excellent drainage, making them ideal for systems that cycle water frequently. Coconut coir holds moisture well and works great for plants that prefer consistent dampness. I’ve found that mixing different mediums sometimes gives you the best of both worlds, though it’s not necessary when you’re starting out.
The key is choosing something inert that won’t alter your nutrient solution’s chemistry or break down too quickly. Whatever you pick should support the plant while allowing water and air to reach the roots freely.
Nutrient Solution

This is your plants’ complete food source, so getting it right matters. Hydroponic nutrients come in liquid or powder form and contain all the macro and micronutrients plants need – nitrogen, phosphorus, potassium, calcium, magnesium, and various trace elements. You’ll mix these with water according to package directions, adjusting the strength based on your plants’ growth stage.
Most nutrient formulas come in either one-part or multi-part versions. One-part is simpler but less customizable, while multi-part solutions let you adjust the ratios for different growth phases like vegetative growth or flowering. For beginners, a quality one-part formula takes the guesswork out of mixing.
Pay attention to whether nutrients are formulated for hard or soft water since this affects how they interact with minerals already in your tap water. Testing your solution regularly with a TDS (total dissolved solids) meter helps you maintain the right concentration.
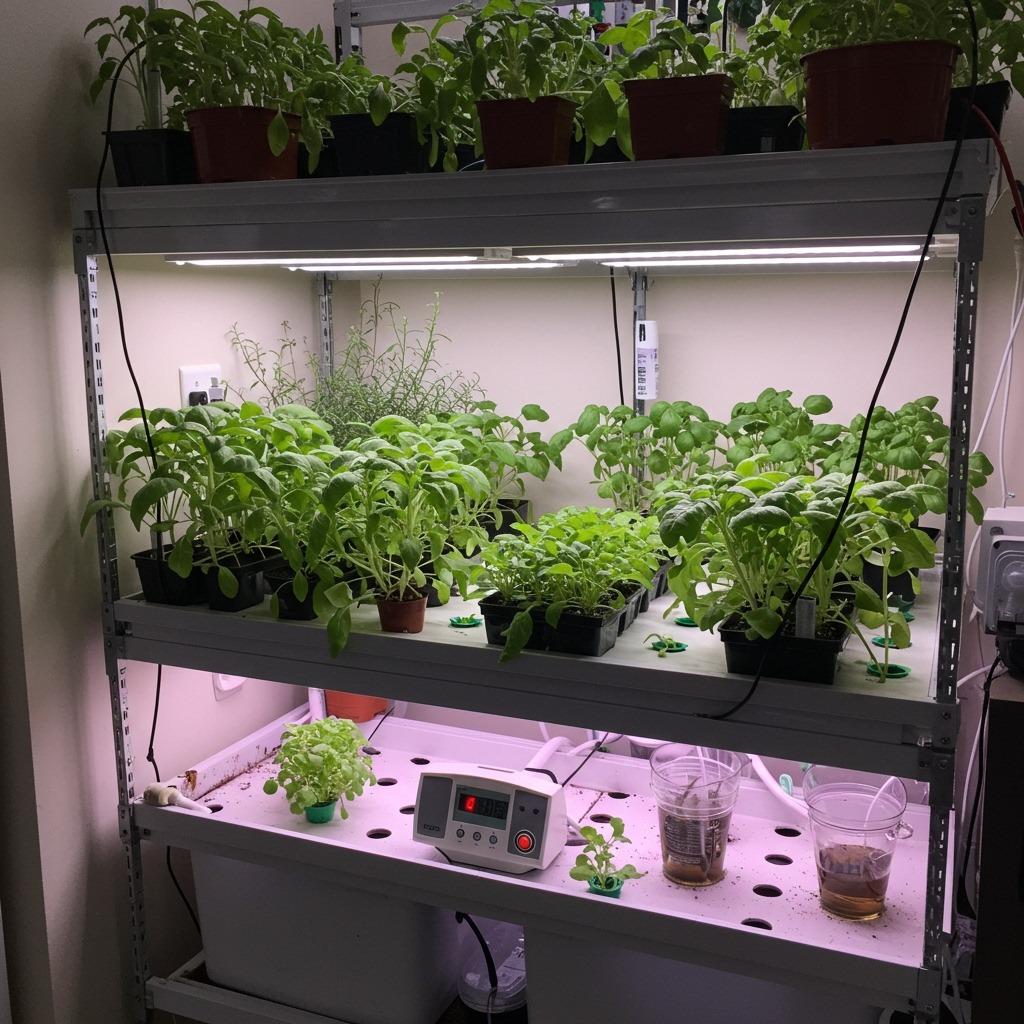
Lighting
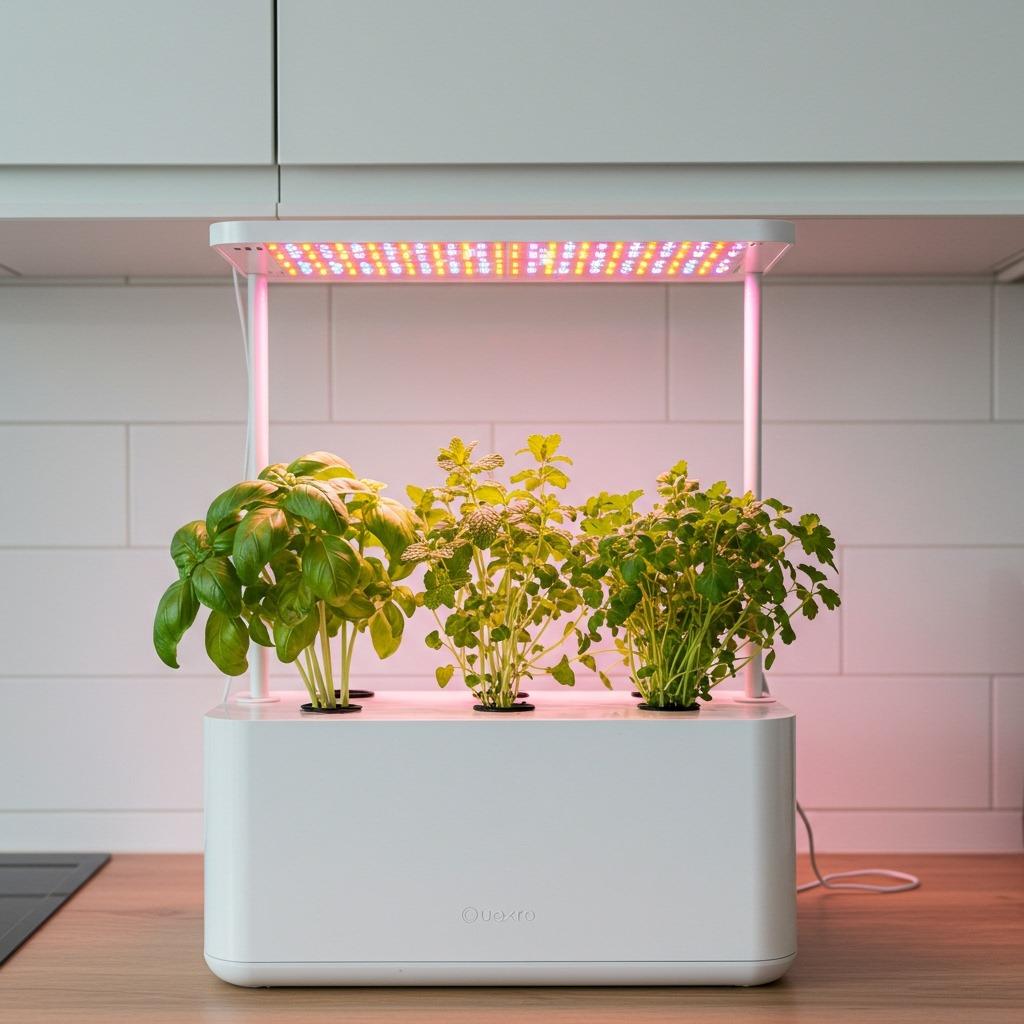
Unless you have a greenhouse or super bright window, you’ll need artificial lighting for indoor hydroponics. LED grow lights have become the gold standard because they’re energy-efficient, run cool, and provide the specific light spectrums plants need for photosynthesis. The initial investment is higher than fluorescent options, but they last years and use far less electricity.
Different growth stages benefit from different light spectrums. Blue light promotes leafy growth and strong stems, while red light encourages flowering and fruiting. Full-spectrum LEDs that combine both are versatile enough for any plant you want to grow.
Position lights according to the manufacturer’s recommendations for height and duration. Most vegetables need 12-16 hours of light daily, which you can automate with a simple timer. It’s one less thing to remember in your daily routine.
pH and EC/TDS Meters
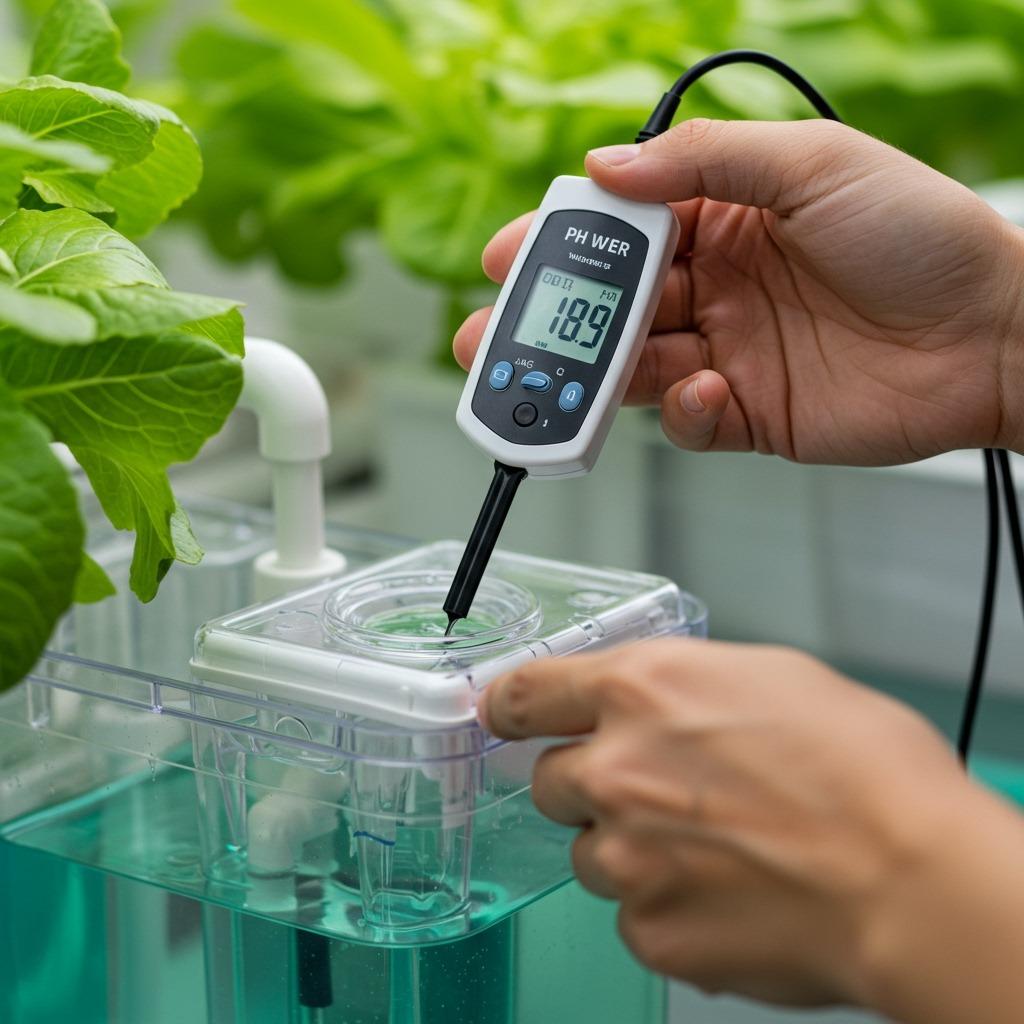
These tools might seem technical, but they’re honestly essential for success. The pH meter tells you if your nutrient solution is acidic or alkaline, which affects how well plants can absorb nutrients. Most plants prefer a slightly acidic pH between 5.5 and 6.5 in hydroponic systems.
An EC (electrical conductivity) or TDS meter measures nutrient concentration. Too weak and your plants will be underfed; too strong and you risk burning the roots. These meters take the guesswork out of mixing and help you maintain consistency.
Both meters need occasional calibration with reference solutions to stay accurate, but this is a quick process. Think of them as your system’s vital signs monitors. A quick check every few days keeps everything running smoothly and heads off problems before they become visible.
Getting Started: Your First Hydroponic Garden
Choosing What to Grow
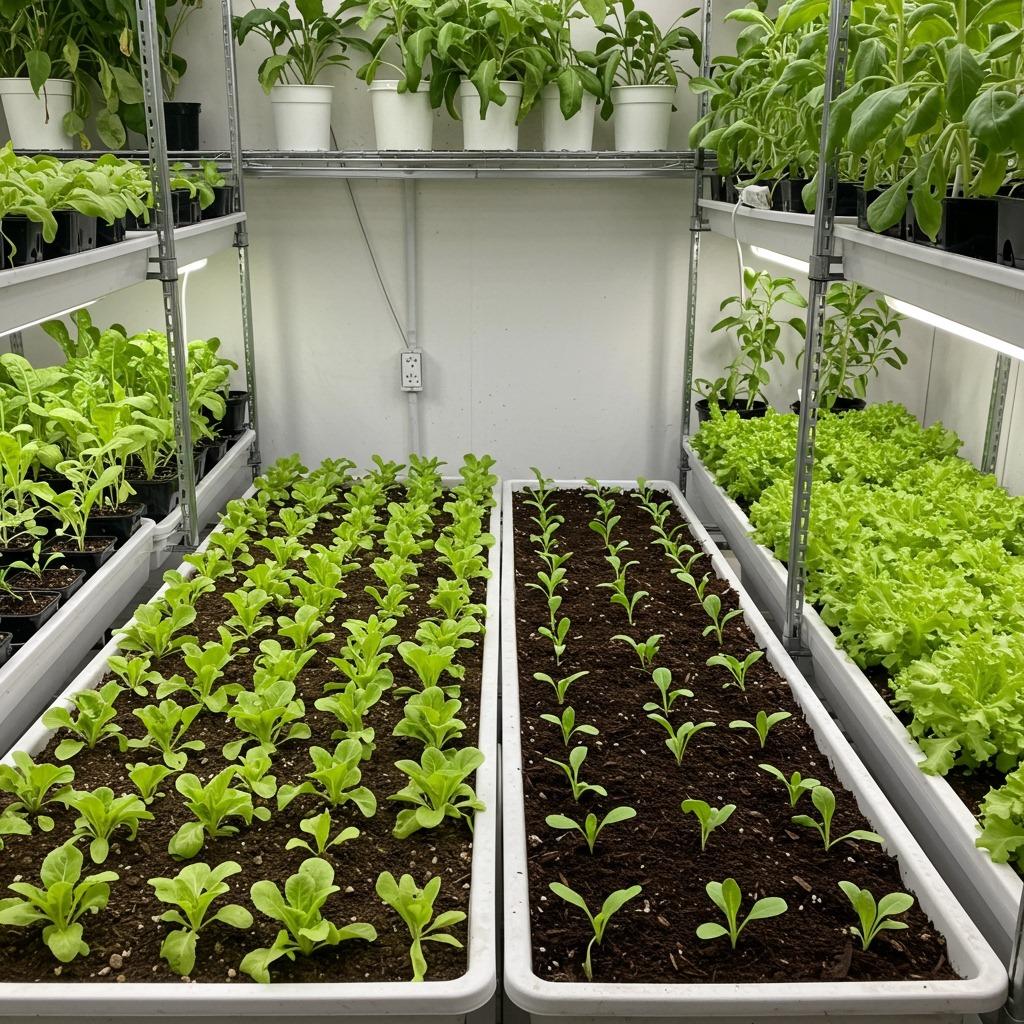
Start with easy, fast-growing plants that will give you quick wins and build your confidence. Leafy greens like lettuce, spinach, and arugula are foolproof choices that grow rapidly and don’t require much vertical space. Herbs like basil, cilantro, and mint are equally forgiving and incredibly useful in the kitchen.
Once you’ve mastered greens, you might venture into tomatoes, peppers, or cucumbers. These fruiting plants take more time and nutrients but are absolutely doable in a home system. Just be aware they need more light and often benefit from hand pollination indoors since you don’t have bees helping out.
I’d suggest choosing something you actually enjoy eating frequently. Fresh herbs for your kitchen and dining ideas make a real difference in daily cooking, and there’s something satisfying about snipping basil from your own setup instead of buying those expensive plastic clamshells from the store.
Setting Up Your First System
Location matters more than you might think. You want somewhere with access to electricity for pumps and lights, good ventilation to prevent humidity issues, and a surface that won’t be damaged by occasional water spills. A corner of your kitchen, a spare room, or even a section of your basement can work perfectly.
Temperature control is another consideration. Most plants thrive between 65-75°F, and your nutrient solution should stay relatively cool (below 72°F ideally) to prevent harmful bacteria and algae growth. If you’re setting up in a naturally warm space, you might need to add a small fan for air circulation or even a reservoir chiller for larger systems.
Start small with your first setup. A single-plant DWC system or a small NFT channel with 4-6 plant sites is plenty to learn the ropes. You can always expand once you’re comfortable with the basics of maintaining nutrient levels, pH balance, and lighting schedules.
Monitoring and Maintenance
Daily check-ins become surprisingly enjoyable once you establish the habit. Look at your plants for signs of health – vibrant color, steady growth, strong stems. Check water levels in your reservoir and top off as needed with fresh water or diluted nutrient solution.
Weekly tasks include testing and adjusting pH and nutrient concentration. You’ll also want to clean any algae buildup on reservoir walls or tubes since algae compete with your plants for nutrients. A quick wipe-down takes only minutes but prevents bigger issues down the line.
Every few weeks, consider doing a full reservoir change where you empty the old solution and start fresh. This prevents the buildup of unused salts and ensures your plants are getting a balanced diet. It’s also a good time to inspect pumps, check for root health, and clean or replace filters if your system has them.
Common Challenges and How to Handle Them
Algae Growth
Those green slimy patches on your reservoir or growing channels are algae, and they appear whenever light hits nutrient solution. Algae aren’t directly harmful to plants, but they consume oxygen and nutrients you’d rather go to your crops. The solution is simple: block light from reaching the water.
Use opaque reservoirs or cover clear ones with aluminum foil or dark plastic. Make sure any gaps in net pots or channels are covered as well. Once you eliminate the light source, existing algae will die off, and new growth will stop. It’s one of those problems that seems worse than it actually is.
If algae have already taken hold, you can add beneficial bacteria or hydrogen peroxide to knock it back quickly. But prevention through light blocking is always easier than treatment.
Root Rot
When roots turn brown, slimy, and start smelling funky, you’re dealing with root rot caused by harmful bacteria or fungi. This typically happens when water temperatures get too high or there’s insufficient oxygen reaching the roots. Plants with root rot will wilt despite being in water, which is confusing until you understand what’s happening below the surface.
Improving oxygenation with air stones or by lowering water temperature usually prevents root rot before it starts. If you catch it early, beneficial bacteria products like hydroguard can help healthy roots recover and outcompete the bad microbes. Severely affected plants might need to be removed to prevent spread.
Keeping your reservoir cool and well-oxygenated is honestly the best insurance against root issues. A small aquarium chiller is worth considering if you’re growing in a warm environment.
Nutrient Imbalances
Plants are pretty good at telling you when something’s off with their diet. Yellowing leaves might indicate nitrogen deficiency, while purple stems can signal phosphorus issues. Brown leaf edges often point to potassium problems or nutrient burn from too-strong solution.
Rather than chasing individual deficiencies, maintaining proper pH and nutrient concentration usually prevents most problems. When pH drifts outside the optimal range, plants can’t absorb certain nutrients even if they’re present in the water. Regular testing and adjustment is your best defense.
If you do spot deficiency symptoms, a complete reservoir change with properly mixed nutrients often corrects the issue within a week. Sometimes less is more – reducing nutrient concentration slightly can actually improve uptake if you’ve been running too strong.
Pests and Diseases
Indoor hydroponics has way fewer pest issues than outdoor gardening, but you’re not completely immune. Aphids, whiteflies, and spider mites can still find their way to your plants. The enclosed, humid environment can also promote fungal issues if air circulation is poor.
Catching problems early through regular inspection is key. Check the undersides of leaves and around stems where pests like to hide. Yellow sticky traps can help you spot flying insects before they establish large populations. Good airflow from a small fan makes a huge difference in preventing both pests and fungal diseases.
If you do get an infestation, insecticidal soap or neem oil works well in a home setting since you’re not dealing with huge areas. The nice thing about hydroponics is you can quarantine affected plants easily by physically moving them away from healthy ones.
Advanced Tips for Better Results
Controlling Environment
The more you can dial in temperature, humidity, and CO2 levels, the better your plants will perform. Professional growers track all these variables, but even small improvements make a difference. A hygrometer to monitor humidity costs just a few dollars and helps you understand if you need more or less airflow.
If you’re really getting into this, a tent or enclosed growing space lets you control conditions much more precisely than an open room. This becomes especially important if you’re growing alongside living spaces where you need to consider humidity affecting your home’s comfort.
Some dedicated hobbyists even add CO2 enrichment to boost growth rates, though this requires sealed growing spaces and careful monitoring. It’s probably overkill for most home gardens, but it shows how much you can optimize if you’re inclined to geek out on the science.
Succession Planting
Instead of starting all your plants at once, stagger your planting every couple of weeks. This gives you continuous harvests rather than a huge glut of lettuce or herbs all at once followed by a gap while the next batch grows. It’s the same principle used in traditional container gardening but even more practical with the faster growth rates of hydroponics.
Keep a simple calendar noting when you started each plant and when you expect to harvest. This helps you time new seedlings so there’s always something ready to pick. It takes a bit of planning initially but quickly becomes second nature.
You’ll also waste less since you’re only harvesting what you need rather than dealing with everything maturing simultaneously. Fresh herbs stay fresher when they’re still growing than when you’ve cut and stored them.
Experimenting with Varieties
Once your basic system is running smoothly, trying different plant varieties keeps things interesting. Specialty lettuces, unusual herbs, or heirloom tomatoes that are expensive or hard to find fresh at stores make your hydroponic garden truly special. You’re not limited to what’s economical to ship and store in supermarkets.
Microgreens grow incredibly fast hydroponically and pack intense flavor and nutrients into tiny packages. They’re also profitable if you ever want to sell to local restaurants or at farmers markets. The quick turnaround from seed to harvest means you can experiment frequently without long commitments.
Talk to other hydroponic growers online or in local gardening groups about what grows particularly well. Certain varieties are better suited to indoor conditions and limited space, and learning from others’ experience saves you time and frustration.
Is Hydroponic Gardening Right for You?
This method absolutely has its place in modern homes, especially if you’re short on outdoor space or want fresh produce year-round. The initial learning curve is gentler than you might expect, and the satisfaction of harvesting food you grew without soil is genuinely rewarding. You’re essentially bringing a bit of garden and nursery ideas indoors in a clean, controlled way.
Cost-wise, you’ll invest more upfront in equipment than you would for traditional pots and potting soil. But the ongoing costs are actually quite reasonable – nutrients, electricity for pumps and lights, and occasional replacement parts. Many people find their systems pay for themselves through reduced grocery bills, particularly for expensive organic produce and fresh herbs.
The time commitment is real but manageable. Expect to spend 10-15 minutes daily checking on your system and making small adjustments, with slightly longer weekly maintenance sessions. Compare that to the time spent shopping for produce or maintaining an outdoor garden with weeding and watering, and it’s quite reasonable.
If you enjoy problem-solving, learning new skills, and having some control over your food source, hydroponic gardening can become a genuinely fulfilling hobby. It combines elements of science, craftsmanship, and traditional gardening in a way that feels both modern and deeply connected to growing living things. Whether you start with a single herb plant or dive into a full system, you’re joining a community of growers who’ve discovered that soil is optional when you understand what plants really need.