There’s something magical about settling into a plush seat with your favorite snack, dimming the lights, and getting lost in a film. But what if you didn’t have to leave home for that experience?
Creating a home theater in your living room isn’t just about mounting a TV on the wall anymore. It’s about crafting an immersive space that rivals your local cinema while keeping the comfort and style of your home intact. Whether you’re working with a dedicated media room or carving out a corner of your living room, the right design choices can elevate your viewing experience from ordinary to extraordinary.
The best part? You don’t need a Hollywood budget to pull it off. With thoughtful planning and a few key upgrades, you can transform any space into a personal screening room that impresses guests and becomes your favorite spot to unwind. Let’s explore how to make that happen.
1. Build a Statement Projection Wall
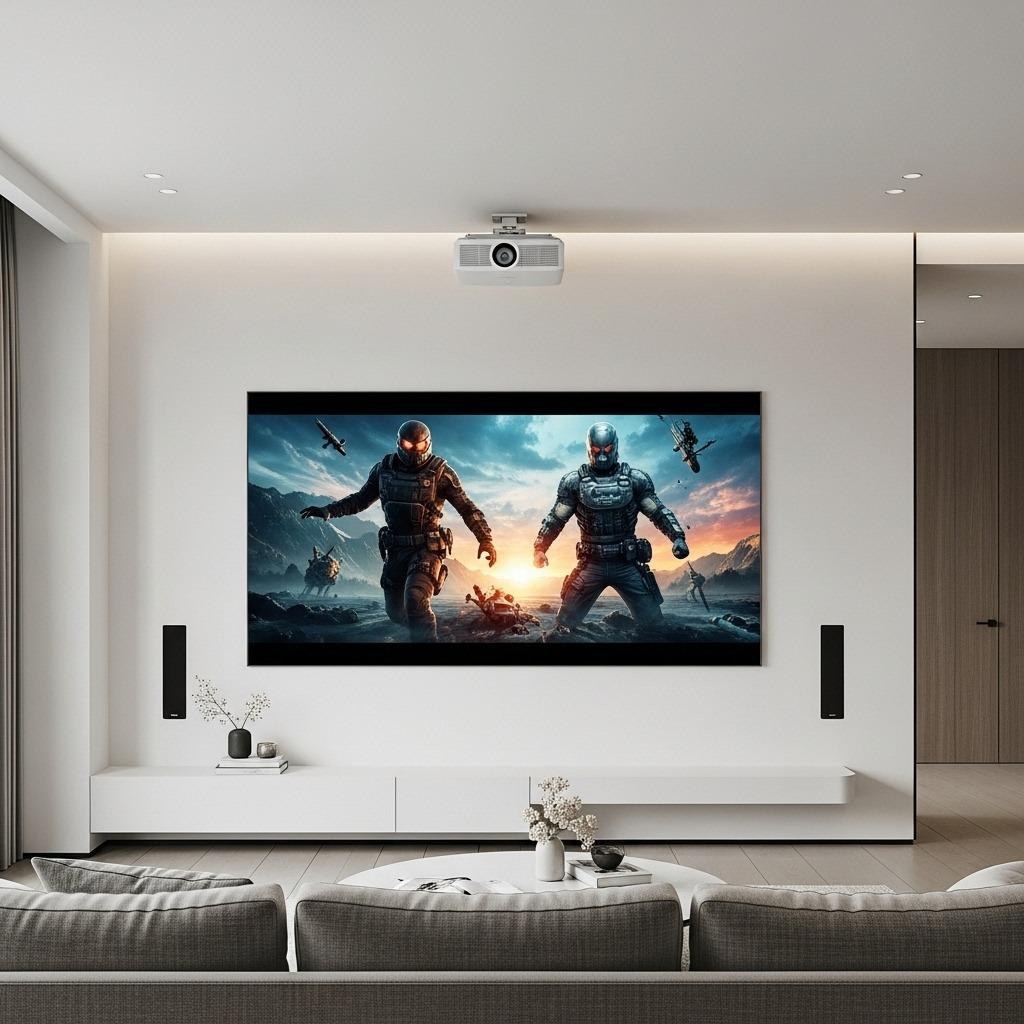
Forget the TV. A projection wall instantly upgrades your space into something that feels more cinema than living room. The beauty here is in the simplicity – a large, uninterrupted screen that disappears when not in use.
Paint one wall in a special projection-friendly matte finish, or invest in a motorized screen that rolls down from the ceiling when movie time hits. This approach keeps your room feeling open and multipurpose during the day. When you’re ready to watch, the transformation is dramatic.
Consider the wall color carefully. While white works, a light gray can actually improve contrast and black levels. Position your projector to avoid shadows and light interference, and you’ll have a theater-quality image that makes every viewing feel like an event.
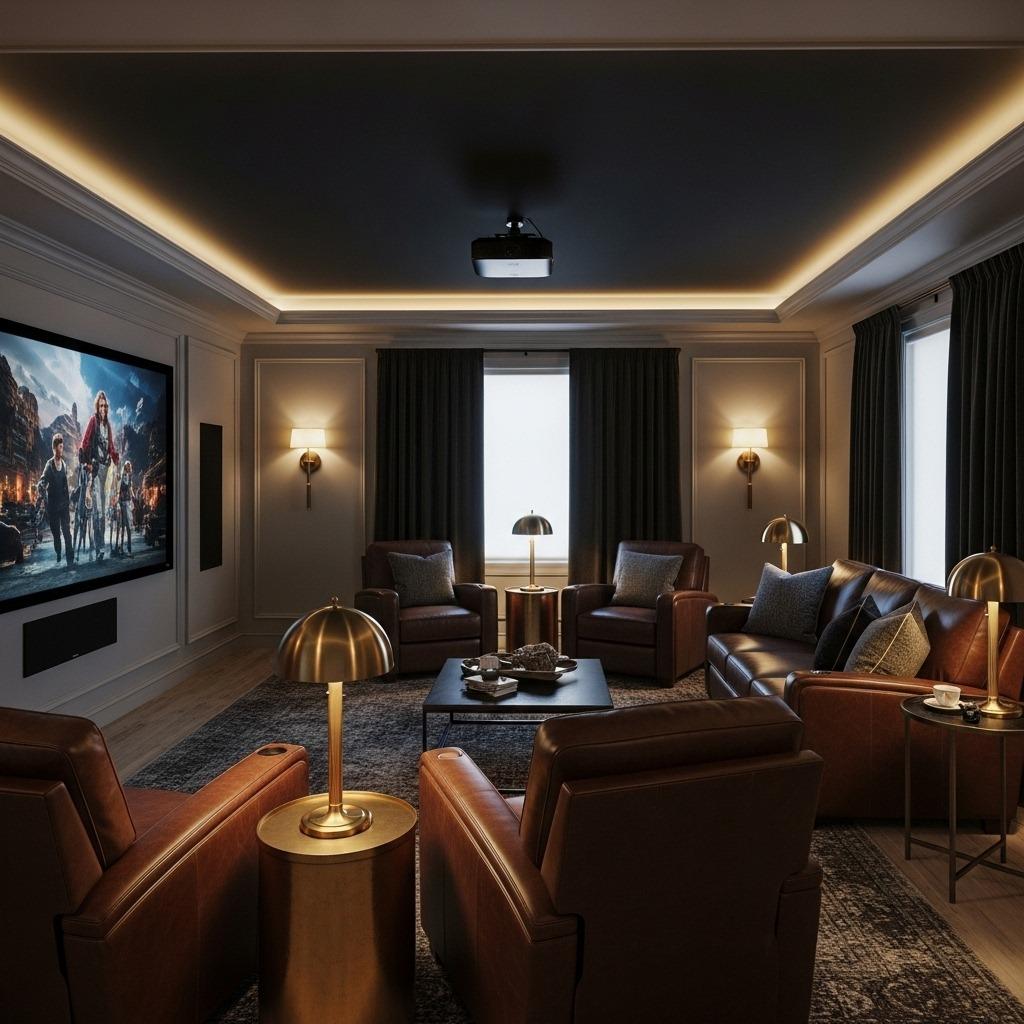
2. Layer Your Lighting for Ambiance
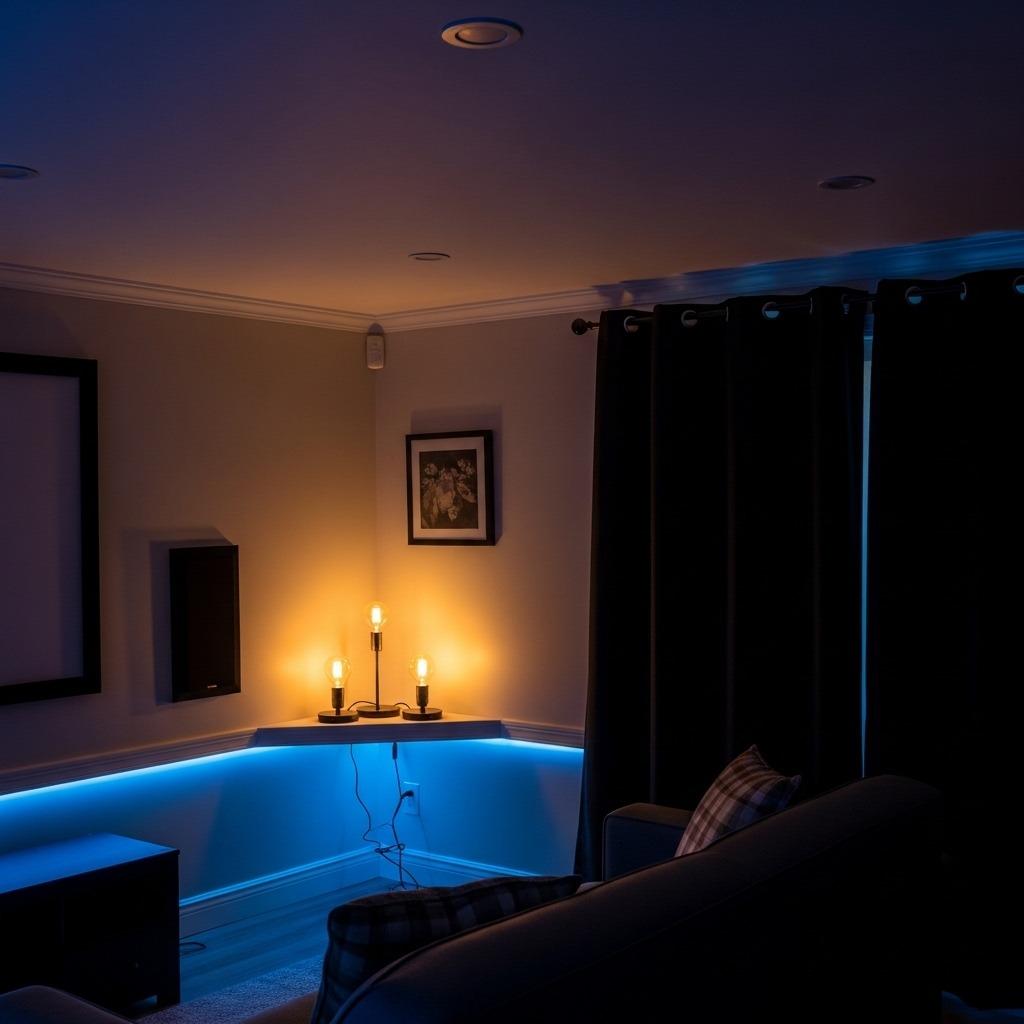
Lighting makes or breaks the luxury living room theater vibe. You want control – the ability to create total darkness for that immersive viewing, but also gentle ambient light for when you need to grab more popcorn.
Install dimmer switches on all overhead lights. Add LED strip lighting along baseboards or behind your screen for a subtle glow that won’t compete with what’s on screen but keeps the room from feeling like a cave. Wall sconces with warm bulbs positioned away from the viewing area add sophistication without glare.
Don’t overlook blackout solutions. Heavy curtains or motorized shades that block external light completely will prevent daytime glare and make your colors pop. The investment pays off the first time you watch a moody thriller at 2 PM on a sunny Saturday.
3. Invest in Acoustic Panels That Look Intentional
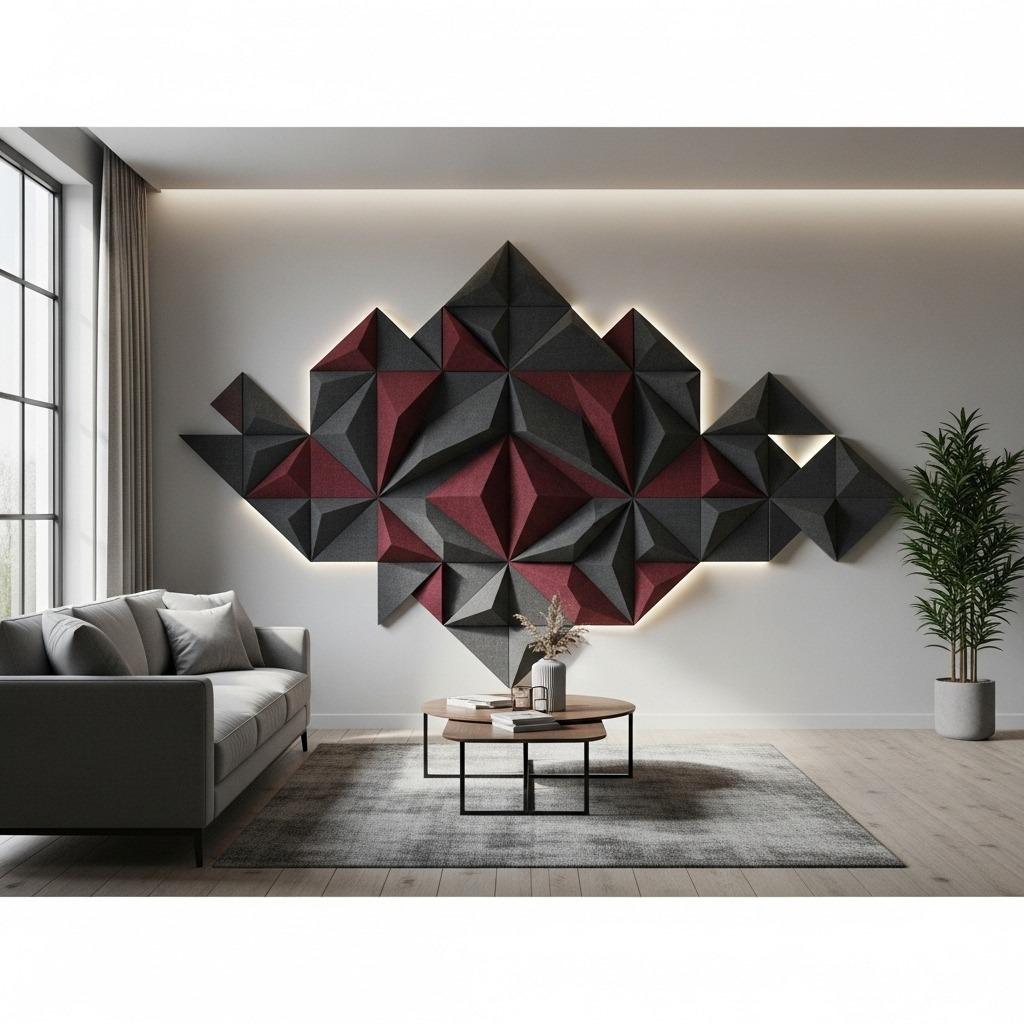
Sound matters just as much as picture quality, but acoustic panels often look like an afterthought. The trick is making them part of your design rather than something you’re trying to hide.
Choose fabric-wrapped panels in colors that complement your space. Arrange them in patterns – a grid, scattered asymmetrically, or even in a geometric design that reads as wall art. Some companies offer custom prints on acoustic fabric, so you could incorporate photography or abstract designs.
Focus panels on the wall behind your seating and on side walls where sound reflections are strongest. You don’t need to cover every surface. Strategic placement reduces echo and improves dialogue clarity while keeping your room feeling designed, not soundproofed. For more ideas on accent walls, check out creative approaches that blend form and function.
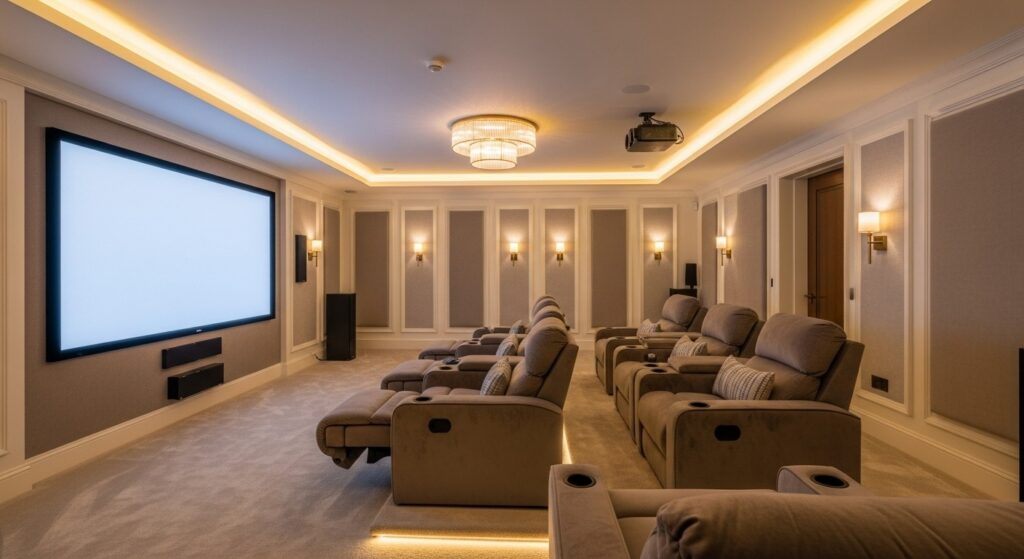
4. Choose Seating That’s Actually Comfortable
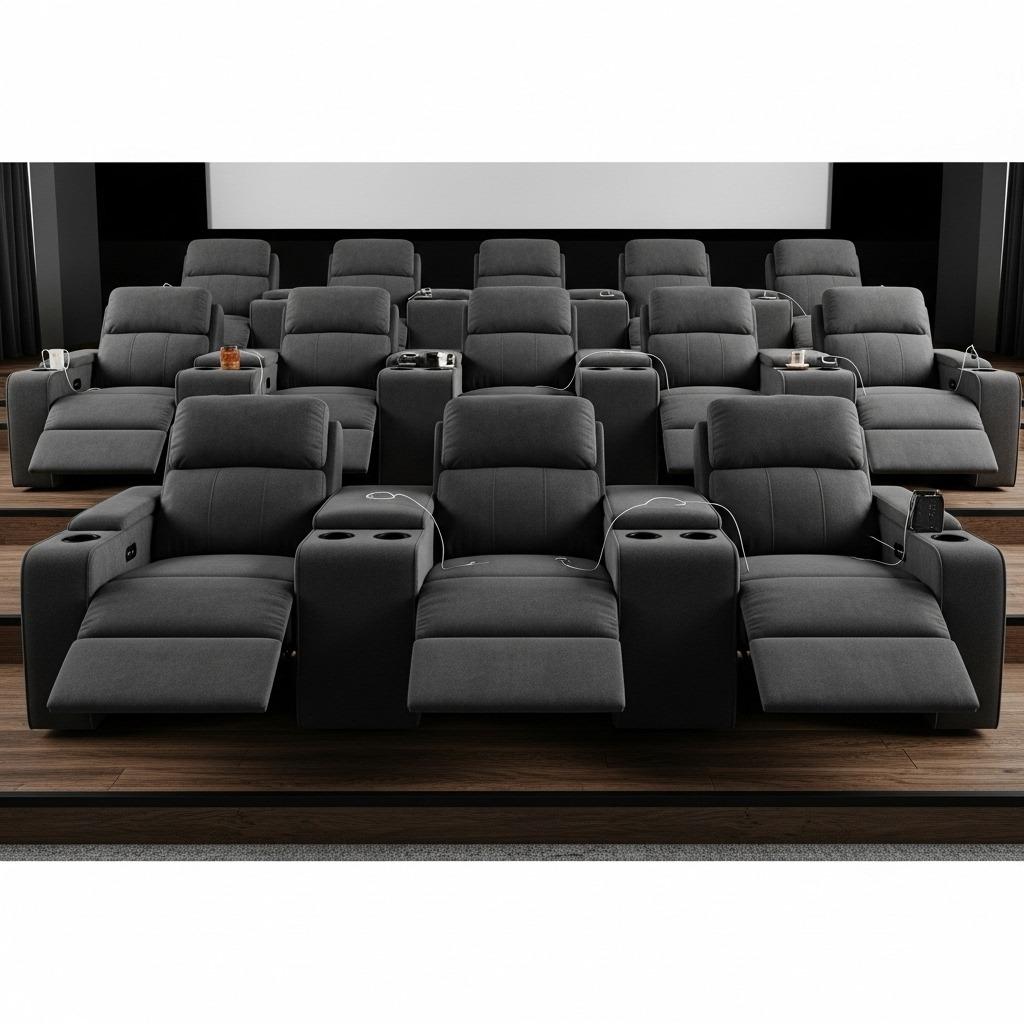
Theater seating doesn’t mean rigid chairs anymore. For a true luxury experience, prioritize comfort over aesthetics that mimic commercial theaters. You’re going to spend hours here – make it inviting.
Sectional sofas with deep seats work beautifully if you prefer a more relaxed, living room feel. Add oversized floor cushions or poufs for kids and extra guests. If you’re going for dedicated theater recliners, test them first. Look for models with adjustable headrests, lumbar support, and ideally, power recline.
Don’t forget the accessories. Built-in cup holders, side tables within arm’s reach, and throw blankets in a nearby basket make your space functional. The goal is to never have a reason to hit pause once the movie starts.
5. Create a Tiered Seating Layout
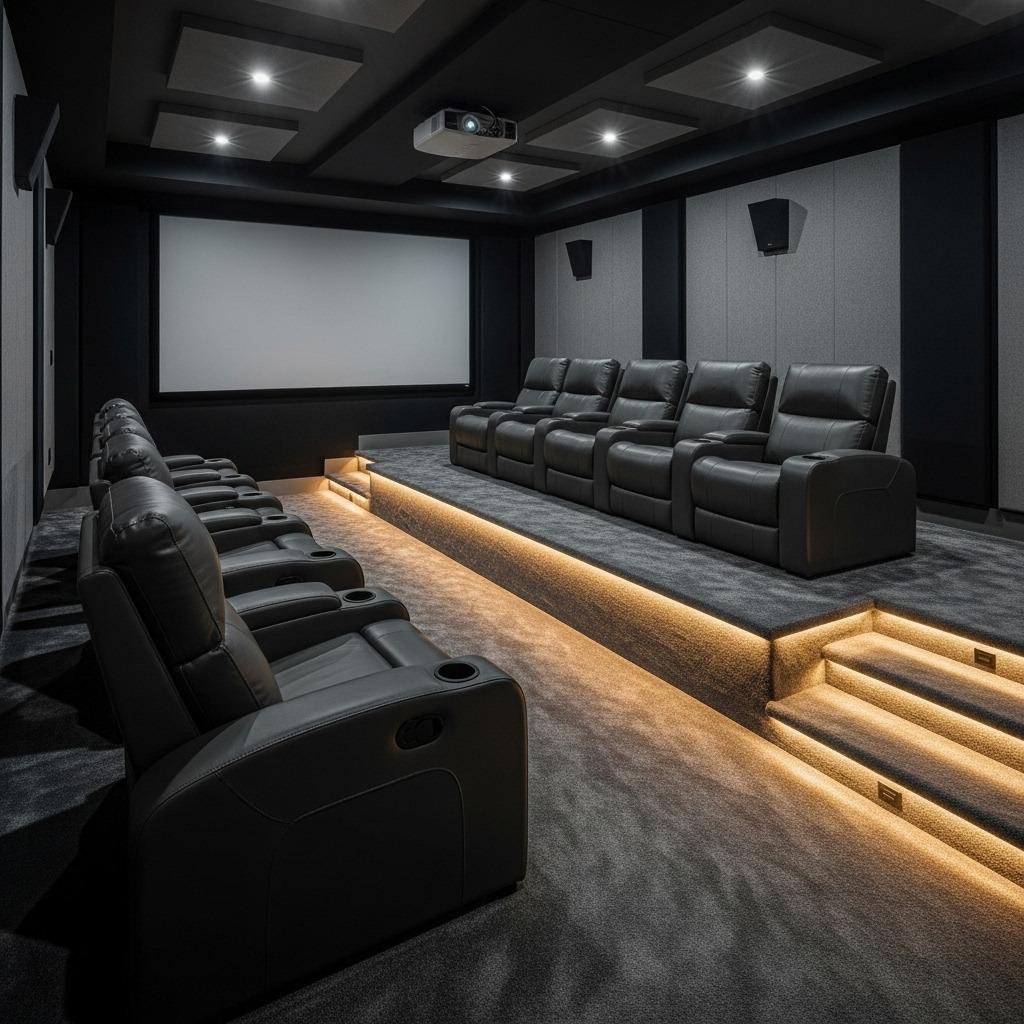
If you’ve got the space and commitment, tiered seating solves the head-blocking problem that plagues flat-floor setups. Even a modest 6-8 inch elevation for the back row makes a noticeable difference in sightlines.
This works especially well in basement remodeling projects where you have ceiling height to play with. Build a simple platform using basic lumber and carpet it to match the rest of the room. The construction is straightforward enough for a confident DIYer.
Add LED lighting along the step edges for safety and ambiance. When the lights go down, that subtle glow guides movement without disturbing the viewing experience. It’s a small detail that feels expensive and thoughtful.
6. Hide Technology with Built-In Cabinetry

Equipment sprawl kills the luxury feel faster than anything else. Exposed wires, stacked components, and blinking lights scream “tech corner” instead of “sophisticated theater space.”
Custom or semi-custom built-ins solve this elegantly. Design cabinets with ventilation for receivers and gaming consoles but with doors that close to hide the gear when not in use. Run all cables through the walls or use cable management channels that blend with trim.
If built-ins aren’t in the budget, a well-chosen media console with closed storage works too. The key is containment – only what needs to be visible (like the screen and maybe a soundbar) should be visible. Everything else tucks away, keeping your media lounge setup clean and intentional.
7. Install a Ceiling Soundbar or In-Ceiling Speakers
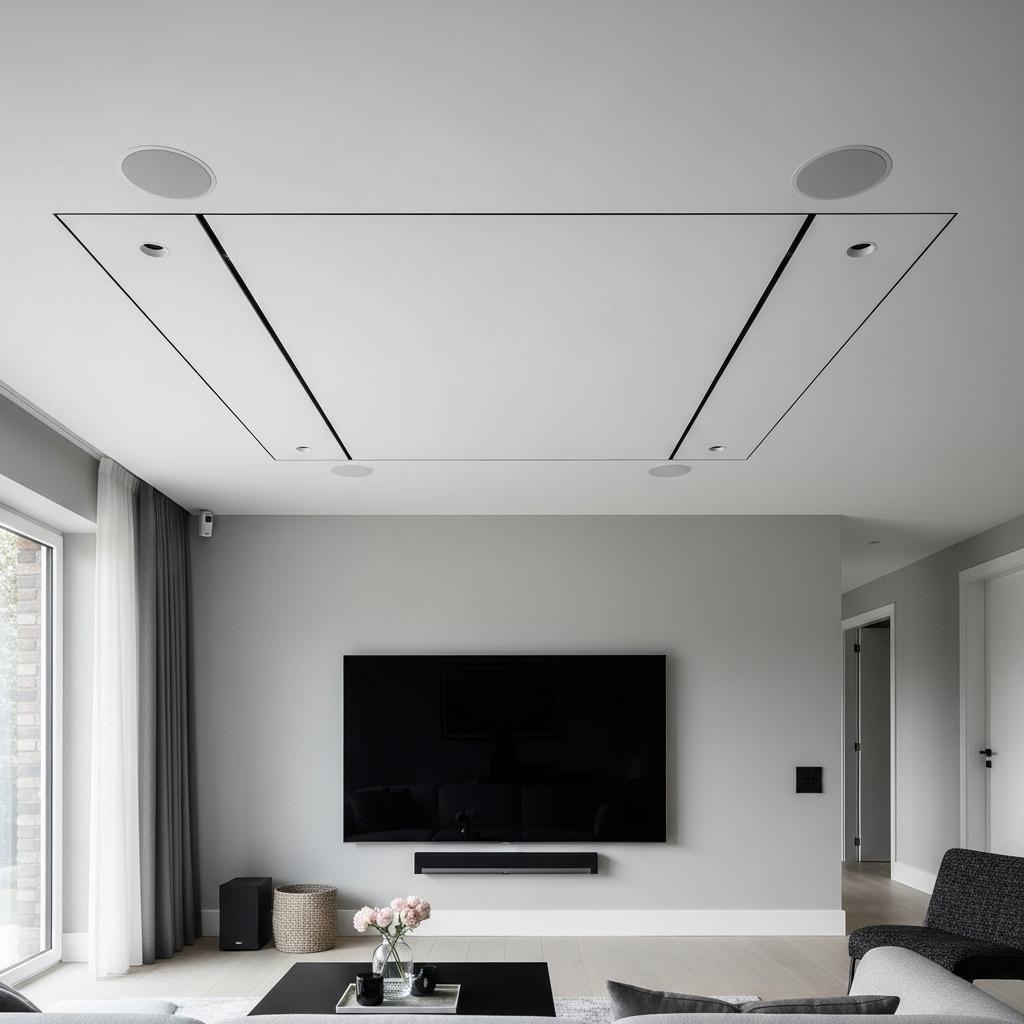
Surround sound used to mean speaker stands and wires everywhere. Modern in-ceiling or on-ceiling solutions deliver impressive audio while staying nearly invisible.
Ceiling-mounted speakers positioned at key points around the room create that immersive wrap-around effect without taking up floor or shelf space. For those who rent or prefer simpler installs, a quality soundbar with wireless rear speakers offers most of the benefit with minimal setup.
Position the soundbar directly below or above your screen, and place the wireless rear speakers behind your seating area. Most systems now include virtual height channels that bounce sound off the ceiling to simulate overhead audio. The result feels expansive and professional without the complexity of a traditional receiver setup. Explore more smart home improvements that enhance your entertainment experience.
8. Add Theater-Style Curtains as a Focal Point
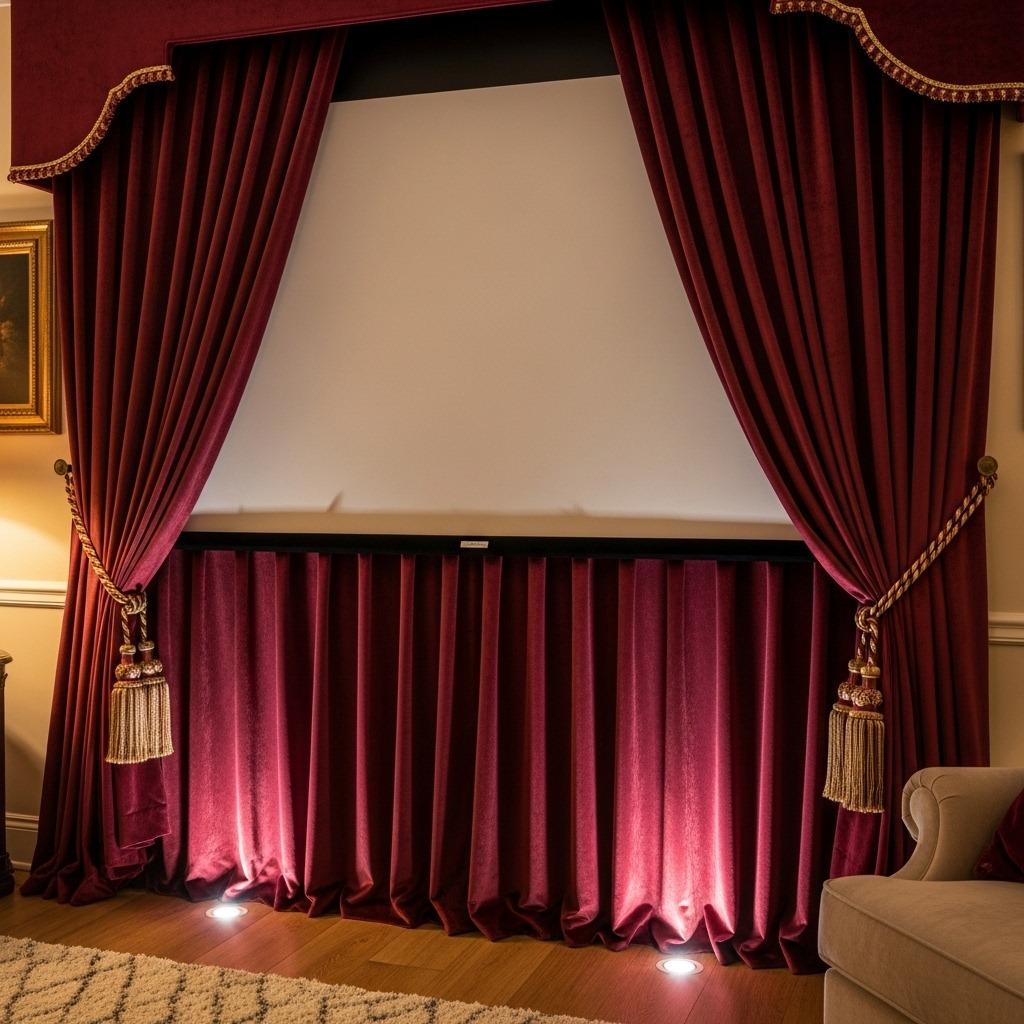
There’s a reason movie theaters have curtains – they create anticipation and frame the viewing area beautifully. Bringing that element into your home adds instant drama without much cost.
Choose heavy velvet or velour in deep colors like burgundy, navy, or charcoal. Mount them on a rod that extends beyond your screen on both sides. When closed, they hide the screen completely. When open, they frame it like art.
You don’t need motorization, though that’s certainly an option if you want full theater automation. Manual curtains on a smooth-gliding rod work just fine and add a tactile ritual to starting your movie – pull the curtains, dim the lights, press play. It makes even a Tuesday night feel special.
9. Design a Snack Bar or Beverage Station
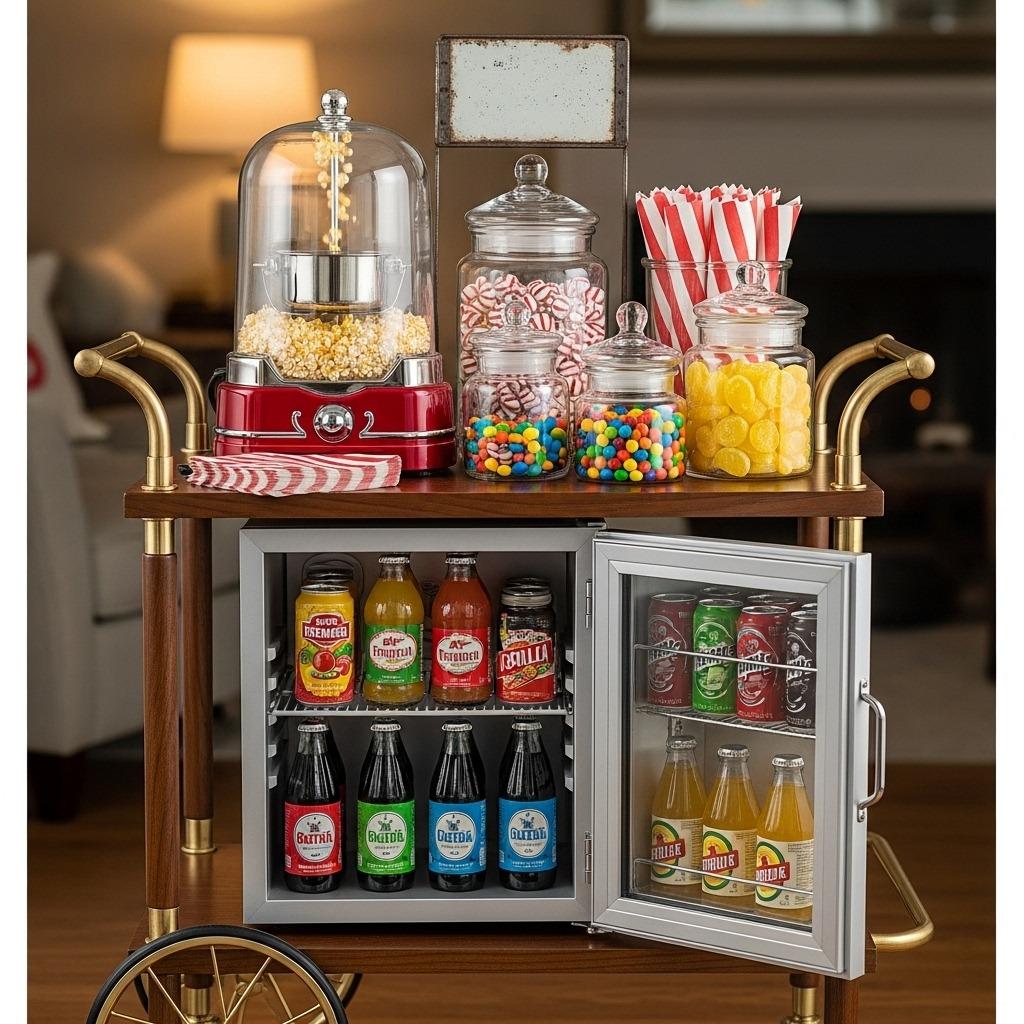
Half the fun of going to the movies is the snacks. Recreate that at home with a designated refreshment area that keeps everything within reach.
A bar cart works perfectly for this. Stock it with a countertop popcorn maker, candy in glass jars, and a selection of drinks. Add a small wine cooler or mini fridge underneath if you have the room. During movie nights, everything you need is already set up and accessible without pausing the film.
For a more permanent solution, convert a closet or alcove near your theater space into a proper snack bar. Install a countertop, some shelving, and a sink if plumbing allows. It becomes a fun conversation piece and makes your setup feel truly custom.
10. Incorporate Smart Home Controls
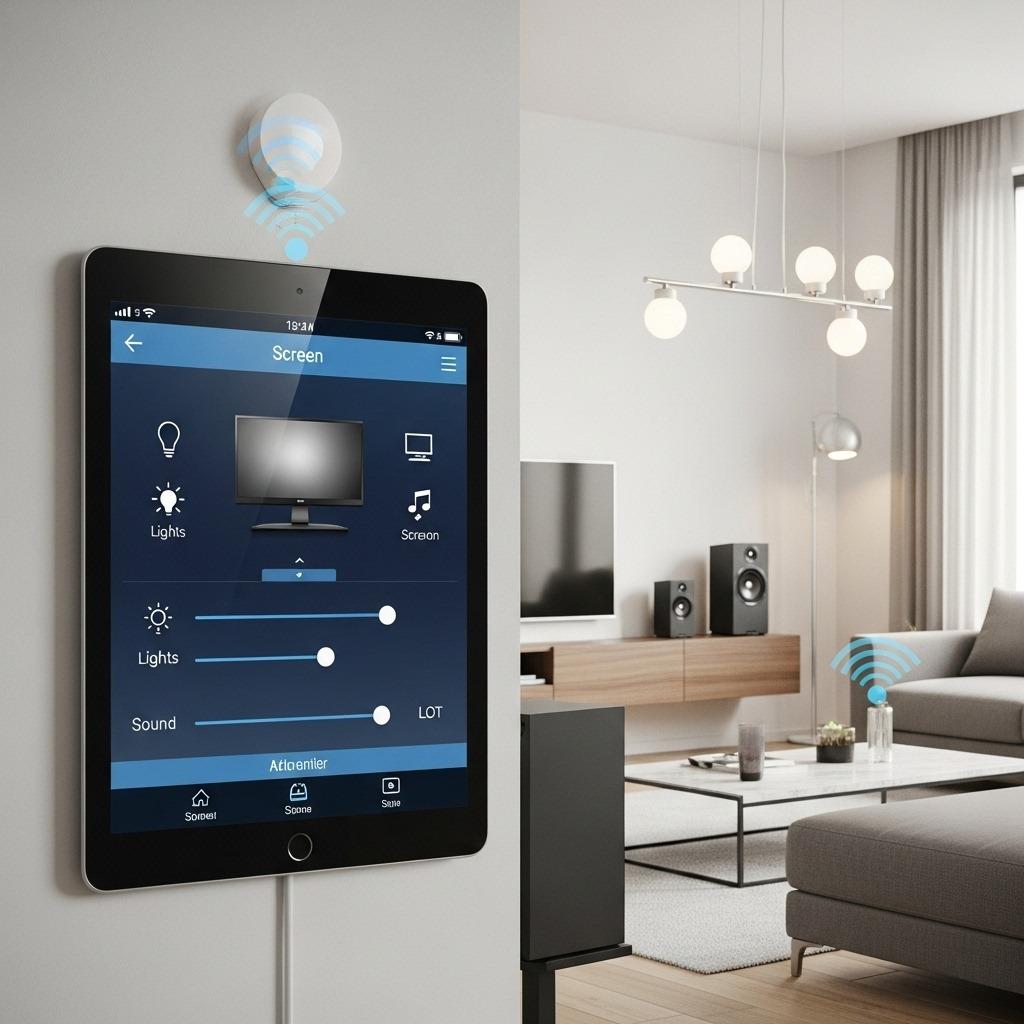
Fumbling with multiple remotes breaks immersion faster than almost anything. Smart home integration puts everything at your fingertips – lights, screen, sound, even temperature.
Start simple with a universal remote or a tablet-based control system that manages all your devices. Better yet, set up scenes: “Movie Time” dims the lights to 10%, lowers the shades, powers on the projector and sound system, and maybe even adjusts the thermostat. One button press handles it all.
Voice control through Alexa, Google, or Siri adds convenience too. “Start movie mode” can trigger your entire setup. These systems have become affordable and relatively easy to set up, especially if your devices are already Wi-Fi connected. The seamlessness makes every viewing feel effortless. Learn more about home tech automation to maximize your setup.
11. Choose a Color Palette That Enhances Viewing
Color impacts how you perceive the image on screen more than you’d expect. Dark walls reduce reflections and help your eyes focus on the screen rather than competing light sources around the room.
Deep grays, navy blues, or even black create the cocoon effect of a professional theater without making the space feel oppressive. If an all-dark room feels too heavy, paint just the wall behind seating and the ceiling in a darker tone while keeping side walls lighter.
Matte finishes are essential – glossy paint reflects light and creates distracting hot spots. Pair your darker walls with warm wood tones or brass fixtures to keep the space feeling inviting rather than stark. The right palette makes the room disappear when you’re watching, letting the screen be the star. For inspiration, explore these paint color schemes that work beautifully in media spaces.
12. Create Zones with Area Rugs
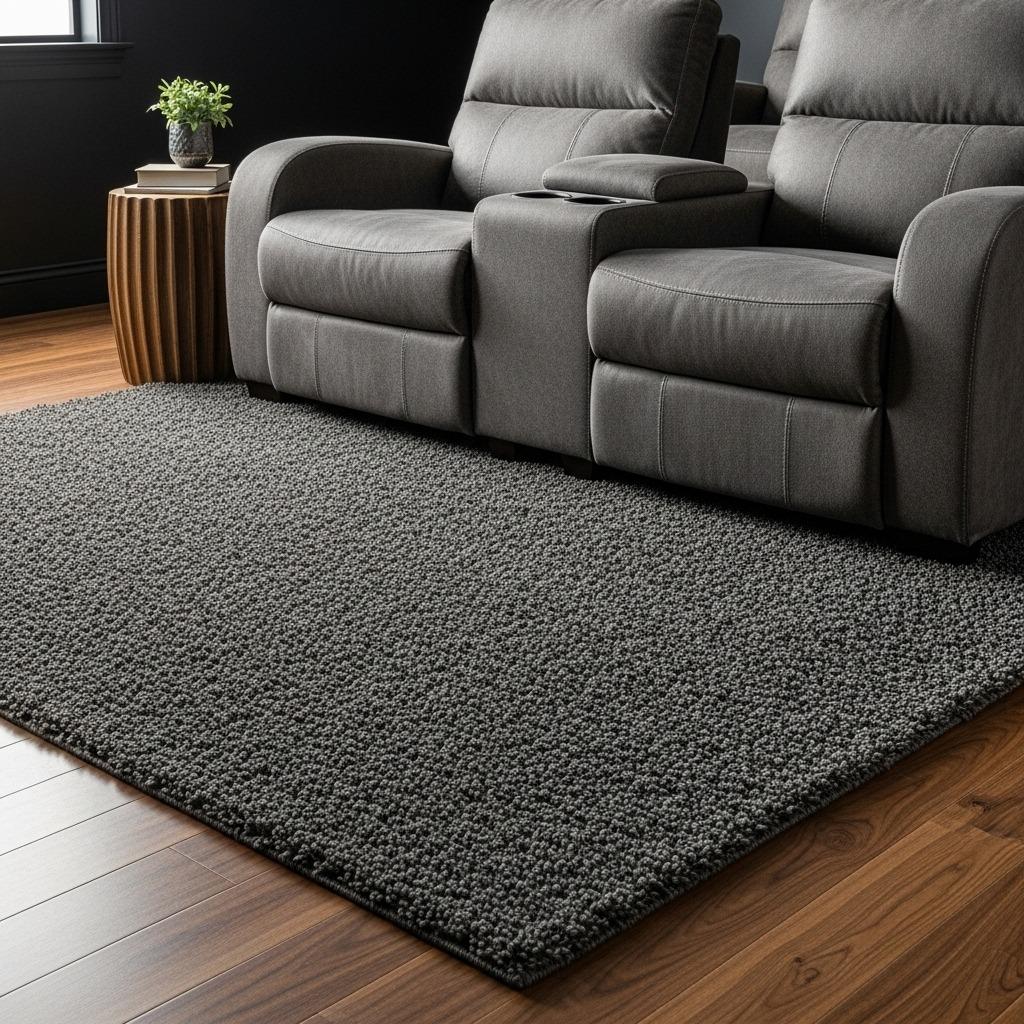
If your theater shares space with other living room functions, area rugs help define the viewing zone visually and acoustically. A thick, plush rug under your seating area absorbs sound and adds comfort underfoot.
Choose a size that allows all your seating pieces to sit on it completely, or at least have front legs on the rug. This anchors the furniture arrangement and signals “this is the theater area” even when the screen is off.
Dark colors or subtle patterns work best – you don’t want the rug competing for attention. But texture matters here. A high-pile rug adds luxury and helps with acoustics by reducing sound bounce off hard floors. It’s functional and feels expensive, which is exactly what you want.
13. Install Floating Shelves for Decor and Storage
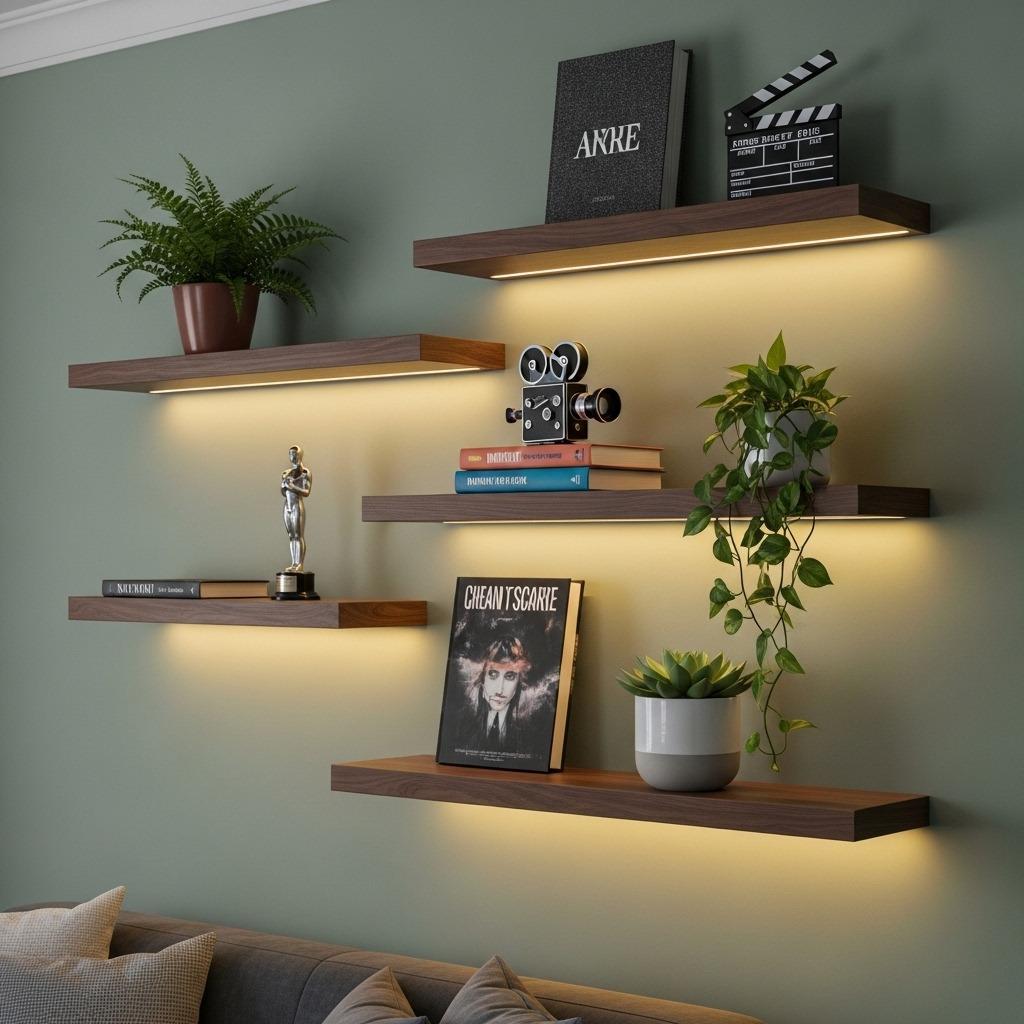
Blank walls around your screen area are an opportunity. Floating shelves add functionality without bulk, giving you space to display movie memorabilia, plants, or books that reinforce the theater style decor vibe.
Keep them simple and streamlined – chunky traditional shelves can feel cluttered. Thin floating shelves in wood or metal tones that match your other fixtures work best. Position them away from the immediate screen area to avoid distraction but within the room’s sightlines.
Use them to store extra remotes, display your Blu-ray collection, or showcase a few choice pieces that reflect your taste. Add small LED puck lights underneath if you want subtle accent lighting. The shelves fill space intentionally and give your theater room personality beyond just equipment.
14. Add Window Treatments That Block All Light
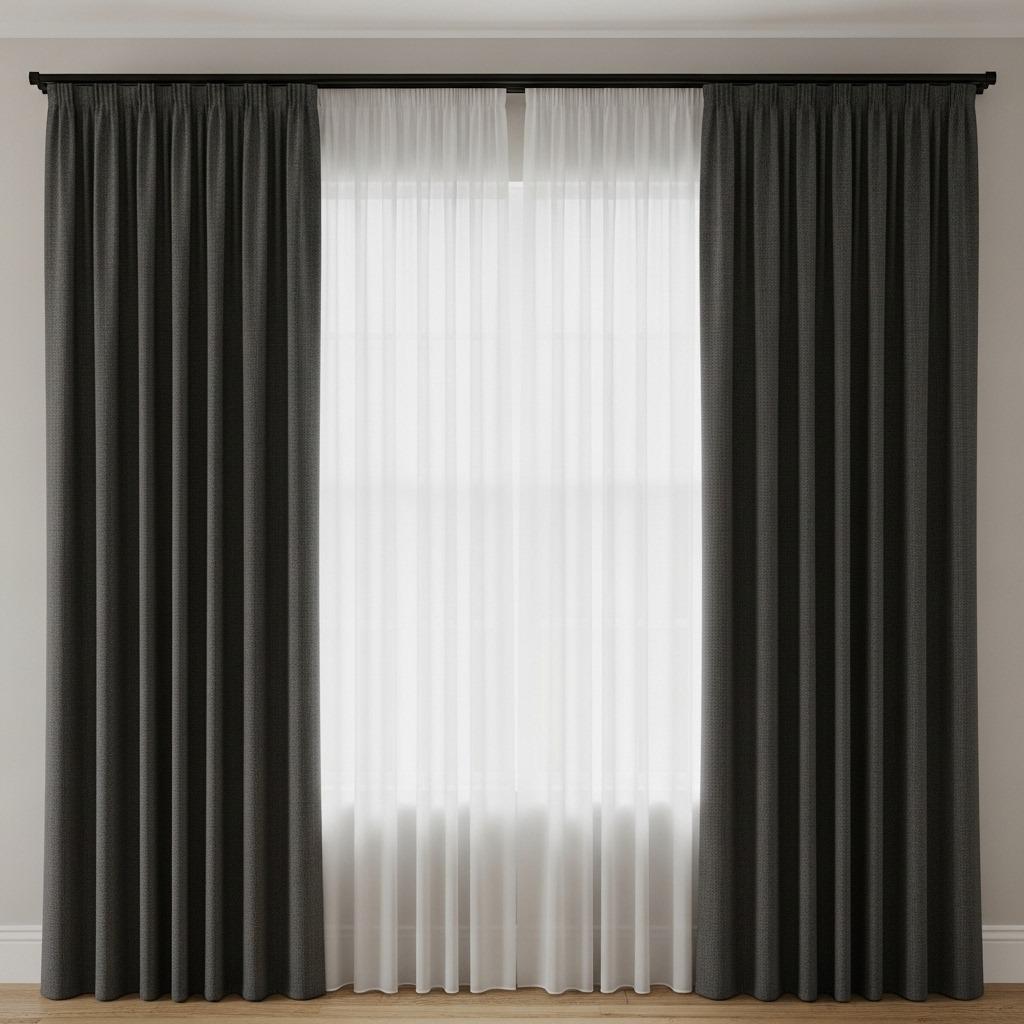
Natural light is great until you’re trying to watch something in the afternoon. Inadequate window treatments can wash out your screen and force you to schedule viewing around the sun.
Blackout curtains or cellular shades that completely seal windows are non-negotiable for serious home theaters. Look for curtains labeled as 100% blackout, not just room darkening – there’s a difference in how much light they block.
Layer them if your room serves multiple purposes. Sheer curtains underneath let in light when you want it, then draw the blackout layer for viewing. Motorized options integrate beautifully with smart home setups, automatically closing when you start a movie and opening when it ends.
15. Include Personal Touches That Reflect Your Style
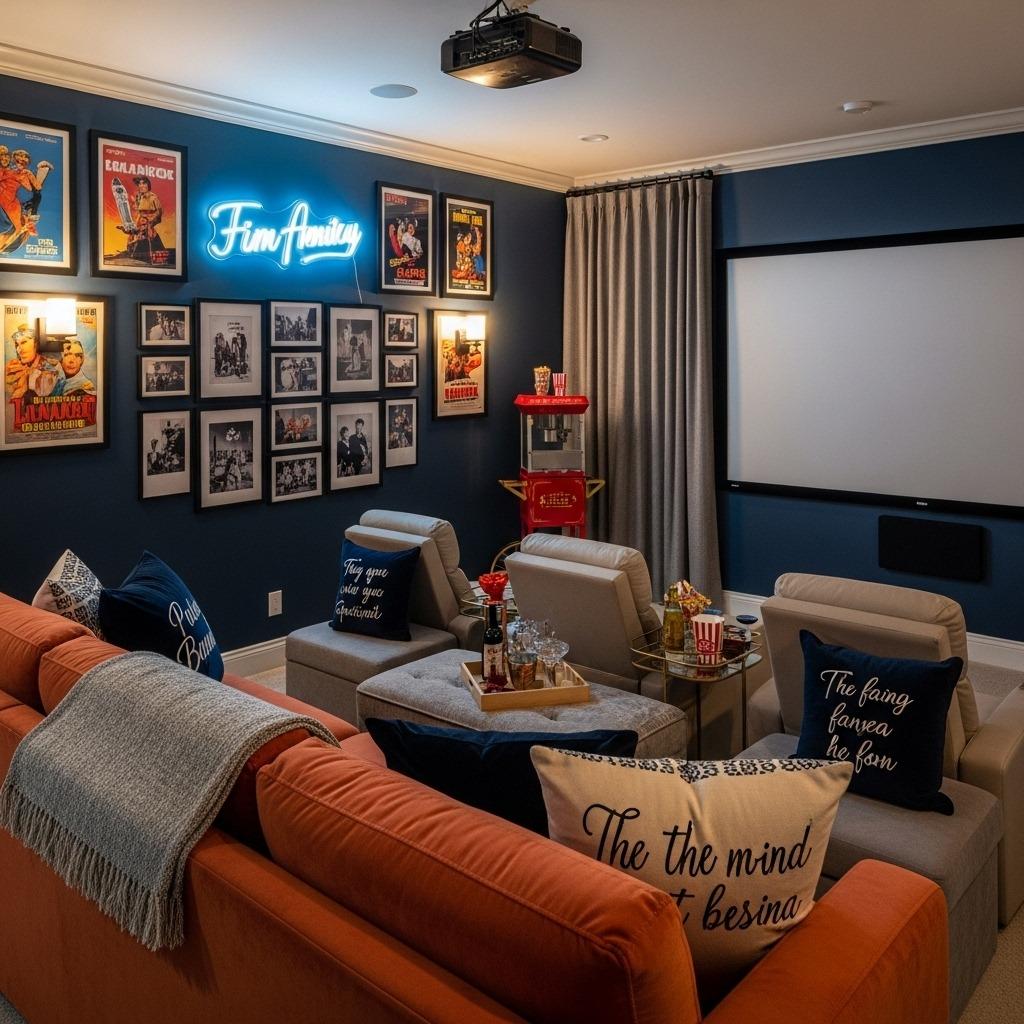
The difference between a generic media room and a luxury theater you love spending time in often comes down to personalization. This is your space – make it reflect what you actually enjoy.
Frame movie posters from films that matter to you, not just what looks cinematic. Commission custom neon signage with your family name or a favorite film quote. Display memorabilia that tells a story – signed DVDs, props, or photos from productions you care about. Check out creative living room gallery wall ideas that can inspire your theater decor.
These touches make the room feel intentional and authentic rather than staged. They give guests conversation starters and make the space uniquely yours. Plus, surrounding yourself with things you love makes every movie night feel a bit more special, which is the entire point of creating a home theater in the first place.
Creating Your Perfect Viewing Sanctuary
Building a home theater in your living room isn’t about copying what commercial cinemas do. It’s about taking the best parts of that experience and blending them with the comfort, style, and personality of your home.
Start with the elements that matter most to you. Maybe it’s incredible sound, or perhaps it’s the seating comfort, or the ability to completely control the environment. Focus your budget and effort there first, then layer in additional details as you go.
The beauty of creating a media lounge setup in your existing living room is that it grows with you. Start with a quality projector and seating, then add acoustic treatments when budget allows. Upgrade your sound system next year. Install those built-ins during your next home improvement phase.
What matters is creating a space where you actually want to spend time. Where Friday nights feel like an occasion. Where rewatching your favorite film feels fresh because the experience itself is so enjoyable. That’s the real luxury – having a place in your home designed entirely around the simple pleasure of watching something you love.

