You’re sitting in your favorite chair, trying to relax after a long day, when suddenly the neighbor’s dog starts barking. Again. Or maybe it’s the traffic noise that never seems to stop, or the sounds from the apartment upstairs that travel straight through your ceiling.
Sound familiar? You’re not alone. More people are searching for ways to create peaceful rooms in their homes, especially as work-from-home setups become permanent and our living spaces need to serve multiple purposes.
The good news? You don’t need a complete renovation or thousands of dollars to make a real difference. Many home soundproofing solutions are surprisingly simple and affordable. Some you can tackle in an afternoon, while others might take a weekend. But each one brings you closer to the quiet, comfortable space you deserve.
Whether you’re dealing with street noise, chatty neighbors, or just want to create a better environment for sleep or concentration, these ideas will help you reclaim your peace. Let’s explore practical ways to reduce unwanted sound and turn your home into the sanctuary it should be.
1. Layer Your Windows with Sound-Dampening Curtains

Windows are basically open invitations for noise to come flooding in. Even with them closed, sound waves pass through glass pretty easily. That’s where heavy, multi-layered curtains come into play.
Look for curtains specifically labeled as “soundproof” or “noise-reducing.” These typically have a tight weave and multiple layers, sometimes with a dense foam core sandwiched between fabric layers. The thickness makes all the difference. I’ve noticed that curtains lighter than 3 pounds per panel rarely do much for sound.
Installation matters too. Mount your curtain rod as close to the ceiling as possible and extend it several inches beyond the window frame on each side. This creates a better seal around the entire window area. When closed, make sure the curtains overlap in the middle and touch the floor. Those gaps at the top, sides, and bottom? They’re sound leaks waiting to happen.
If you’re working on affordable home upgrades, this is one of the most cost-effective noise reduction hacks you’ll find. Plus, these curtains have the bonus effect of improving insulation and blocking light for better sleep.
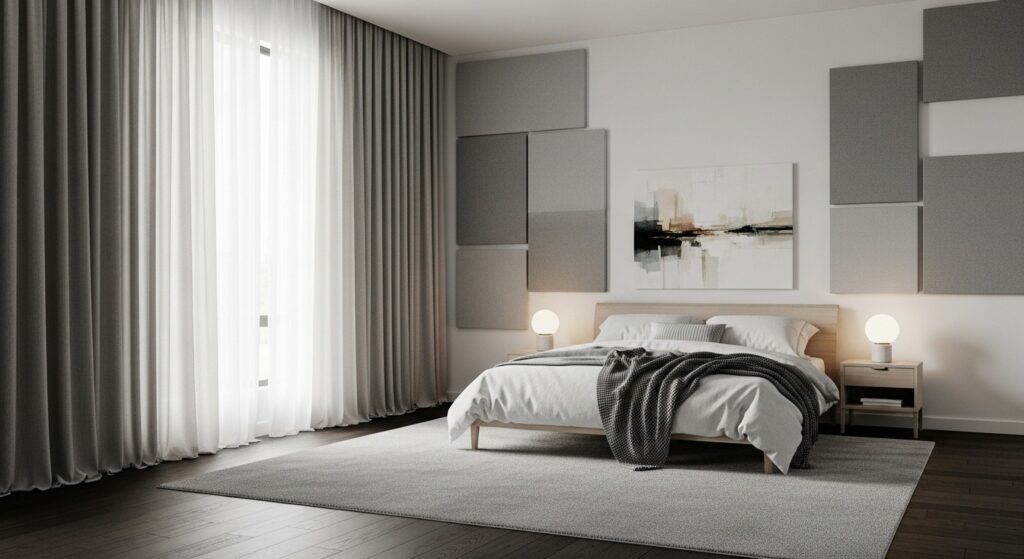
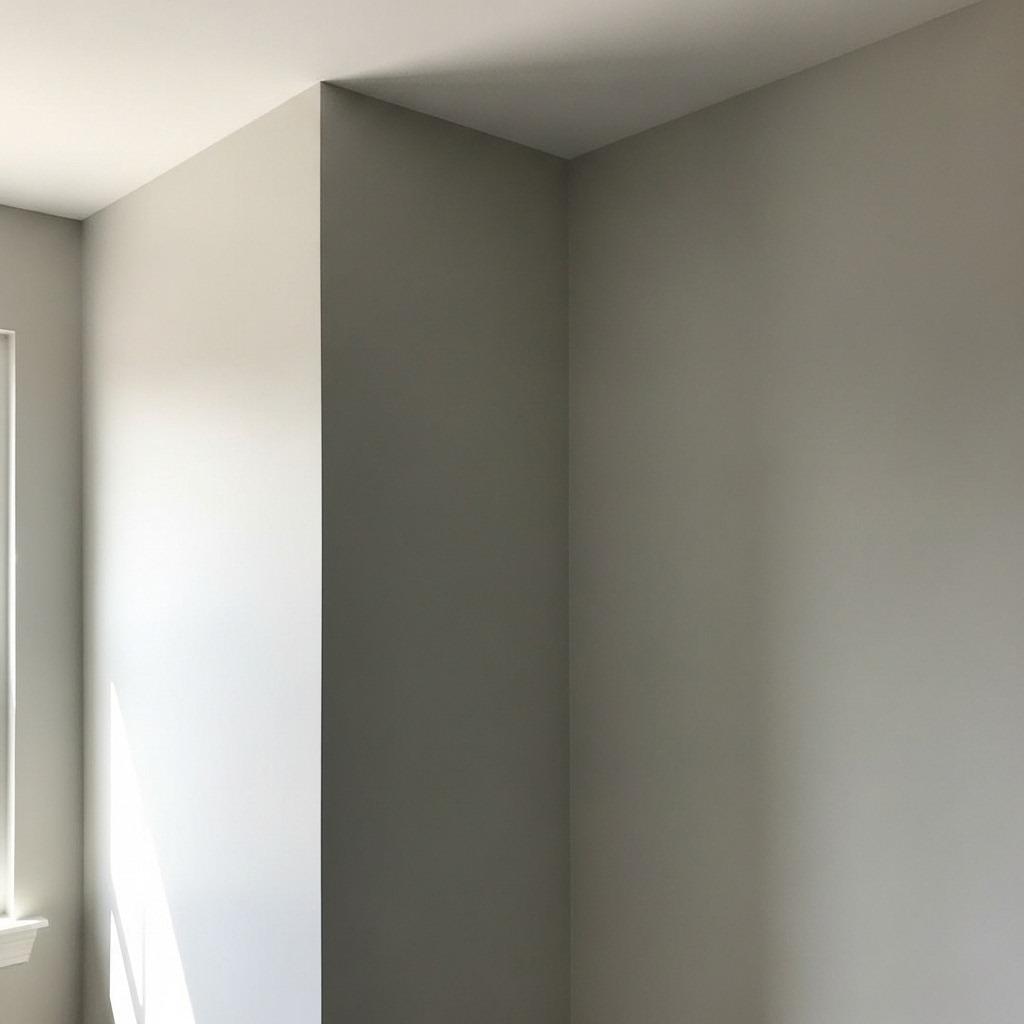
2. Add Mass to Your Walls with Acoustic Panel

Thin walls are the enemy of peace and quiet. Sound travels easily through them, especially in newer construction where drywall might be the only thing separating you from your neighbors. Adding mass helps absorb and block sound waves before they enter your space.
Acoustic panels aren’t just for recording studios anymore. Modern versions come in gorgeous designs that double as wall art. You can find fabric-wrapped panels in various colors and shapes, or even create your own using acoustic foam and your favorite fabric. Some people arrange them in patterns to make a statement while solving their noise problem.
For maximum effectiveness, cover about 15-20% of your wall surface with acoustic treatment. Focus on the wall where noise enters, but also consider adding panels to the wall opposite it. This prevents sound from bouncing around the room. The density of the material matters more than thickness, so look for panels with a high Noise Reduction Coefficient (NRC) rating.
If you’re already planning other home improvement ideas, this is a smart addition that won’t disrupt your aesthetic. Many panels now look so good you’d never guess they’re functional.
3. Seal Every Gap and Crack You Can Find
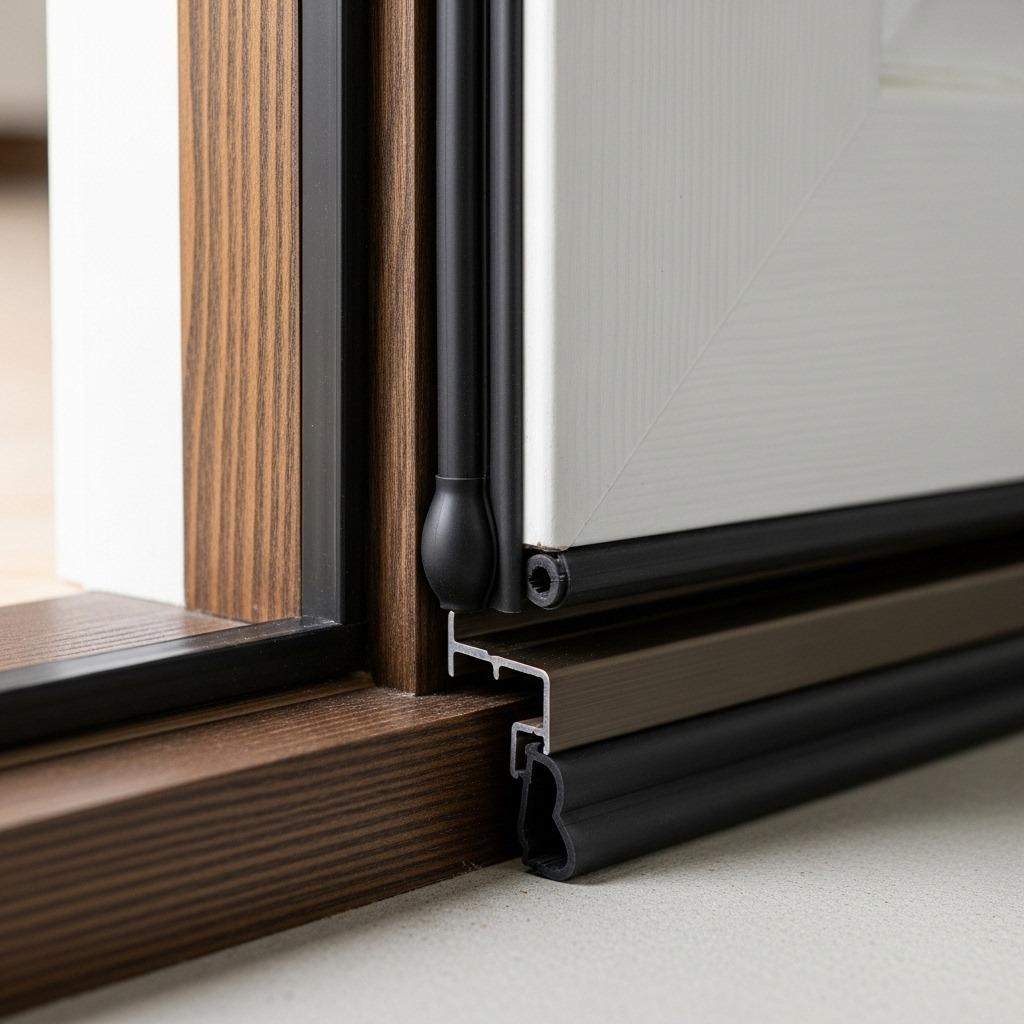
Here’s something that surprised me: even tiny gaps can undermine all your other soundproofing efforts. Sound is sneaky. It finds every possible path into your space, and those gaps under doors or around window frames are like highways for noise.
Start with your doors. That gap at the bottom? Install a door sweep or draft stopper. They’re inexpensive and make an immediate difference. For the sides and top of the door frame, use weatherstripping tape. The foam kind works well for irregular gaps, while rubber or silicone strips create a tighter seal on smooth surfaces.
Windows need attention too. Check for gaps between the window frame and the wall, then seal them with acoustic caulk. Regular caulk hardens and cracks over time, but acoustic caulk stays flexible and maintains its seal. Don’t forget about electrical outlets on exterior walls. Special acoustic outlet covers or even just outlet insulators can help.
This might be the least glamorous home soundproofing solution on this list, but it’s one of the most effective. Think of it as the foundation that makes everything else work better.
4. Install a Second Layer of Drywall with Green Glue
When you really need to soundproof walls effectively, adding a second layer of drywall with a sound-dampening compound between the layers works wonders. This is more involved than other solutions, but the results are substantial.
Green Glue (or similar acoustic compounds) is a viscoelastic material that converts sound energy into small amounts of heat. You apply it between two layers of drywall, and it stays flexible rather than hardening like construction adhesive. This flexibility is key – it dissipates sound vibrations instead of transferring them through the wall.
The process involves applying Green Glue to new drywall sheets in a specific pattern, then installing those sheets over your existing drywall. You’ll need at least two tubes per 4×8 sheet for proper coverage. This adds both mass and a damping layer, addressing sound transmission in two ways.
This approach works especially well in bedroom ideas where creating a quiet sleep environment is essential. Yes, it’s more expensive and time-consuming than other options, but if noise is seriously affecting your quality of life, it’s worth considering.
5. Use Area Rugs and Padding to Absorb Impact Noise

Hard flooring looks beautiful, but it’s terrible for sound control. Every footstep, dropped item, or moved chair creates noise that travels through floors and ceilings. Area rugs with quality padding underneath can dramatically reduce this impact noise.
The secret is in the padding more than the rug itself. Look for thick, dense rug pads specifically designed for sound absorption. Memory foam pads work exceptionally well, as do felt pads or combination rubber-felt pads. The thicker and denser, the better. Avoid those thin, mesh-like pads that only keep rugs from sliding.
For best results, cover as much hard flooring as possible while still maintaining your room’s aesthetic. In living room ideas, a large area rug that extends under most of your furniture creates both visual cohesion and effective sound dampening. The same goes for bedrooms and dining areas.
This solution is especially important if you live in an apartment or condo. Your downstairs neighbors will thank you. According to the Acoustical Society of America, proper rug and pad combinations can reduce impact noise transmission by 20-30 decibels.
6. Replace Hollow Core Doors with Solid Options
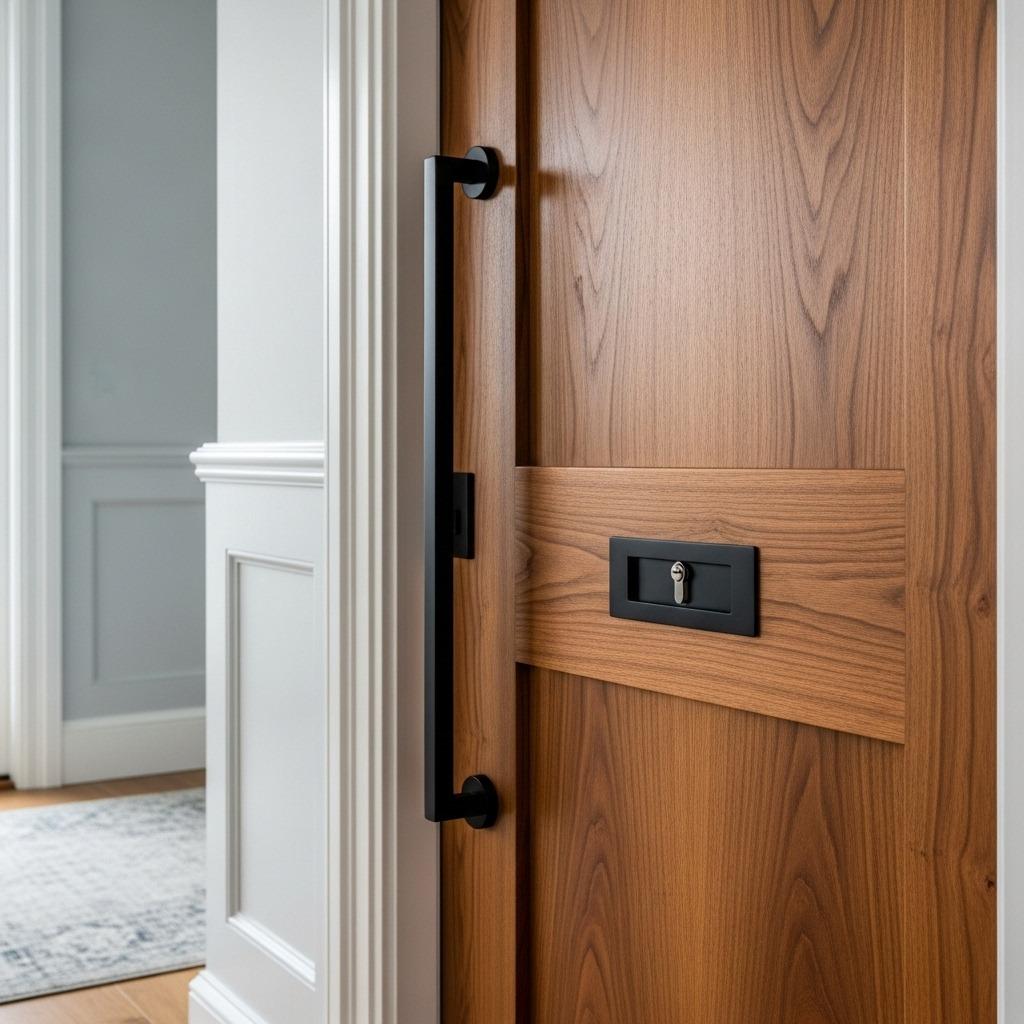
Most interior doors in modern homes are hollow core – basically cardboard honeycomb sandwiched between two thin panels. They’re lightweight and cheap, which is great for builders but terrible for sound control. These doors might as well be paper when it comes to blocking noise.
Solid core doors are heavier and denser, providing significantly better sound insulation. You don’t necessarily need solid wood doors (though they’re lovely). Solid core doors made with composite materials or medium-density fiberboard work well and cost less than solid wood options.
The weight difference is noticeable – solid core doors typically weigh 60-80 pounds compared to 20-30 pounds for hollow core. This extra mass blocks sound rather than allowing it to pass through. The improvement is especially dramatic for bedrooms, home offices, and bathroom ideas where privacy matters.
Don’t forget to pair your new door with the sealing techniques mentioned earlier. Even a solid door won’t help much if sound sneaks around the edges. The combination of a dense door and proper sealing creates a real barrier against noise.
7. Create a Sound Barrier with Bookshelves

Here’s a home soundproofing solution that’s both functional and attractive: strategic bookshelf placement. Books are dense and irregular, which makes them excellent at absorbing and diffusing sound. A full bookshelf creates significant mass that blocks sound transmission.
Place tall, heavy bookshelves against walls where noise enters your space. Fill them completely – empty shelves won’t help much. Mix up the book sizes and orientations to create an irregular surface that breaks up sound waves. This works especially well for shared walls in apartments or for walls facing busy streets.
For bonus points, add decorative items with different textures between books. Ceramics, boxes, and fabric items all contribute to sound absorption in different ways. The varied surfaces prevent sound from bouncing cleanly off the wall.
This approach works beautifully in living rooms, home office remodel projects, or anywhere you want both soundproofing and storage. It’s one of those solutions that makes your space more livable in multiple ways.
8. Hang Tapestries or Quilts on Problematic Walls

Fabric on walls might seem old-fashioned, but it’s incredibly effective for sound absorption. Heavy tapestries, quilts, or even moving blankets add texture and mass while dampening sound reflections within a room.
The key is using thick, textured fabrics with some weight to them. Thin decorative tapestries won’t do much. Look for heavyweight woven pieces, quilts with batting, or even acoustic blankets designed for soundproofing. The texture helps trap sound waves, while the mass blocks transmission.
Hang your fabric pieces on the wall where noise enters, leaving a small air gap between the fabric and the wall if possible. This creates an additional buffer zone. You can hang multiple pieces to create an artistic collage effect while covering more surface area.
This solution fits perfectly with bohemian tapestry decorating styles, but you can adapt it to any aesthetic by choosing appropriate fabrics. It’s temporary, rental-friendly, and you can change it whenever you want a new look.
9. Install Weatherstripping Around Noisy HVAC Vents
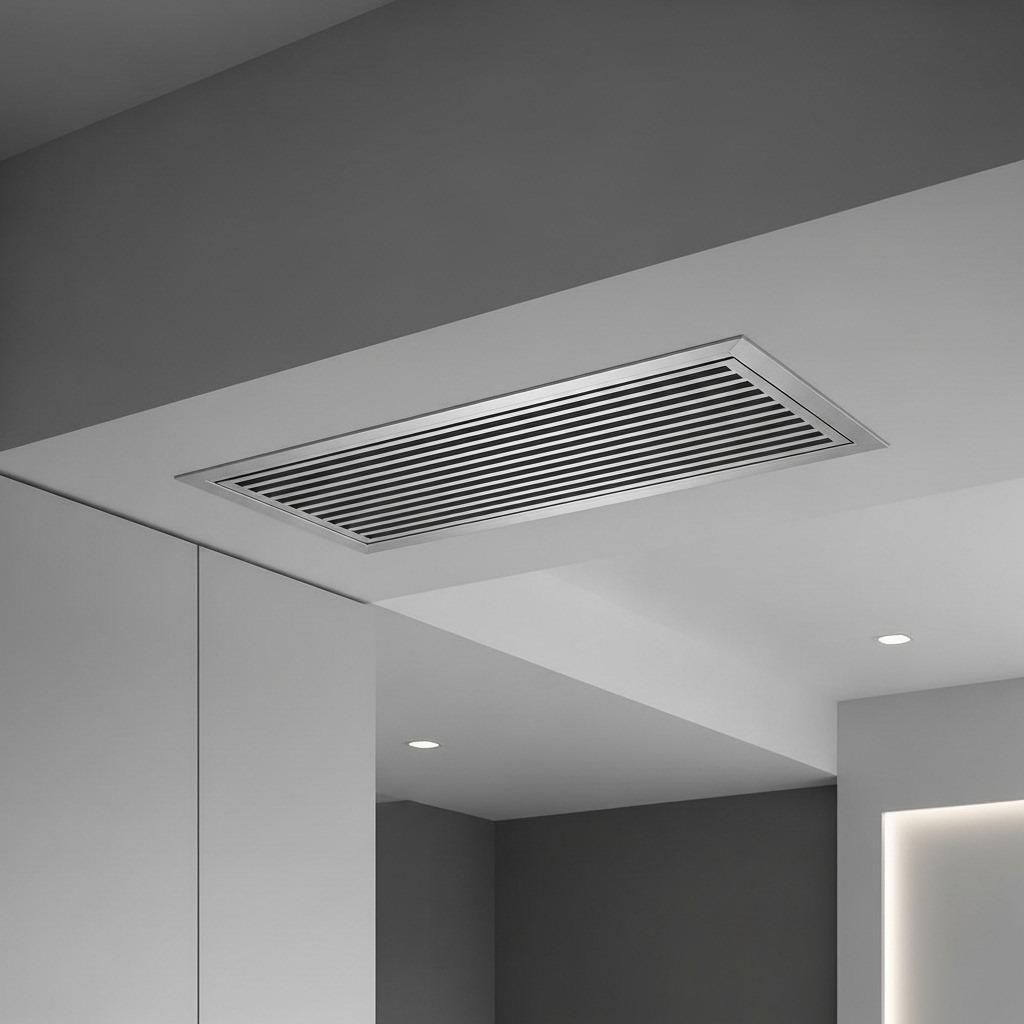
HVAC vents and ductwork can be major sound highways in your home. Sound travels easily through air ducts, carrying conversations and noise from room to room or even from other apartments. While you can’t block vents completely, you can reduce noise transmission.
Install weatherstripping or acoustic foam around the edges of vent covers to minimize vibration and reduce the gap where sound escapes. For cold air returns and other non-essential vents, consider acoustic vent covers designed specifically for soundproofing. These have baffles or foam that allow air to pass while disrupting sound waves.
For more aggressive soundproofing, you can line the inside of short duct runs with acoustic duct liner. This is easier to do with exposed ductwork in basements or attics. The liner absorbs sound traveling through the ducts while still allowing proper airflow.
This is a noise reduction hack that people often overlook because vents seem unchangeable. But addressing them can eliminate annoying instances where you hear every word from the room next door.
10. Add Soft Furnishings Throughout Your Space
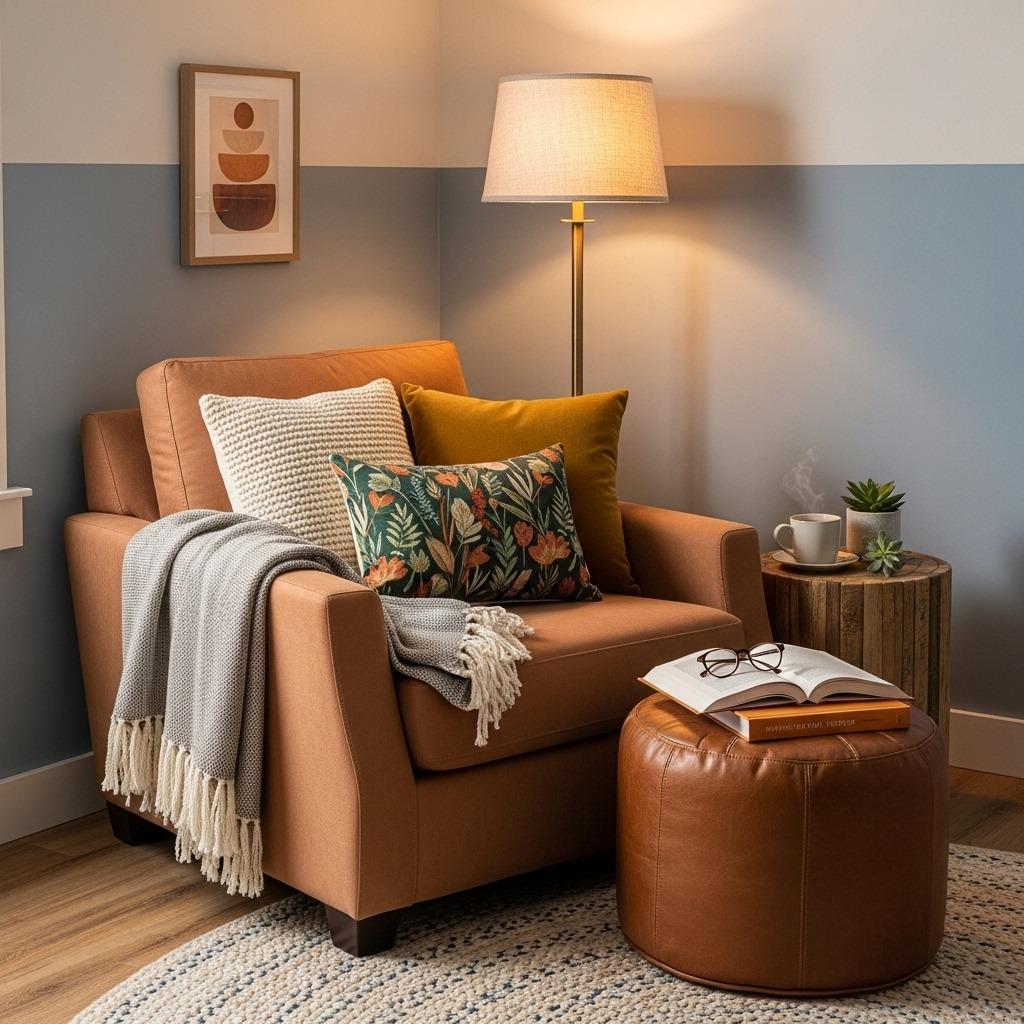
Sometimes the simplest solutions make the biggest difference. Hard, empty rooms echo and amplify every sound. Soft furnishings absorb sound and create a quieter, more comfortable atmosphere without any special soundproofing products.
Think about adding upholstered furniture instead of leather or wood pieces. Include plenty of throw pillows and blankets. Hang fabric Roman shades in addition to your soundproofing curtains. Place an upholstered bench at the foot of your bed. Each soft surface helps absorb sound reflections and reduces overall noise levels.
Don’t forget about fabric lampshades, upholstered headboards, and even wall-mounted fabric panels that look like art. In cozy small living room designs, layering soft textures serves double duty – creating both comfort and better acoustics.
This approach won’t block sound from entering your home, but it significantly reduces echo and makes the space feel calmer. When combined with other soundproofing methods, it creates the peaceful rooms you’re looking for.
11. Consider Resilient Channel Installation for Serious Projects
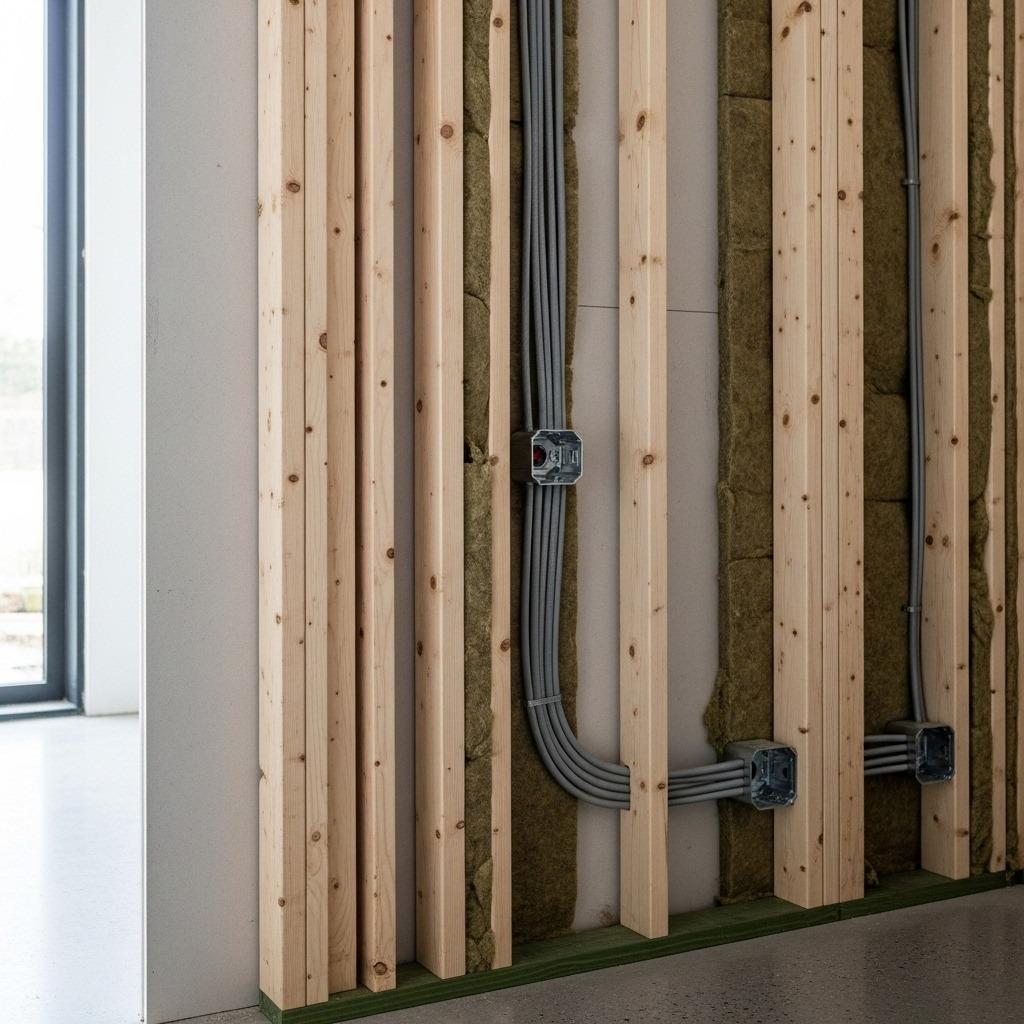
For serious sound problems, resilient channel installation offers professional-grade results. This metal channel system creates a decoupling effect between your existing wall or ceiling and the new drywall layer you’ll install over it.
The channels attach to studs or joists with special clips that allow the channel to “float” slightly. New drywall attaches only to the channels, not directly to the framing. This breaks the direct connection that allows sound vibrations to travel through walls and ceilings. The small gaps and isolation points dissipate sound energy before it can transfer through.
Installation requires some construction knowledge, but it’s doable for confident DIYers. The key is following manufacturer instructions precisely – proper installation technique makes all the difference. When combined with sound-dampening insulation in the wall cavity, resilient channel can reduce sound transmission by 10-15 decibels.
This level of intervention makes sense for diy home renovation ideas where you’re already opening up walls. It’s probably overkill for minor noise issues, but if you share walls with neighbors who host band practice, it might be exactly what you need.
Choosing the Right Combination for Your Home
Not every home needs every solution on this list. Start by identifying where noise enters your space and what kind of sound you’re dealing with. Impact noise (footsteps, bumps) requires different treatment than airborne sound (voices, music).
For most people, a combination approach works best. Maybe you start with sealing gaps and adding heavy curtains, then see how much improvement you get. If you need more, add acoustic panels or rugs. The beauty of many home soundproofing solutions is that they’re incremental – you can add them over time as budget and time allow.
Think about your lifestyle too. If you rent, focus on temporary solutions like curtains, rugs, and furniture placement. Homeowners can consider more permanent options like additional drywall or door replacement. Either way, creating peaceful rooms is within reach.
The difference between a noisy house and a quiet sanctuary often comes down to these practical steps. You deserve to feel comfortable and relaxed in your own space, without constant intrusion from outside noise. Start with one or two solutions that fit your situation, and you’ll be amazed at how much better your home feels.

