Your floors do more work than you think. They tie rooms together, set the mood, and take a beating from daily life. But when they start looking worn or dated, your entire space can feel tired – no matter how much you’ve invested in furniture or wall color.
Here’s something I’ve learned from years of decorating: you don’t need a full floor replacement to create that “wow” moment. Sometimes the smartest flooring refresh ideas involve working with what you already have, adding clever layers, or making strategic updates that deliver maximum visual impact.
Whether you’re dealing with scratched hardwood, boring tile, or carpet that’s seen better days, these 17 ideas will help you reimagine your floors without the stress of a major renovation. Some take a weekend, others just an afternoon. All of them prove that the right floor update can completely transform how a room feels.
1. Paint and Stencil Existing Tile
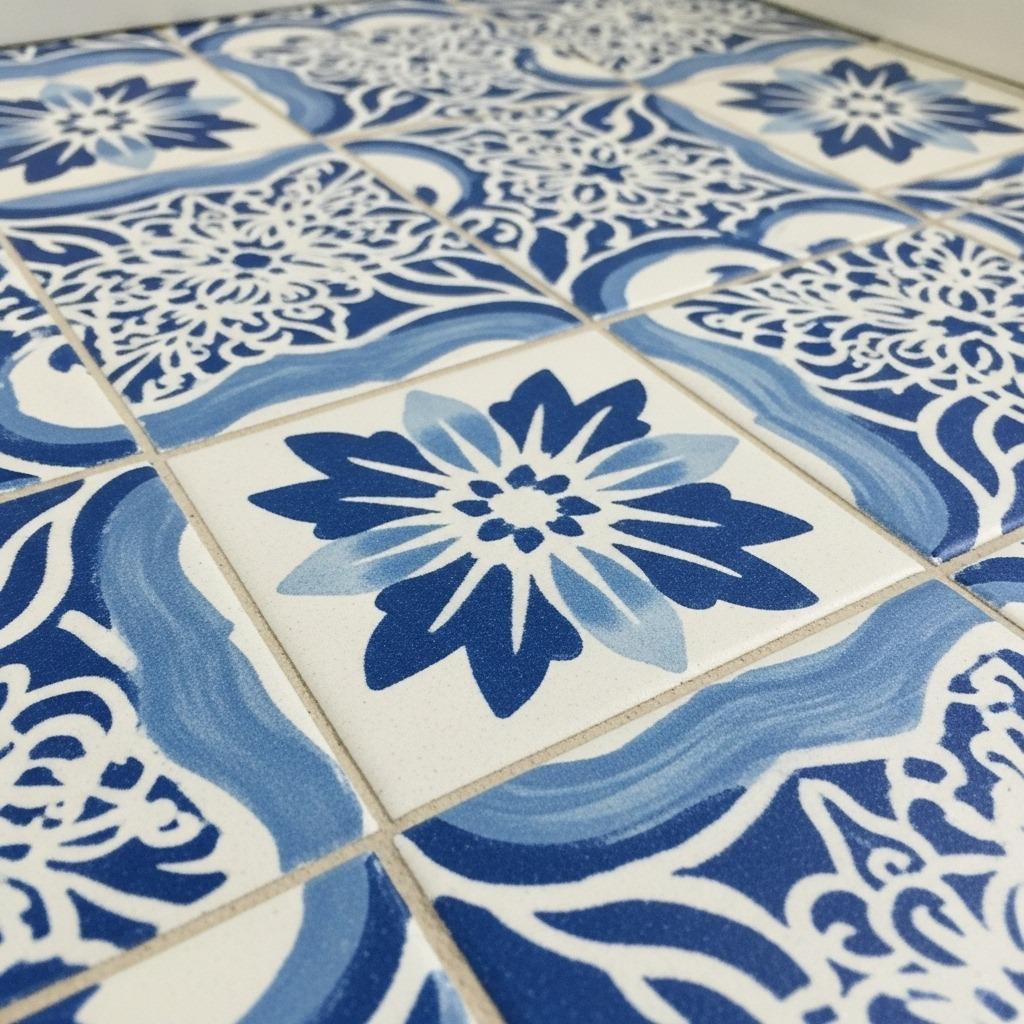
Outdated tile doesn’t have to mean ripping everything out. A coat of specialized tile paint can work absolute magic on old bathroom or kitchen floors. I’ve seen beige tile from the ’90s transform into crisp white subway-style squares that look like a professional install.
The key is proper prep work – cleaning, light sanding, and using a bonding primer made for tile surfaces. Once that’s done, you can paint a solid color or get creative with stencils. Geometric patterns, Moroccan designs, or even a simple two-tone checkerboard can completely change the character of a space.
Seal everything with a durable polyurethane finish designed for floors. This isn’t just decorative – with the right products and technique, painted tile can hold up surprisingly well to everyday traffic. It’s one of those affordable home upgrades that delivers results way beyond its modest cost.
2. Layer Area Rugs Strategically
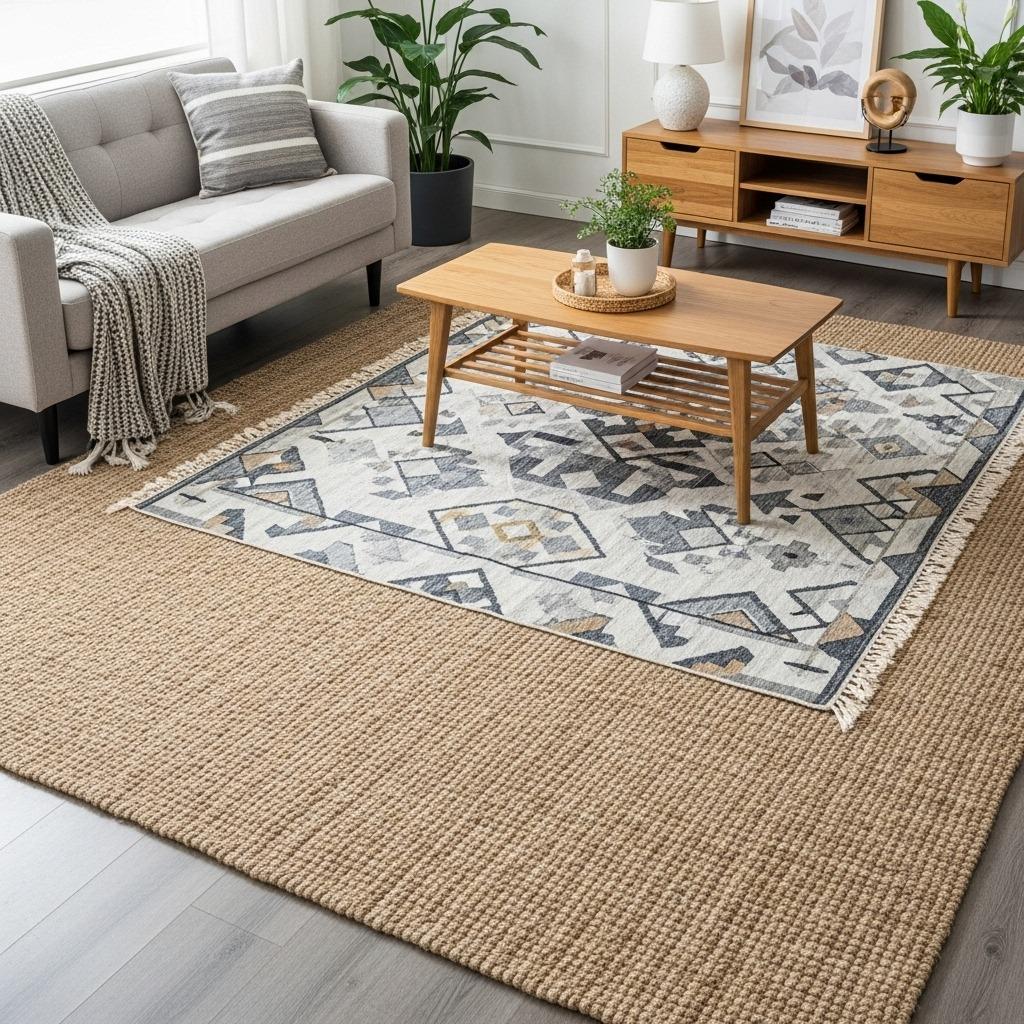
Area rugs aren’t just floor coverings – they’re design tools that can section off spaces, add warmth, and hide problem areas in your existing flooring. The trick is thinking beyond the standard “one rug per room” approach.
Try layering a smaller patterned rug over a larger neutral one for depth and texture. This works beautifully in living room ideas where you want to define a conversation area without overwhelming the space. Or use runner rugs to create visual pathways that draw the eye through open floor plans.
In rooms with damaged flooring you’re not ready to replace, strategic rug placement becomes both practical and decorative. Choose rugs that complement your overall style – a vintage Persian for traditional spaces, a geometric flatweave for modern rooms, or a plush shag for cozy bedroom ideas.
3. Install Peel-and-Stick Vinyl Planks
Peel-and-stick vinyl has come so far that it’s become one of the most popular low-cost flooring upgrades out there. Today’s options mimic wood, stone, and tile with impressive realism, and installation is genuinely DIY-friendly.
These planks work over most existing floors – tile, vinyl, even concrete. You can transform a rental bathroom or update a basement without permanent changes. The adhesive backing means no messy glue, and if you make a mistake, you can usually pull it up and reposition.
I’ve used these in several spaces, and the waterproof varieties are perfect for kitchens and bathrooms. Look for thicker options (around 5mm) for better durability and a more substantial feel underfoot. The installation goes fast – most people can do a small room in a day.
4. Refinish Hardwood Floors Yourself
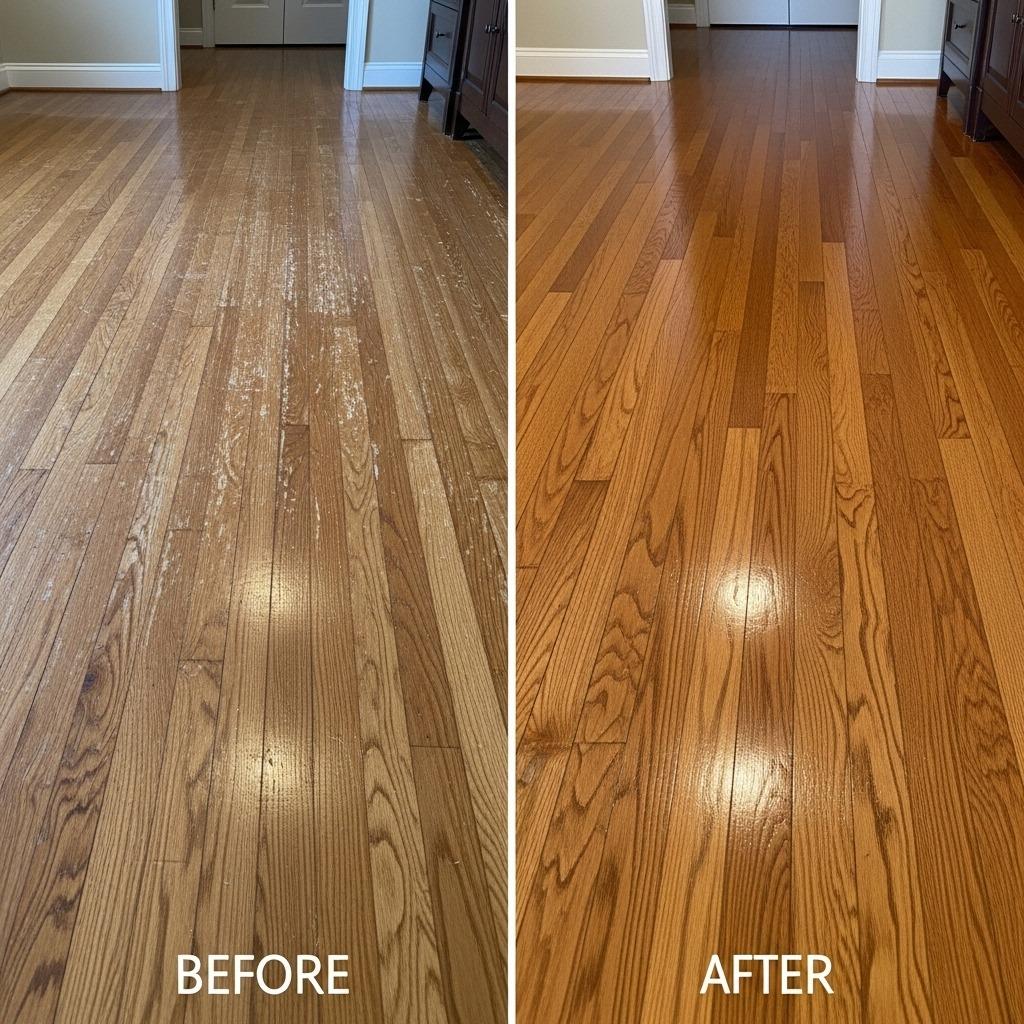
If you have hardwood hiding under worn finish, refinishing brings back that natural beauty without replacing anything. Renting a floor sander seems intimidating, but the process is more manageable than you’d think – especially for DIY home renovation ideas.
Start with the coarsest sandpaper to remove the old finish and any surface damage, then work through finer grits for a smooth surface. The sanding creates dust (lots of it), so seal off the room and plan for cleanup. But seeing the fresh wood emerge makes it worthwhile.
After sanding comes the fun part – choosing your stain color and finish. You could go natural to highlight the wood grain, try a trendy gray tone, or even experiment with whitewashing for a Scandinavian vibe. Three coats of polyurethane protect your work and create that professional shine.
5. Add a Fresh Coat of Deck Stain
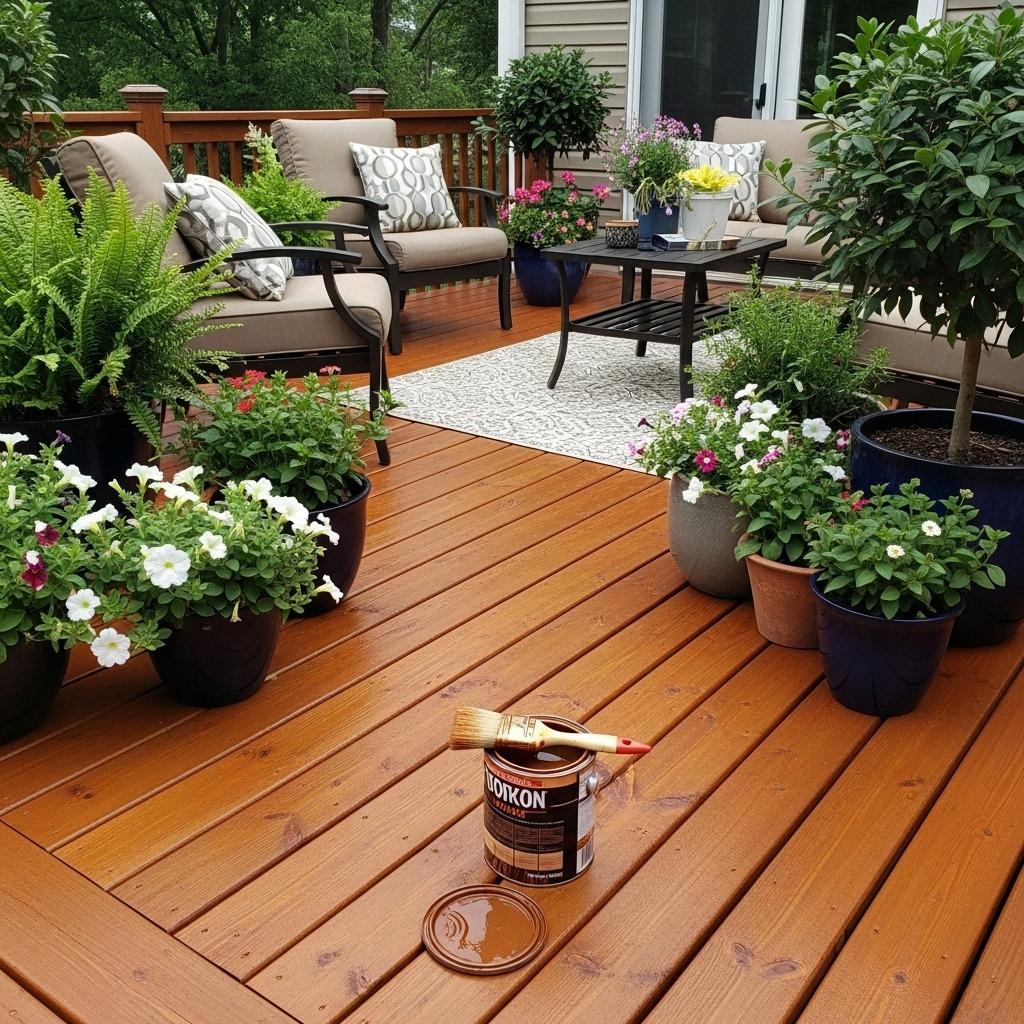
Outdoor spaces need love too. A deck that’s weathered and gray won’t invite anyone to step outside, but fresh stain changes everything. This is one of those weekend projects that makes your whole house feel more cared for.
Clean the deck thoroughly first – pressure washing works wonders for removing dirt and old stain. Let it dry completely (usually a few days), then apply your chosen stain. Transparent stains show off the wood grain, semi-transparent adds color while showing texture, and solid stains work like paint for dramatic color changes.
The difference is immediate and impressive. A freshly stained deck extends your living space and boosts curb appeal. Pair this update with some outdoor plant arrangement ideas for a complete backyard refresh.
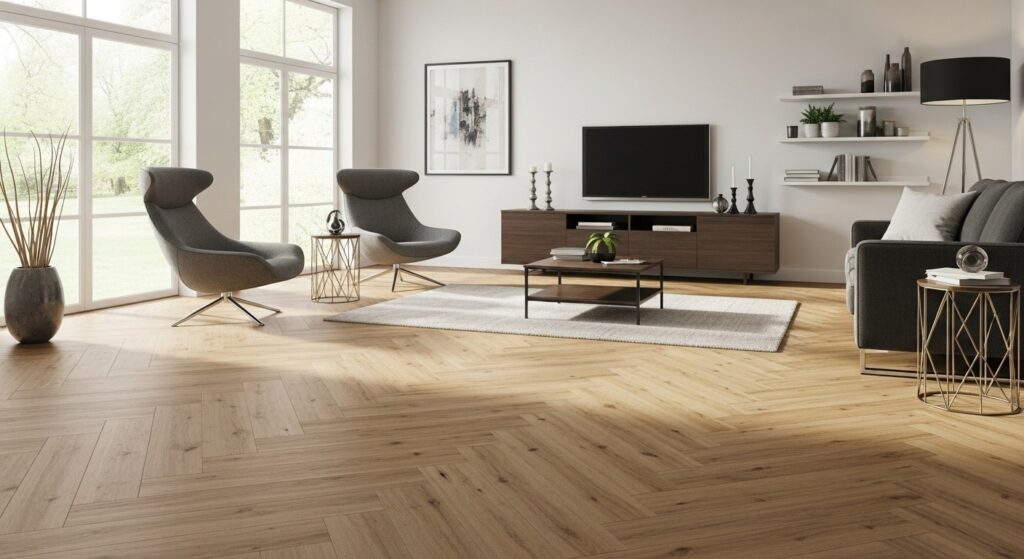
6. Create Pattern with Luxury Vinyl Tile
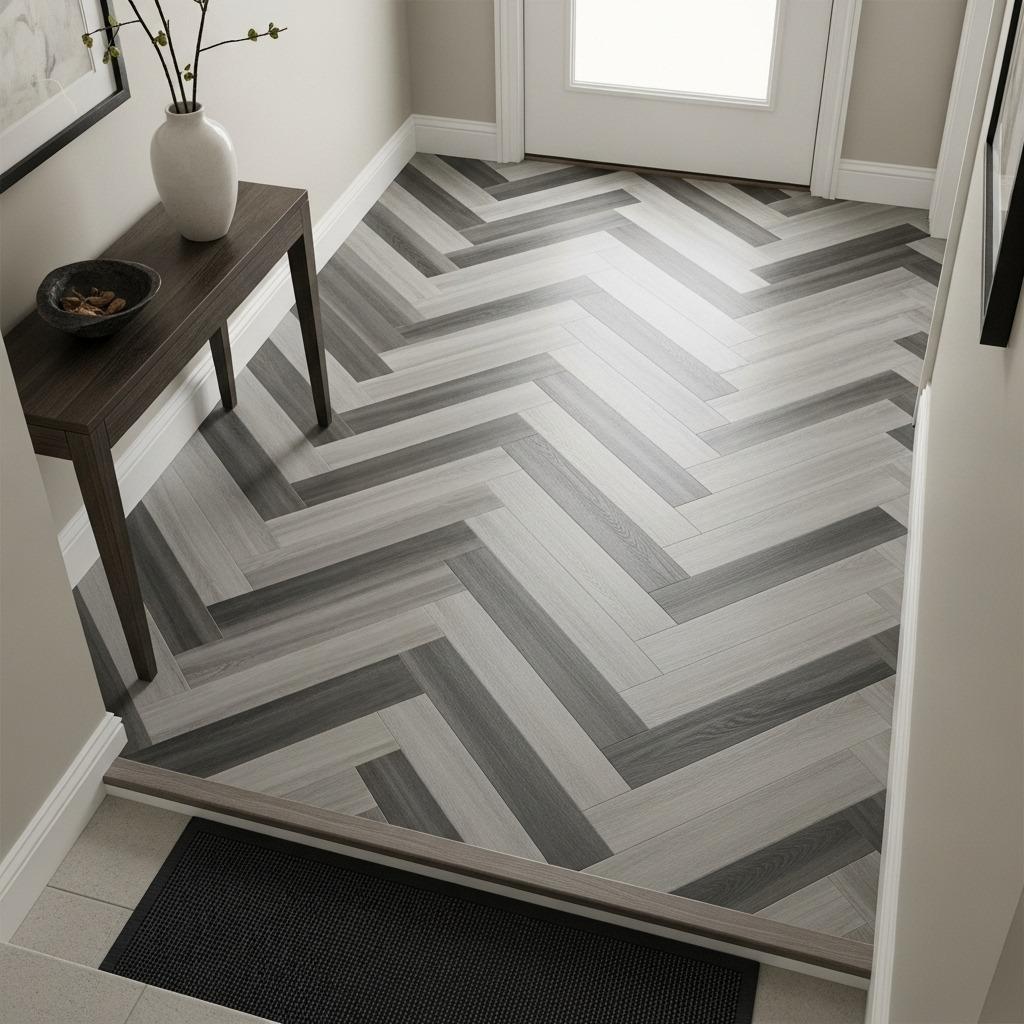
Luxury vinyl tile gives you the look of ceramic or stone without the cold, hard feel or difficult installation. But here’s where it gets interesting – you can arrange these tiles in patterns that add serious design impact to your floors.
Try a herringbone layout for a sophisticated look, or go with a classic checkerboard in contrasting colors. A basketweave pattern works beautifully in kitchen and dining ideas, while hexagonal tiles create modern visual interest in bathrooms.
The beauty of working with LVT is that you can mix colors and finishes to create custom patterns. Maybe alternate matte and glossy tiles, or combine different shades of gray for a subtle ombre effect. Planning the pattern takes time, but the installation itself is straightforward.
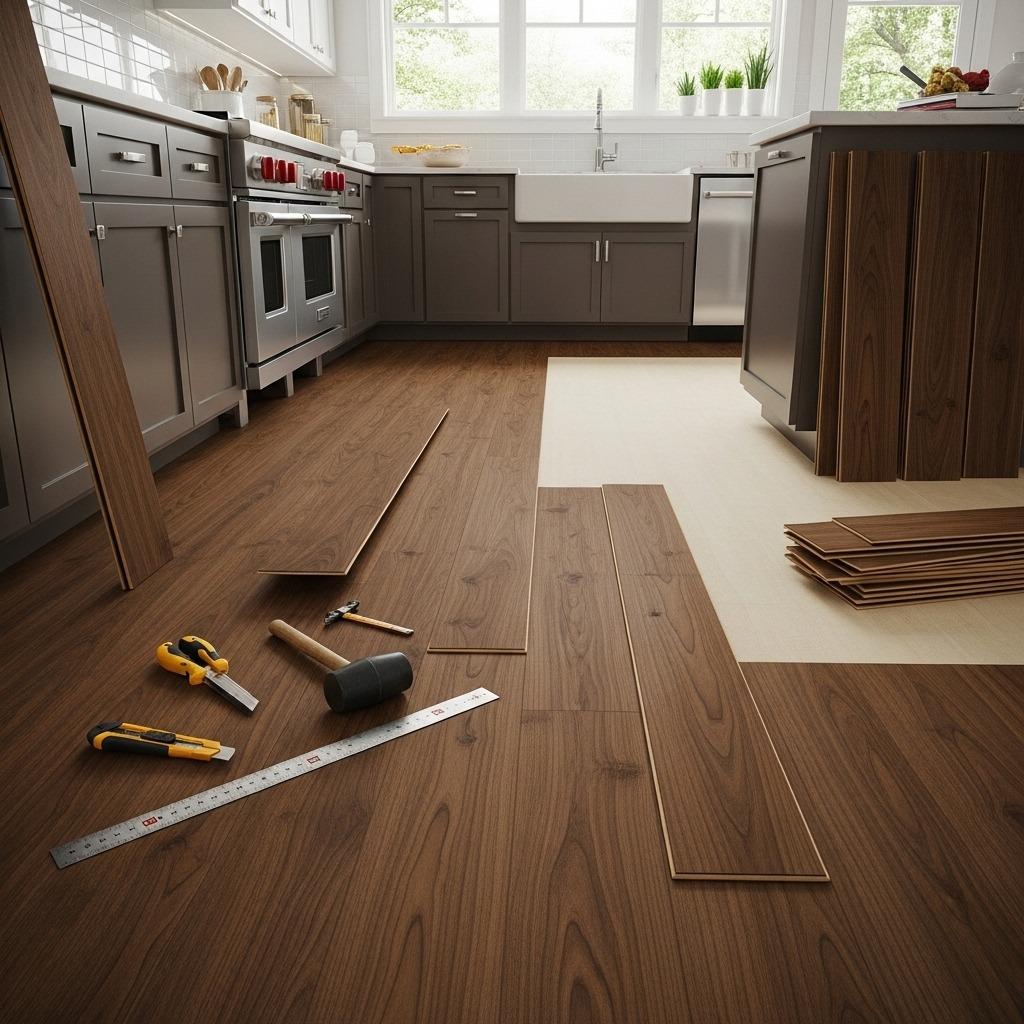
7. Install Laminate Flooring

Laminate flooring has gotten a bad rap in the past, but modern options rival hardwood in appearance while offering superior durability. The floating floor installation makes this a realistic DIY flooring project for motivated homeowners.
Today’s laminate comes in countless wood-look options, plus stone and tile patterns. The wear layer protects against scratches and fading, making it perfect for high-traffic areas or homes with pets. Most laminate is also water-resistant (though not waterproof like vinyl), which expands where you can use it.
The click-lock installation system means pieces snap together without glue or nails. You’ll need an underlayment for sound absorption and a slight moisture barrier, but these come in easy roll-out formats. A small space renovation becomes much more manageable with laminate’s quick install time.
8. Whitewash or Paint Wood Floors
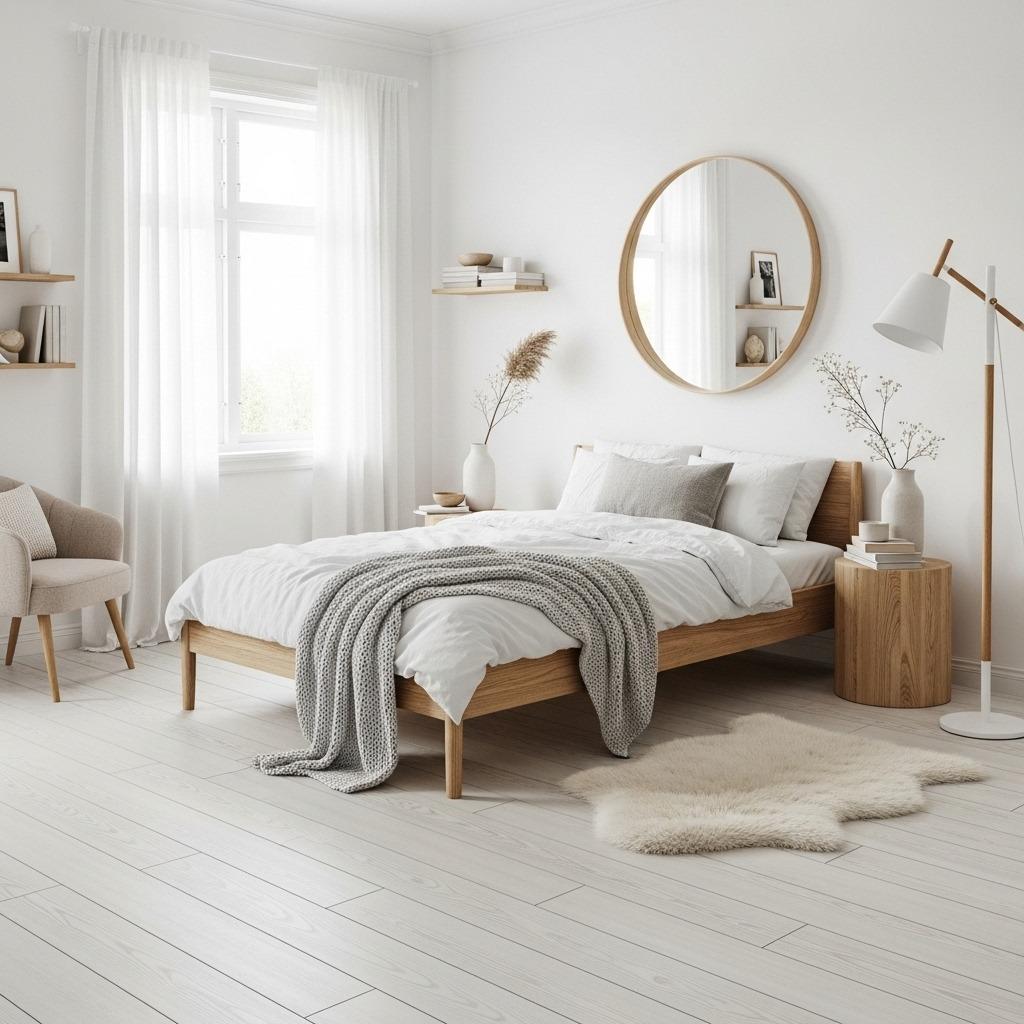
If you love your hardwood but want a lighter, more modern look, whitewashing or painting offers a dramatic refresh. This technique works especially well for creating that Scandinavian or coastal aesthetic.
Whitewashing allows the wood grain to show through while lightening the overall tone. Mix white paint with water (about 1:3 ratio), apply it with a brush or cloth, then wipe away excess before it dries. You control the opacity – more wiping means more grain visibility.
Painting floors solid white (or any color) makes a bolder statement. Proper prep and quality porch and floor paint ensure durability. I’ve seen stunning results with soft grays, creamy whites, and even navy blues in small spaces. Just remember that lighter colors will show wear faster, so plan for touch-ups.
9. Try Cork Flooring Tiles
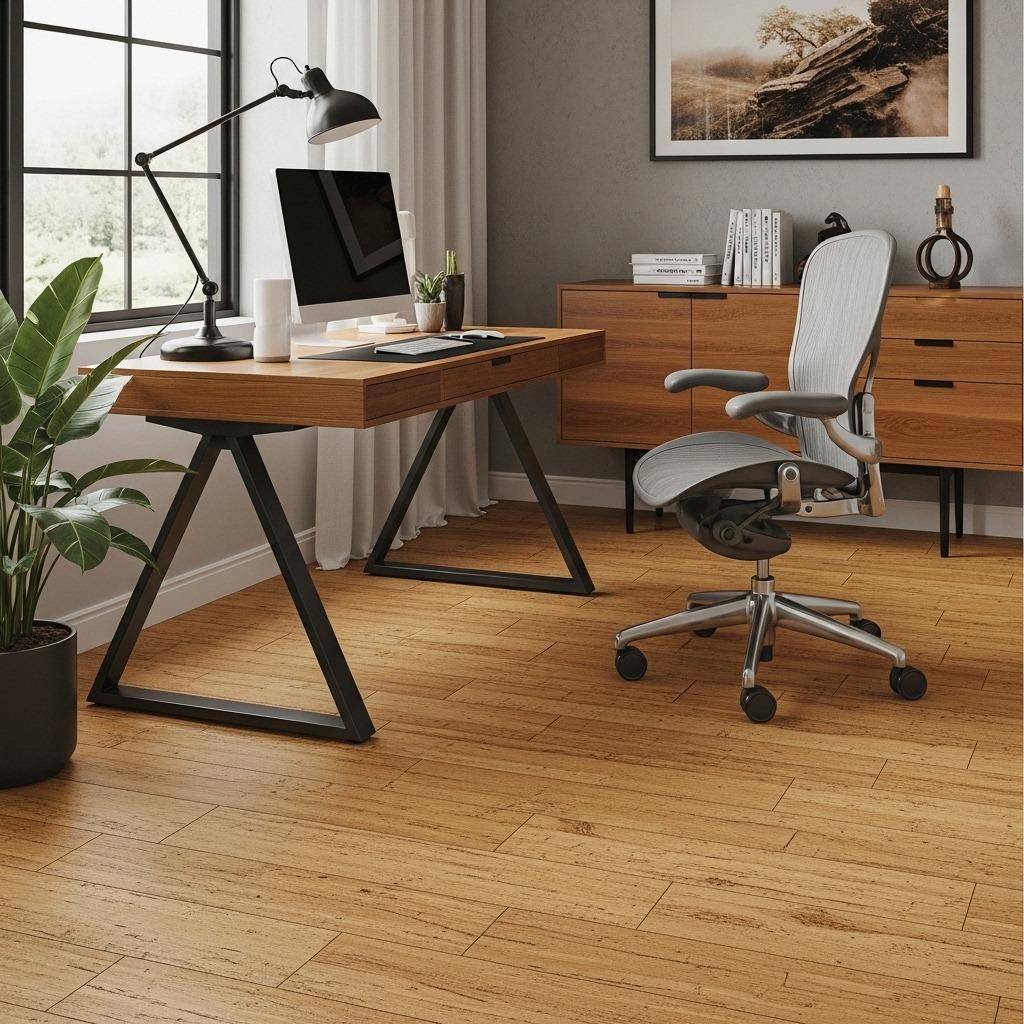
Cork flooring surprises people. It’s warm underfoot, naturally antimicrobial, and provides cushioning that’s easier on joints than hard surfaces. Plus, it’s eco-friendly since cork bark regrows after harvesting.
Cork tiles come in various natural tones and patterns, from light honey to deep espresso. Some have subtle grain variation, while others show the characteristic speckled texture of cork. The tiles install with adhesive or can be found in click-lock formats similar to laminate.
This flooring works particularly well in home office remodel projects where you’ll be standing for long periods. It’s also naturally insulating, which helps with both temperature and sound. Seal it properly, and cork holds up well to normal traffic – though you’ll want to avoid it in very wet areas.
10. Install Carpet Tiles
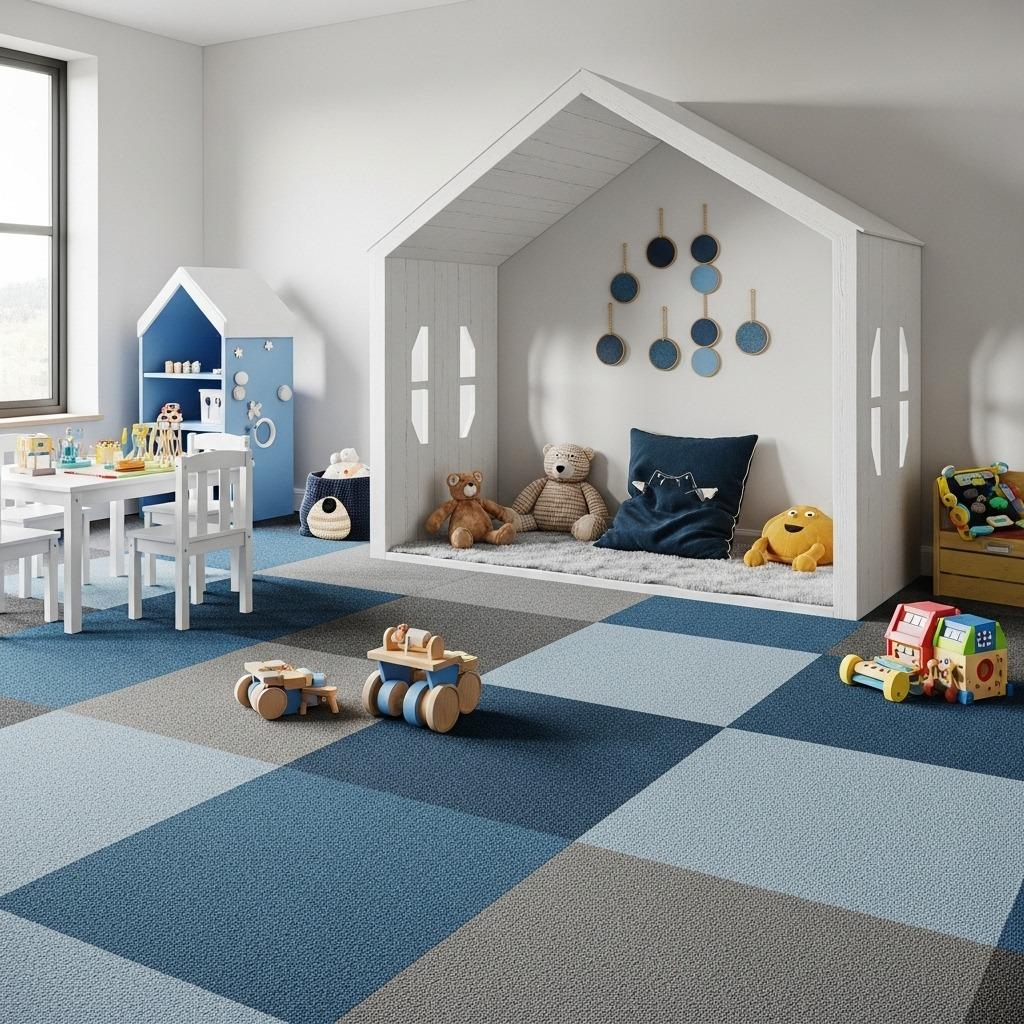
Carpet tiles give you the softness of carpet with much more flexibility. Unlike wall-to-wall carpeting, these squares can be rearranged, replaced individually if damaged, and even moved to new spaces if you relocate.
Modern carpet tiles come in amazing variety – solid colors, patterns, textures, and even designs that create larger images when assembled. You could create a custom rug effect in your living room or use different colors to define zones in an open floor plan.
Installation is remarkably simple. Most have peel-and-stick backing or stay in place through friction. This makes them perfect for renters or anyone who wants flexibility. Mix and match colors and textures to create your own unique design – maybe a checkerboard pattern or a gradual color transition across the room.
11. Add Decorative Concrete Stain
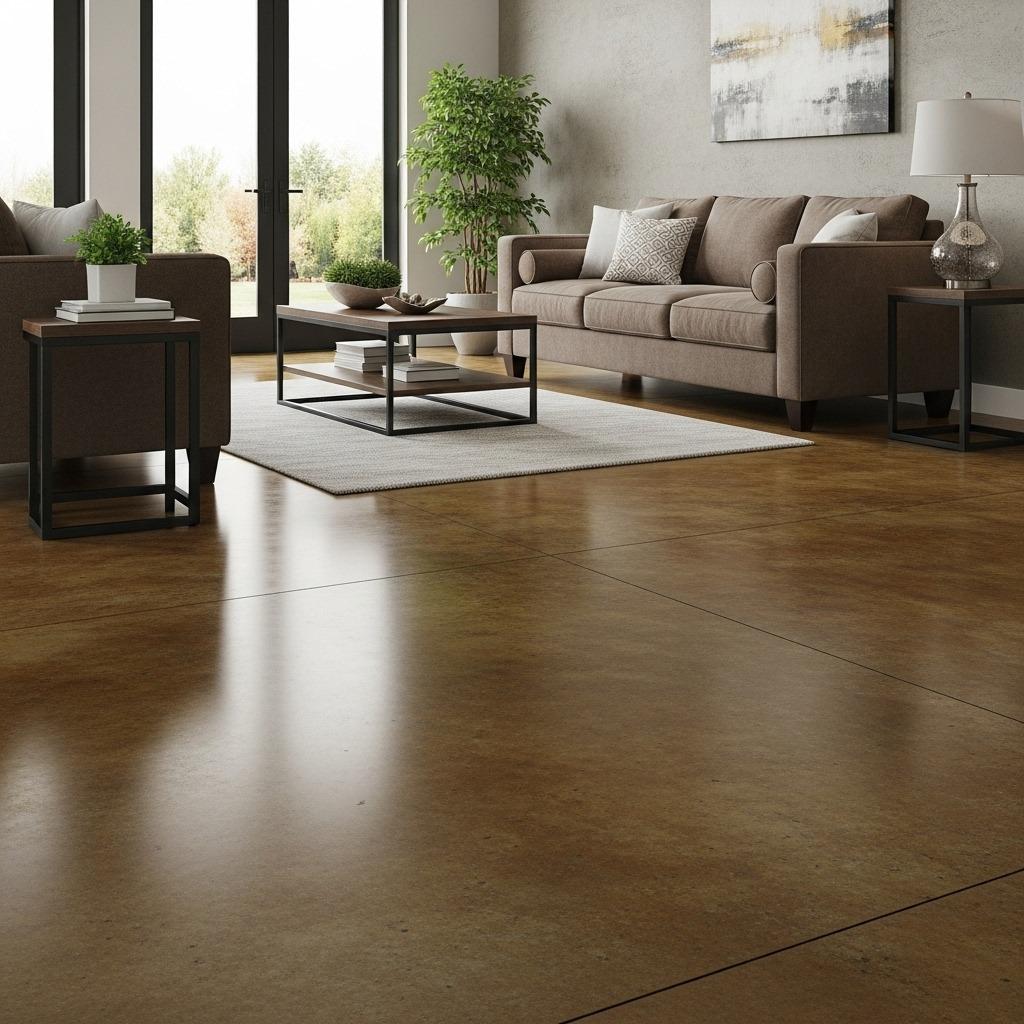
Concrete floors aren’t just for garages anymore. Acid staining or water-based concrete stains can transform plain concrete into rich, variegated surfaces with depth and character that rivals expensive stone.
Acid stains react chemically with the concrete to create permanent, earth-toned colors that vary slightly throughout the surface. Water-based stains offer more color options – everything from subtle tans to bold blues. Both create that modern industrial look that’s perfect for loft spaces or contemporary homes.
The application process involves cleaning, etching, applying stain, and sealing. Each concrete slab reacts differently, so you get a one-of-a-kind floor. This works beautifully in basement remodeling tips projects.
12. Use Floor Decals or Stickers

Floor decals might sound temporary, but they’re a clever solution for renters or anyone testing design ideas before committing. High-quality vinyl decals can withstand foot traffic and create surprisingly sophisticated patterns.
You’ll find everything from faux tile patterns to geometric designs to nature-inspired motifs. Some decals mimic the look of encaustic cement tiles – those beautiful patterned tiles that cost a fortune. Apply them to vinyl, tile, or sealed concrete for an instant update that peels off cleanly later.
This approach works especially well for defining spaces in open floor plans or adding visual interest to bland rental floors. Layer them over neutral tile in a bathroom, or create a “rug” effect in a dining area. The key is choosing quality decals designed specifically for floors, not wall stickers.
13. Install Reclaimed Wood Planks
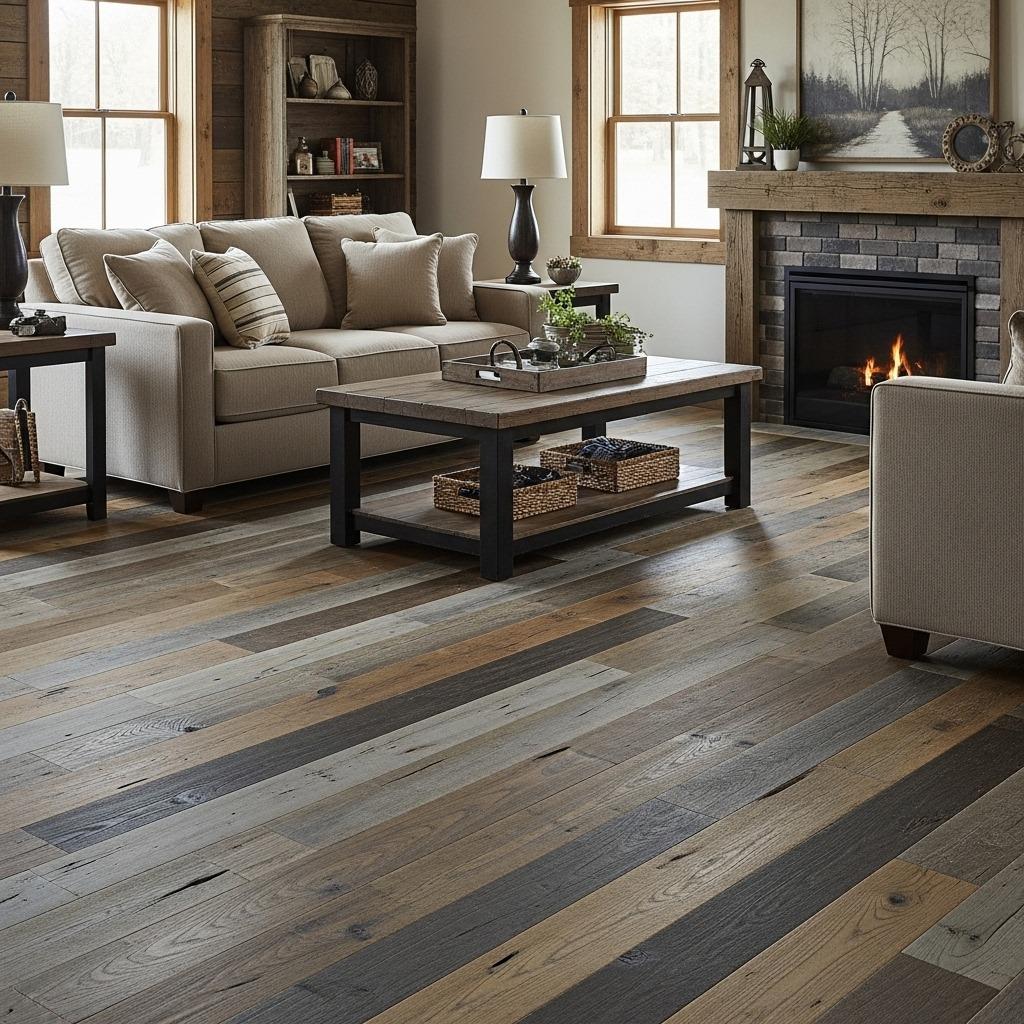
Reclaimed wood brings instant character and history to your floors. Each plank tells a story through its weathering, nail holes, and color variation. The aged patina you get with reclaimed wood would take decades to develop on new flooring.
You can install reclaimed planks as traditional hardwood flooring or create a floating floor system. The imperfections – slight warping, color differences, saw marks – add to the charm. This flooring style works beautifully in farmhouse, rustic, or industrial spaces.
Sourcing is part of the adventure. Check salvage yards, demolition companies, or specialized reclaimed wood suppliers. While costs vary, reclaimed wood is often comparable to high-end new hardwood. The environmental benefit and unique character make it worth considering for your next flooring refresh.
14. Apply Garage Floor Epoxy
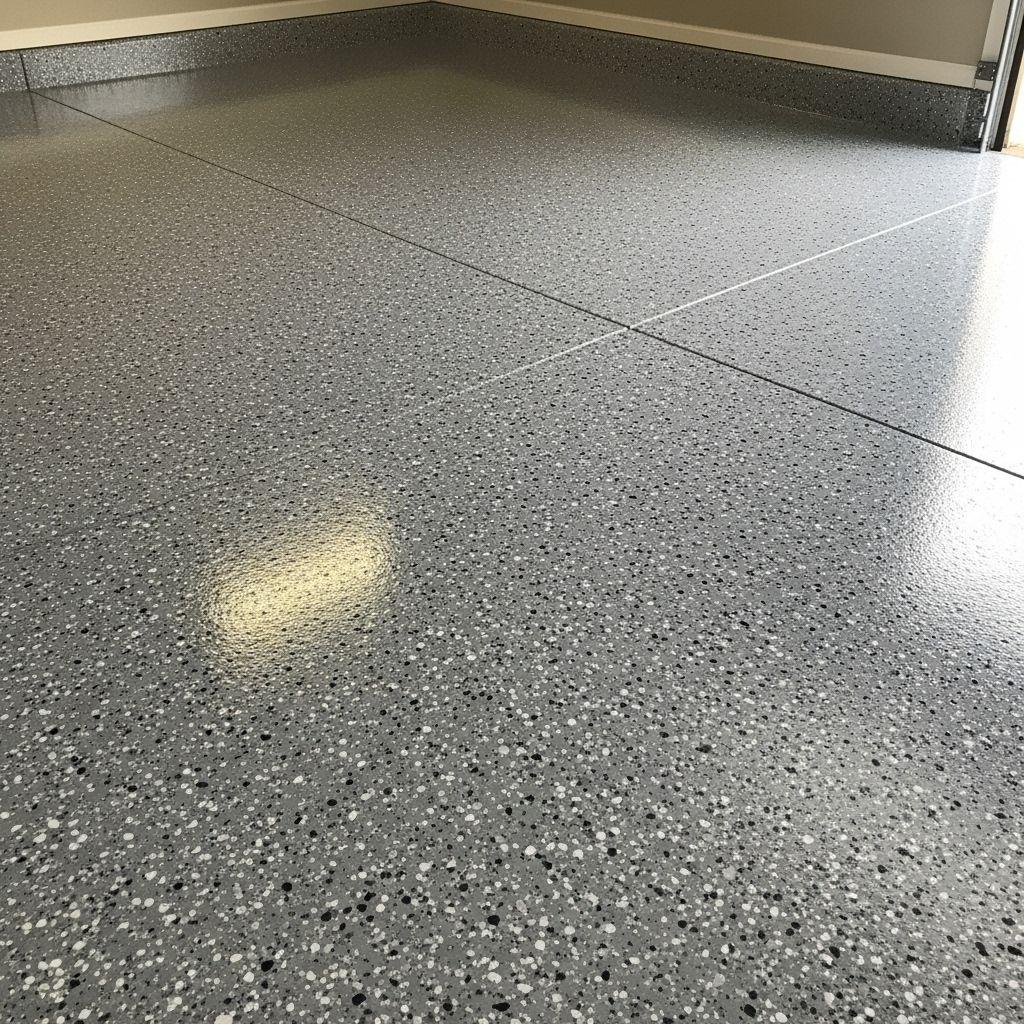
Garage floors endure oil spills, heavy equipment, and temperature extremes. Epoxy coating transforms a cracked, stained concrete slab into a durable, attractive surface that resists just about everything.
The coating process involves etching the concrete, filling cracks, and applying multiple coats of epoxy resin. You can add decorative color flakes between coats for a speckled look, or keep it solid gray. Once cured, epoxy creates an almost impervious surface that’s easy to clean and maintain.
Beyond garages, epoxy works in basements, workshops, and laundry rooms. The glossy finish reflects light, making dark spaces feel brighter. While you can DIY this project, the prep work is crucial for adhesion. Many homeowners hire professionals for larger areas but tackle small spaces themselves.
15. Create a Painted Floor Pattern
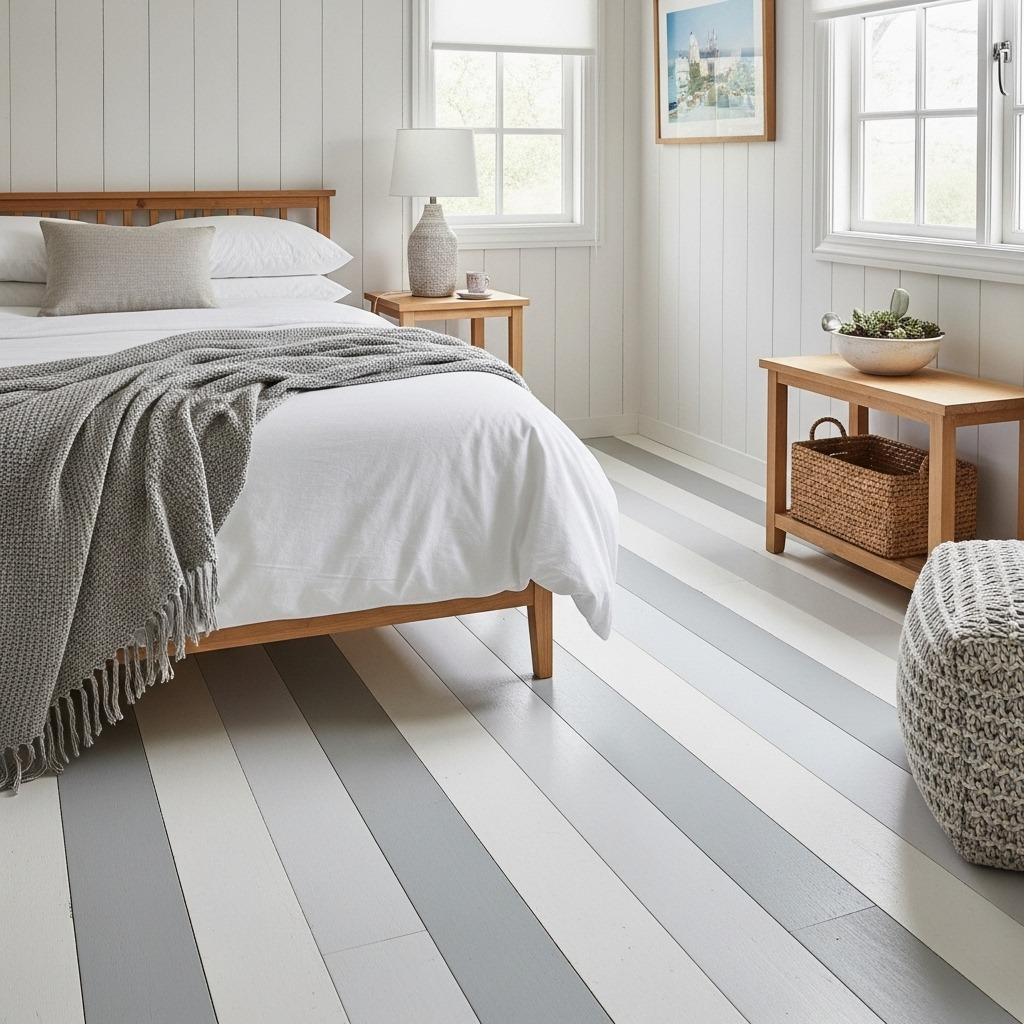
If you’re feeling bold, painted patterns on wood floors make a statement like nothing else. Stripes, diamonds, checkerboards, or even faux rug designs show creativity and personality.
The process starts like any floor painting project – thorough cleaning and sanding to help paint adhere. Map out your pattern with painter’s tape (the delicate kind that won’t leave residue). Use floor-specific paint that can handle traffic, and apply several thin coats rather than one thick one.
I’ve seen stunning results with simple wide stripes in neutral colors and dramatic checkerboards that become the room’s focal point. The key is committing to the design – tentative patterns rarely work. If you’re nervous, try this technique in a small bathroom renovation or closet first.
16. Install Bamboo Flooring
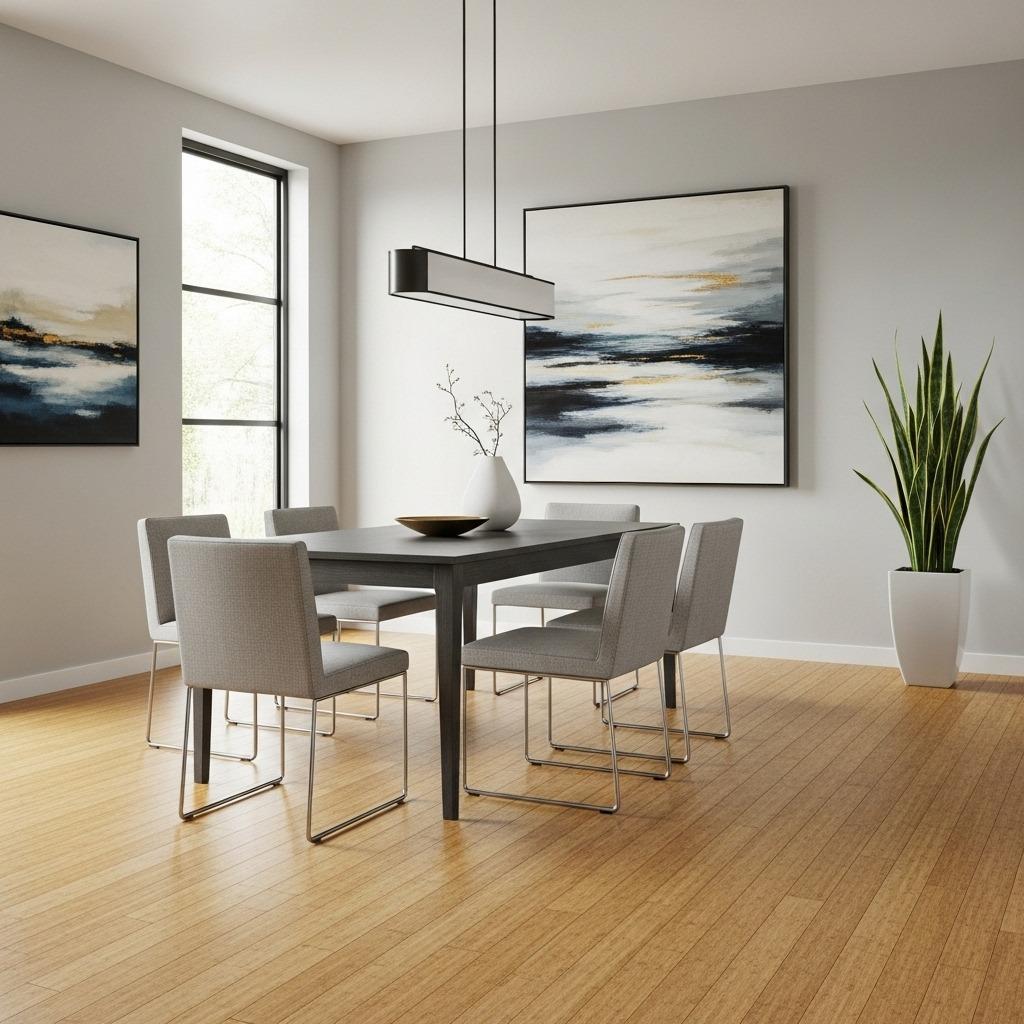
Bamboo offers the warmth of hardwood with impressive sustainability credentials. Technically a grass, bamboo reaches maturity in just a few years compared to decades for hardwood trees. Modern bamboo flooring is surprisingly durable and moisture-resistant.
The appearance ranges from light natural blonde to rich caramelized brown, with options for both horizontal and vertical grain patterns. Strand-woven bamboo is the most durable option, rated harder than many traditional hardwoods on the Janka scale.
Installation methods include nail-down, glue-down, and floating options, making bamboo accessible for various skill levels. The finished look complements both modern and traditional designs. In kitchen lounge open plan spaces, bamboo provides continuity with subtle character.
17. Add Transition Moldings and Borders
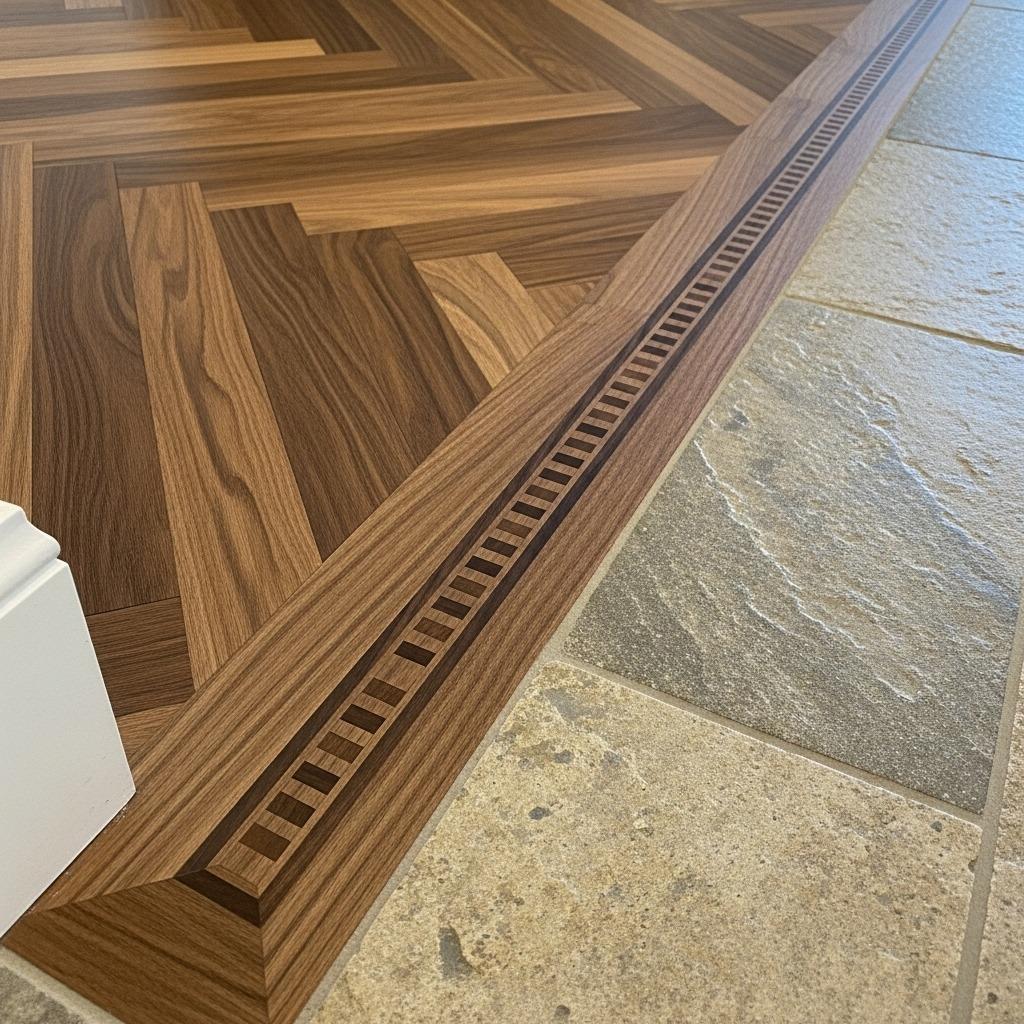
Sometimes the best flooring refresh isn’t about changing the floor itself – it’s about how you frame and transition between different flooring materials. Quality transition strips and decorative borders create polish and intention.
Install contrasting wood borders around the perimeter of a room to add definition. Use decorative transition strips between rooms with different flooring types – maybe a dark strip between light wood and tile. These details show attention to design and make spaces feel more finished.
Inlay borders can mimic expensive custom work at a fraction of the cost. You’ll find prefabricated border strips in various patterns – Greek key, rope, or simple color contrasts. Installing them takes precision but transforms builder-grade floors into something that looks professionally designed.
Your floors support everything – literally and visually. These flooring refresh ideas prove you don’t need a massive renovation to create real change. Sometimes it’s about covering what you have creatively, other times it’s enhancing existing materials, and occasionally it means trying something completely new.
What I love about floor updates is how they ripple through a space. Change the floor and suddenly furniture looks different, walls need adjusting, and the whole room shifts. Start with one approach that matches your budget and skill level. You might be surprised how much confidence you gain for tackling the next space.
Which idea resonates with your current flooring situation? Maybe you’ve been living with those boring tiles too long, or perhaps your hardwood just needs some attention. The right flooring refresh is out there waiting – you just need to take that first step.

