Starting your first garden can feel overwhelming. You stand there with a packet of seeds, staring at a patch of dirt, wondering if you’re about to kill every plant you touch. But here’s the truth: gardening isn’t as complicated as it seems, and you don’t need a green thumb to succeed.
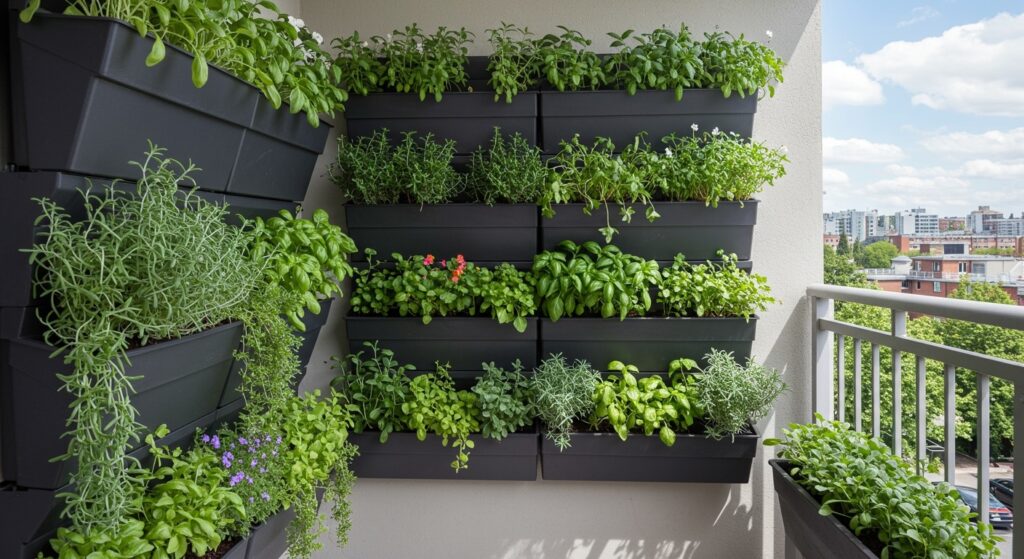
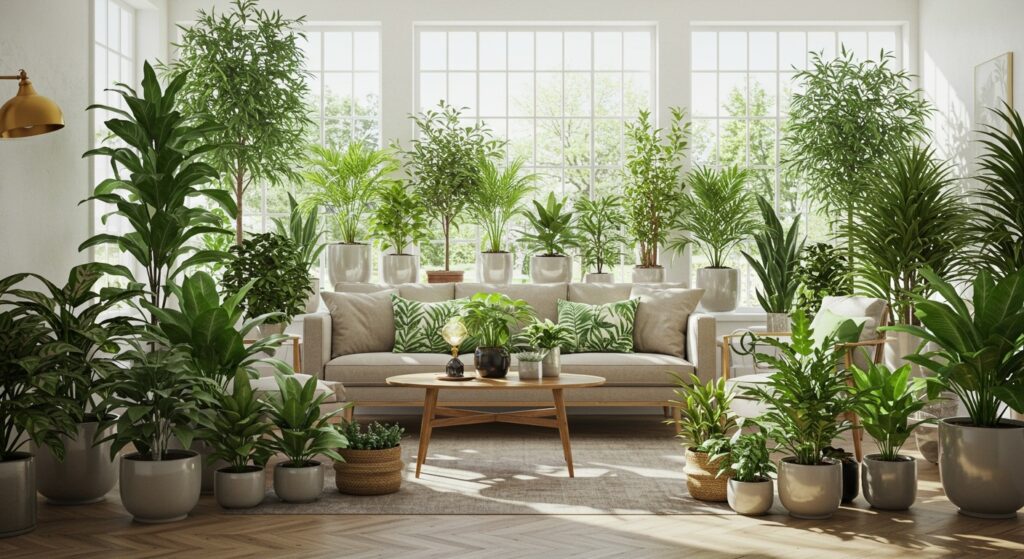
Whether you’re dreaming of fresh tomatoes on your patio or a colorful flower bed that makes your neighbors jealous, these 21 practical tips will guide you through the basics. No confusing jargon, no expensive equipment – just straightforward advice that works. If you’re looking to bring more greenery into your life, creating an indoor garden is another great way to start small before tackling outdoor spaces.
Ready to get your hands dirty? Let’s walk through everything you need to know about gardening for beginners.
1. Start Small and Simple
Your first garden doesn’t need to be impressive. In fact, starting with just 3-5 plants is smarter than filling an entire yard with things you can’t manage. Pick a small corner of your yard or even a few containers on your balcony.
Think of this as your practice round. You’re learning how plants behave, how often they need water, and what pests look like in real life. A manageable space lets you actually enjoy the process instead of feeling buried under garden chores every weekend.
Choose easy-to-grow options like cherry tomatoes, basil, or marigolds. These plants forgive mistakes and still produce results, which is exactly what you need when you’re finding your rhythm. Success with a small garden builds confidence faster than struggling with a large one.
2. Pick the Right Location

Most vegetables and flowers need at least 6-8 hours of direct sunlight daily. Watch your yard throughout the day to see where the sun actually hits. That shady spot under the tree might look pretty, but your tomatoes won’t agree.
Pay attention to morning versus afternoon sun too. Morning sun is gentler, while afternoon sun can be intense and drying. If you only have a spot with partial shade, adjust your plant choices accordingly – lettuce and spinach actually prefer some shade during hot months.
Wind exposure matters more than people think. A garden tucked against a fence or building gets protection, while an exposed area might stress your plants and dry out soil faster. Notice where leaves tend to pile up in fall – that usually indicates calmer microclimates.
3. Test Your Soil Before Planting
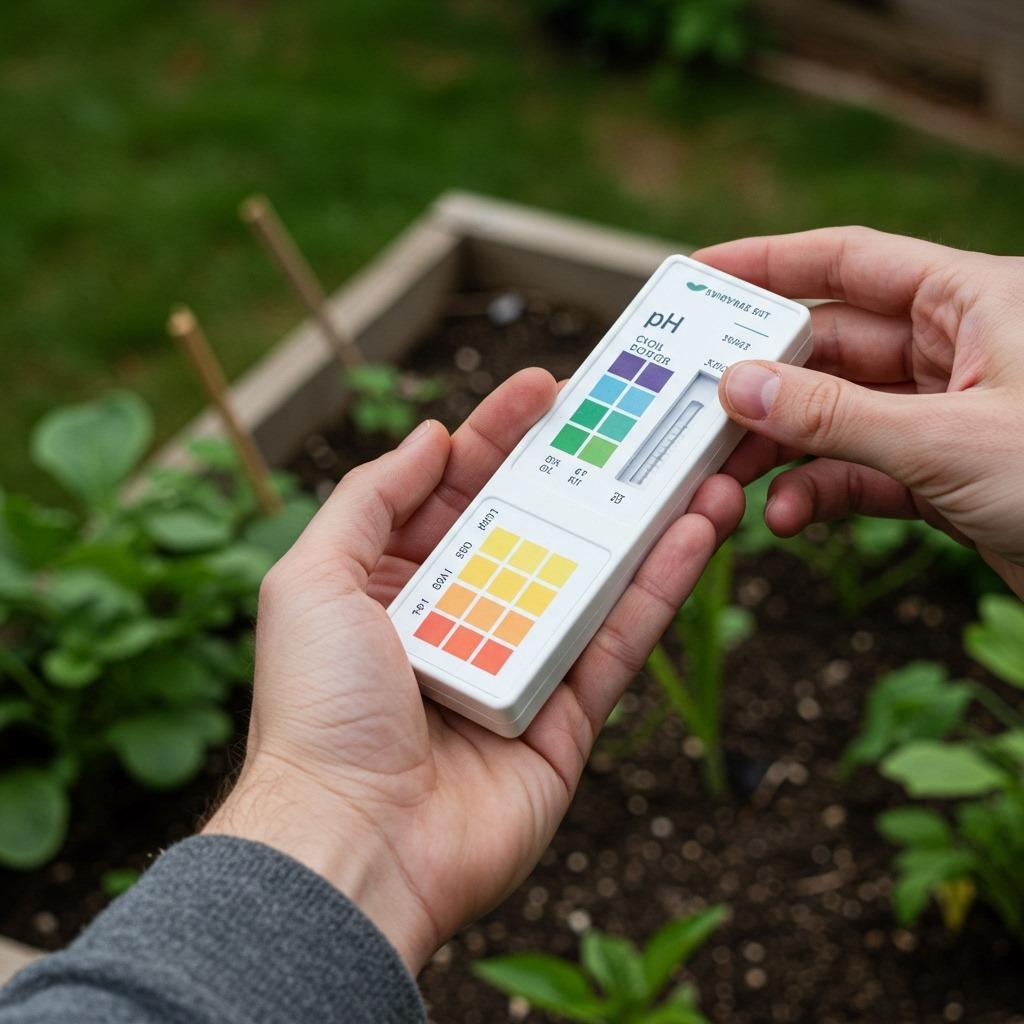
Soil isn’t just dirt – it’s the foundation of your entire garden. Grab an inexpensive soil test kit from any garden center (around $10-15) and check your pH levels and nutrient content. This 20-minute step saves months of wondering why nothing grows right.
Most vegetables prefer slightly acidic to neutral soil (pH 6.0-7.0). If your soil is too acidic, add lime. Too alkaline? Mix in sulfur or compost. The test kit will tell you exactly what adjustments to make.
Don’t skip this step and assume your soil is fine. You might have perfectly decent dirt that’s just too sandy or clay-heavy for what you’re trying to grow. Knowing your starting point means you can actually fix problems instead of guessing.
4. Improve Your Soil with Compost
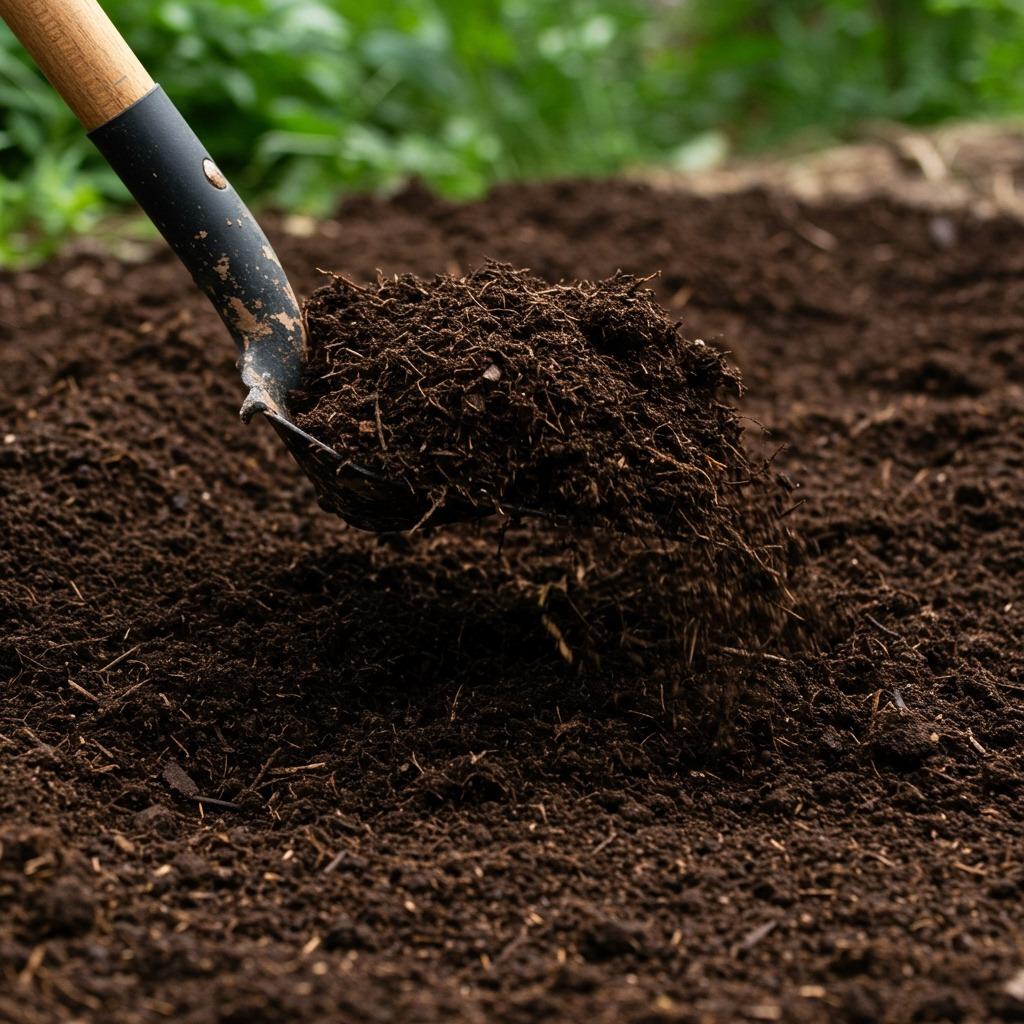
Even if your soil test comes back decent, adding compost makes everything better. Compost improves drainage in clay soil, helps sandy soil hold moisture, and feeds beneficial microorganisms that keep plants healthy. Think of it as a multivitamin for your garden.
You don’t need to make your own compost right away. Buy a few bags of quality compost from the garden center and mix it into your top 6-8 inches of soil. Your plants will respond with stronger growth and better disease resistance.
As you get more comfortable, creating a home composting system becomes a natural next step. For now, just focus on amending your beds before planting. The difference in plant health is noticeable within weeks.
5. Choose Beginner-Friendly Plants
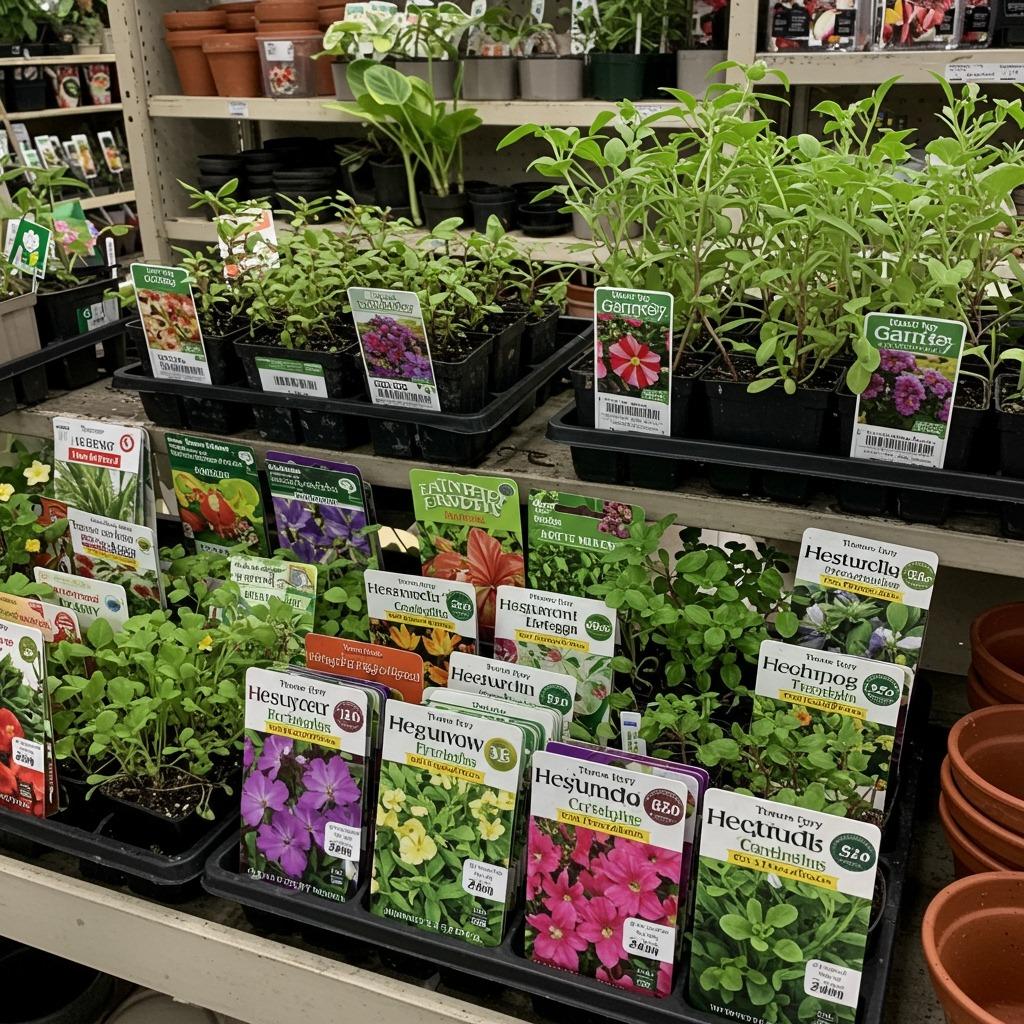
Some plants are forgiving teachers, while others will humble you quickly. Start with vegetables like lettuce, radishes, green beans, and zucchini. For flowers, try marigolds, sunflowers, and zinnias. These varieties tolerate mistakes and still produce results.
Avoid finicky plants like roses, orchids, or fussy heirloom varieties in your first year. You’ll have time to experiment with challenging plants once you understand basic plant needs. Right now, you want wins that keep you motivated.
Read seed packets and plant tags carefully. Look for phrases like “easy to grow,” “disease resistant,” or “drought tolerant.” These descriptors signal plants that won’t punish small errors in watering or timing.
6. Understand Your Hardiness Zone

Your location determines which plants will survive in your climate. The USDA hardiness zone map divides the country into regions based on average minimum winter temperatures. Knowing your zone (just search “hardiness zone” plus your zip code) tells you what will actually grow where you live.
A beautiful plant that thrives in California might die immediately in Minnesota. Zone information appears on most plant tags and seed packets, usually as a range like “Zones 5-9.” If your zone number falls within that range, the plant should survive your winters.
This isn’t about summer heat – it’s about whether plants can handle your coldest temperatures. Perennials (plants that come back year after year) especially depend on zone compatibility. Annuals die each year anyway, so zone matters less for those.
7. Master the Art of Watering
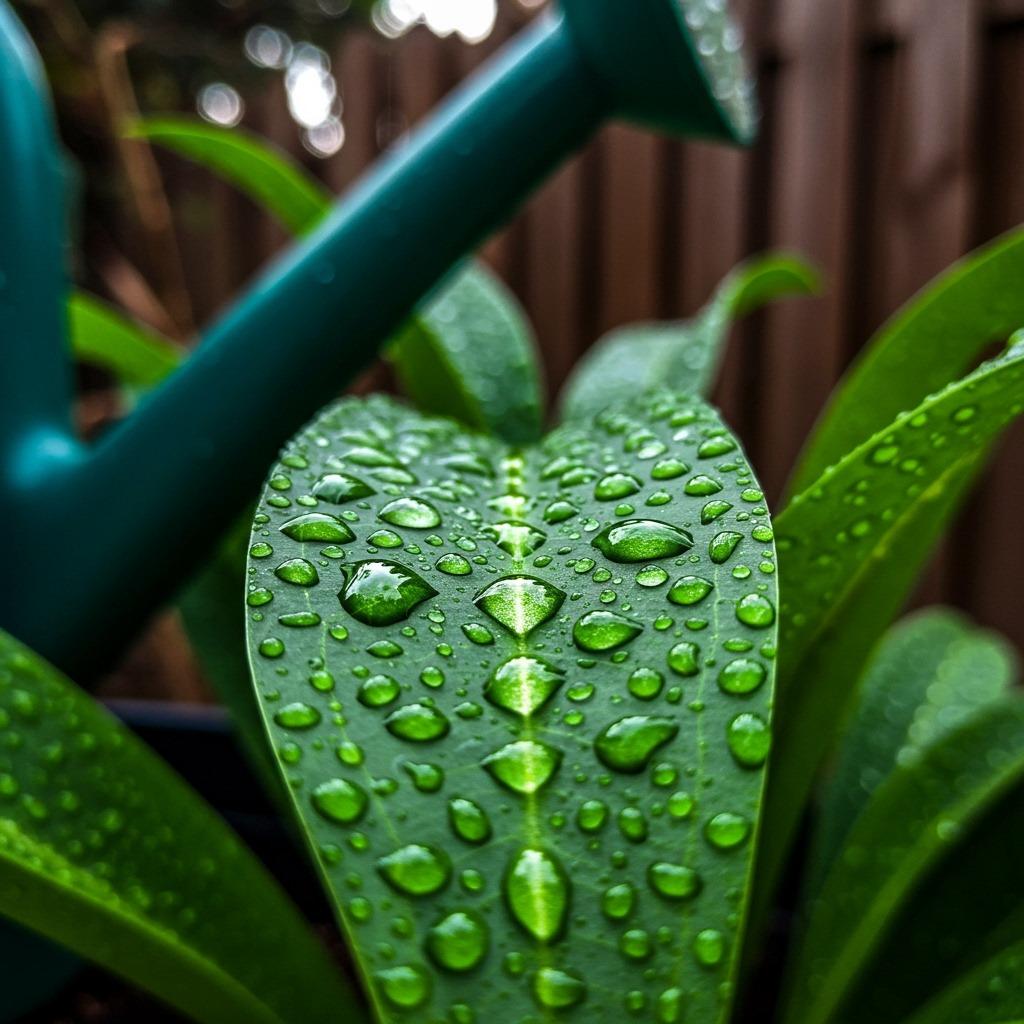
More beginners kill plants with wrong watering than any other mistake. The key isn’t watering on a schedule – it’s watering when plants actually need it. Stick your finger 2 inches into the soil. If it feels dry, water. If it’s moist, wait.
Water deeply but less frequently instead of giving shallow daily sprinkles. Deep watering encourages roots to grow down into the soil, creating stronger plants. Aim for about 1 inch of water per week, including rainfall.
Morning is the best time to water. Plants have all day to dry off, which reduces disease problems. Evening watering leaves foliage wet overnight, inviting fungal issues. If you’re also thinking about bringing plants indoors, indoor garden setups have different watering needs to consider.
8. Mulch Around Your Plants
A 2-3 inch layer of mulch around plants might be the easiest way to improve your garden. Mulch keeps soil moist, suppresses weeds, and regulates soil temperature. It’s like giving your plants a protective blanket.
Use organic mulches like shredded bark, straw, or wood chips. As they break down, they add nutrients to your soil. Keep mulch a few inches away from plant stems to prevent rot – think of it as giving each plant a little breathing room.
You’ll water less, weed less, and deal with fewer temperature swings in the soil. That $5 bag of mulch saves you hours of work and gallons of water. It’s one of those simple things that makes a huge difference.
9. Learn to Identify Common Pests
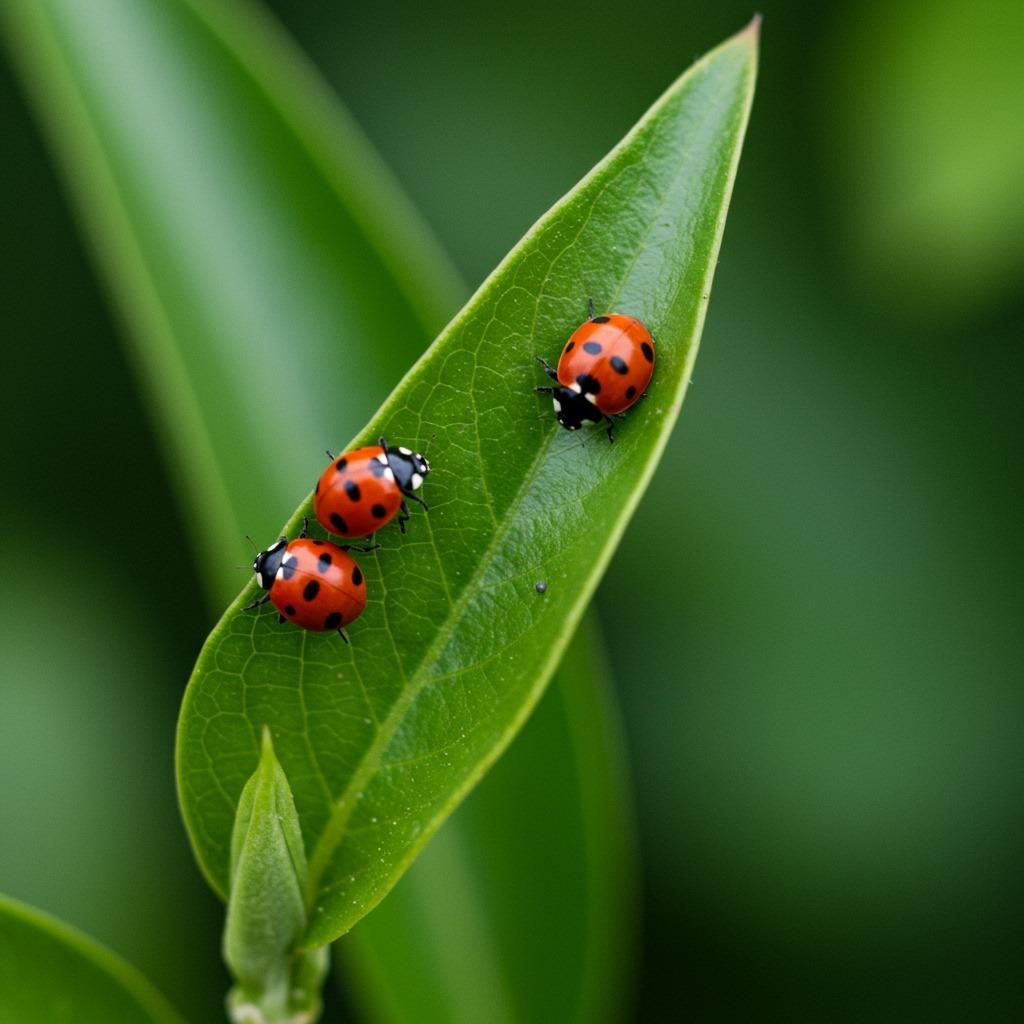
You’ll eventually find chewed leaves or strange spots on your plants. Instead of panicking, learn to identify the most common culprits: aphids (tiny green/black bugs), caterpillars (obvious), and slugs (leave slime trails).
Take photos of any damage and search online or ask at your local garden center. Many pest problems have simple organic solutions. Aphids wash off with a strong spray of water. Caterpillars can be picked off by hand. Slugs hate copper tape.
Not every bug is an enemy. Ladybugs, lacewings, and many spiders actually protect your garden by eating pests. Before you spray anything, make sure you’re not killing the good guys who are already working for you.
10. Fertilize Appropriately
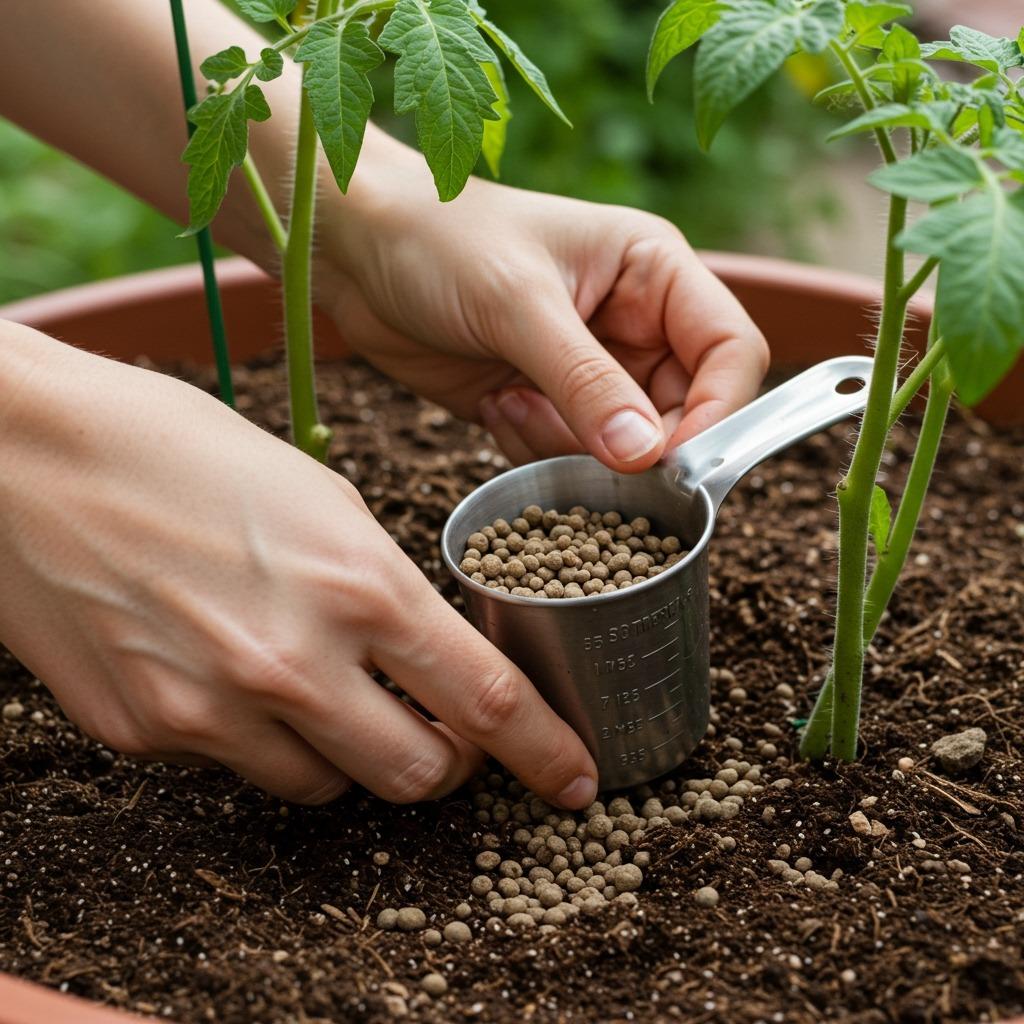
Plants need nutrients just like we do, but more isn’t better. Over-fertilizing burns roots and creates weak, disease-prone growth. Start with a balanced, slow-release fertilizer and follow package directions exactly.
Organic options like compost tea, fish emulsion, or worm castings feed plants gently without the risk of burning. These release nutrients slowly and improve soil health at the same time. Chemical fertilizers work faster but require more careful measurement.
Different plants have different needs. Tomatoes are heavy feeders and appreciate regular fertilizing. Herbs often do better with less. Read up on your specific plants instead of treating everything the same way.
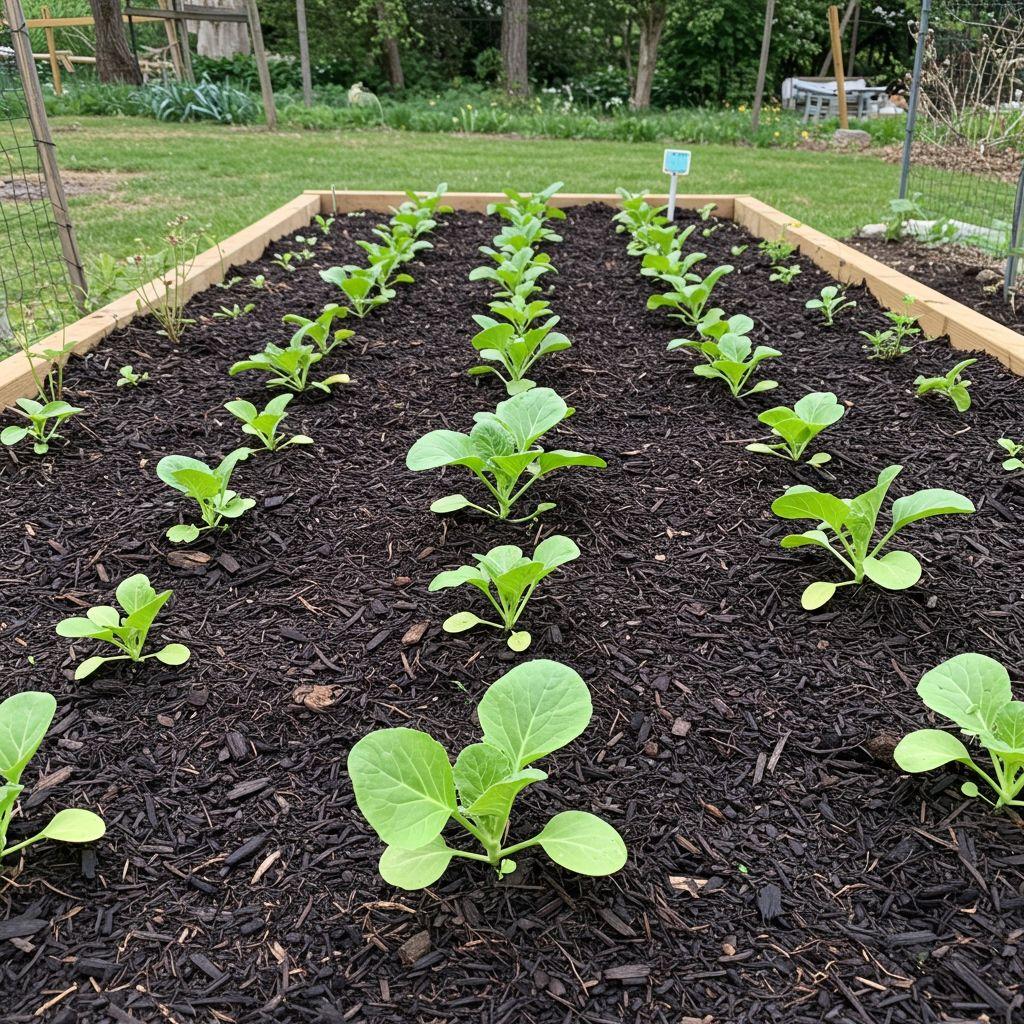
11. Give Plants Proper Spacing
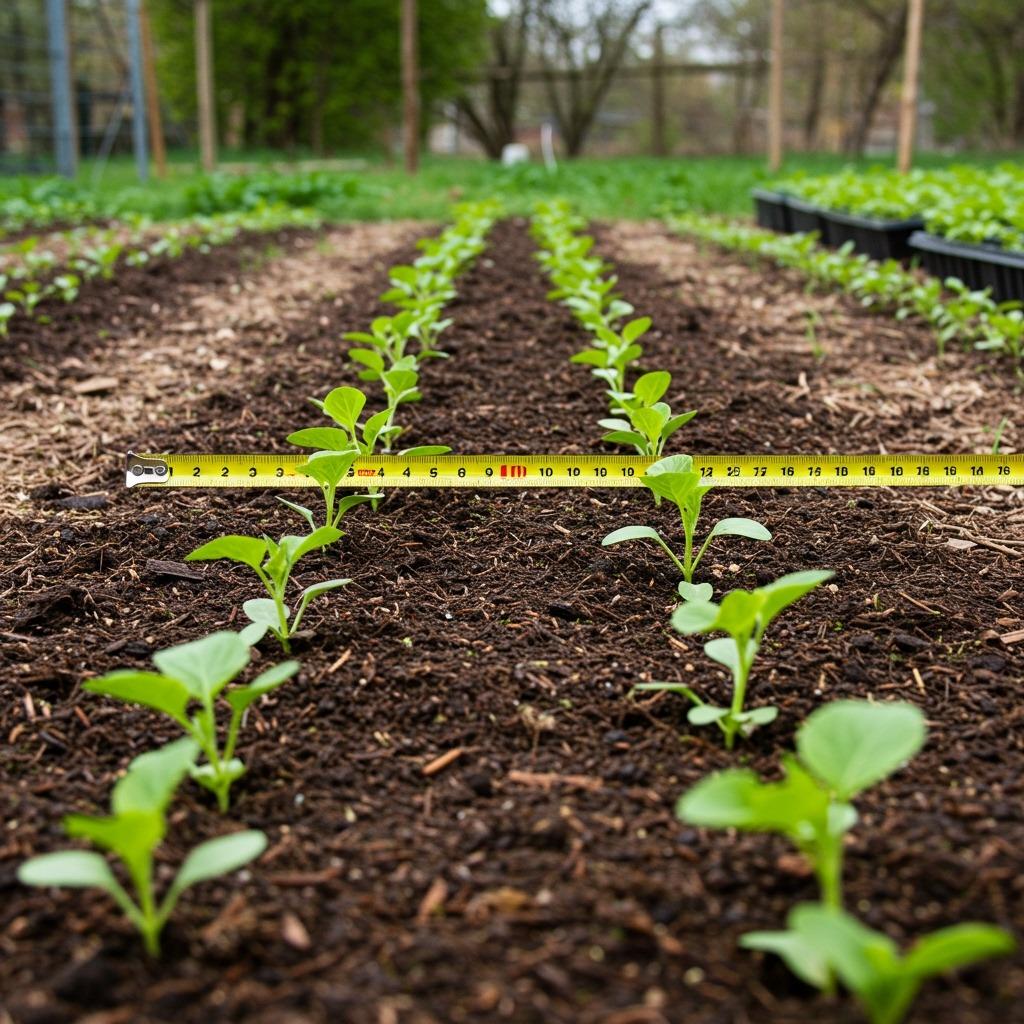
That tiny seedling will grow. A lot. Crowding plants invites disease, blocks airflow, and creates competition for nutrients and water. Follow spacing recommendations on seed packets even if it looks ridiculous at first.
The empty space between young plants won’t stay empty long. Within weeks, leaves will expand and fill in. Proper spacing means each plant gets adequate sunlight and air circulation, reducing fungal problems and pest issues.
If you planted too close and things are getting crowded, thin them out. Yes, it feels wasteful to pull up perfectly good plants, but the ones that remain will be healthier and more productive. You’re not being mean – you’re being practical.
12. Support Climbing and Vining Plants

Tomatoes, cucumbers, peas, and beans need something to climb. Install supports when you plant (not later when roots are established) to avoid damaging the root system. A simple bamboo stake, tomato cage, or trellis does the job.
Vertical growing saves space and keeps fruit off the ground where it’s less likely to rot or get eaten by slugs. It also makes harvesting easier – you can actually see and reach everything without crawling around on the ground.
Tie plants loosely to supports with soft twine or plant ties. Stems thicken as they grow, and tight ties can strangle them. Check weekly and adjust as needed. This small effort leads to much healthier, more productive plants.
13. Weed Regularly (But Don’t Obsess)
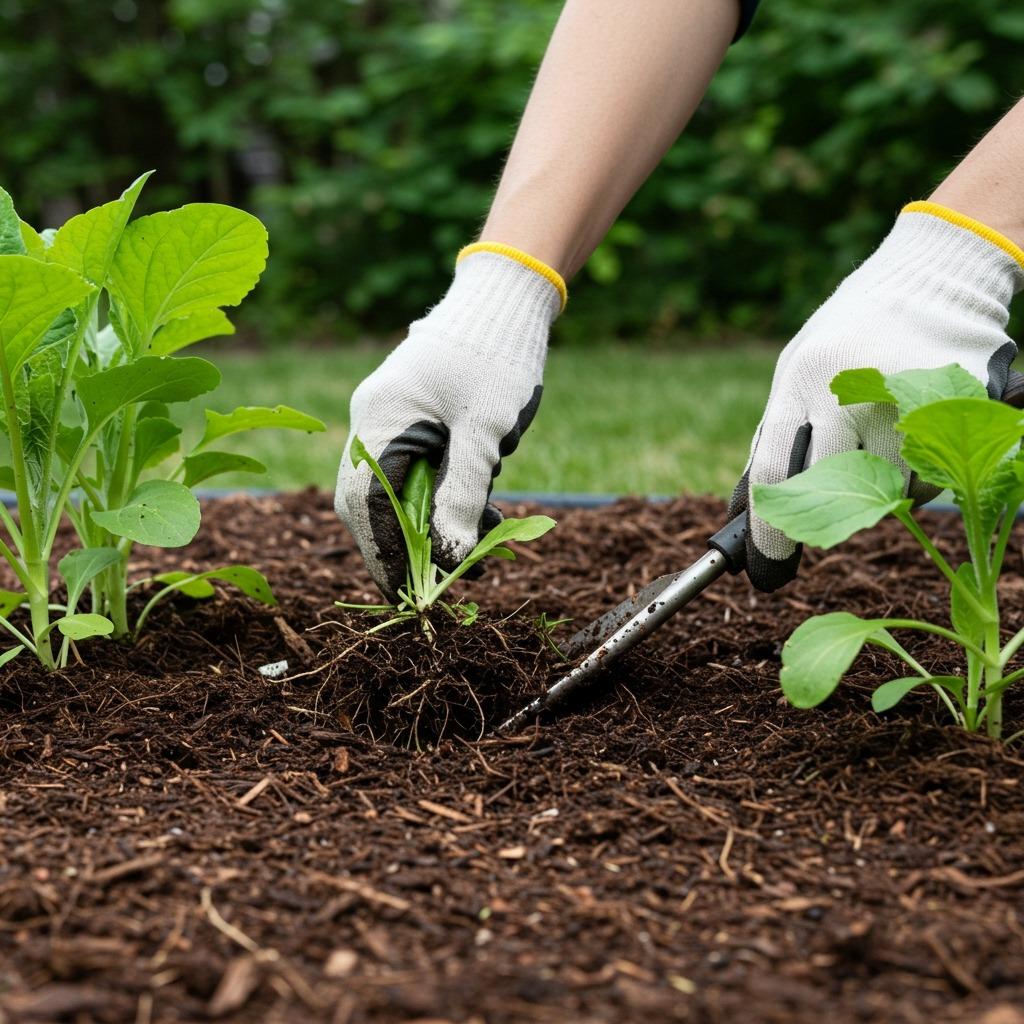
Weeds compete with your plants for water, nutrients, and sunlight. Pulling them while they’re small takes minutes. Waiting until they’re established and dropping seeds takes hours. A quick 10-minute weeding session twice a week beats a miserable 2-hour marathon monthly.
Pull weeds when soil is moist (after watering or rain) so they come out roots and all. If you just snap off the top, many weeds regrow from the roots left behind. Get low, grab near the base, and pull steadily.
Mulch dramatically reduces weeding work, but some determined weeds still push through. Accept that your garden will never be 100% weed-free. Focus on keeping beds reasonable, not perfect. Perfection isn’t the goal – healthy plants are.
14. Deadhead Flowers for More Blooms
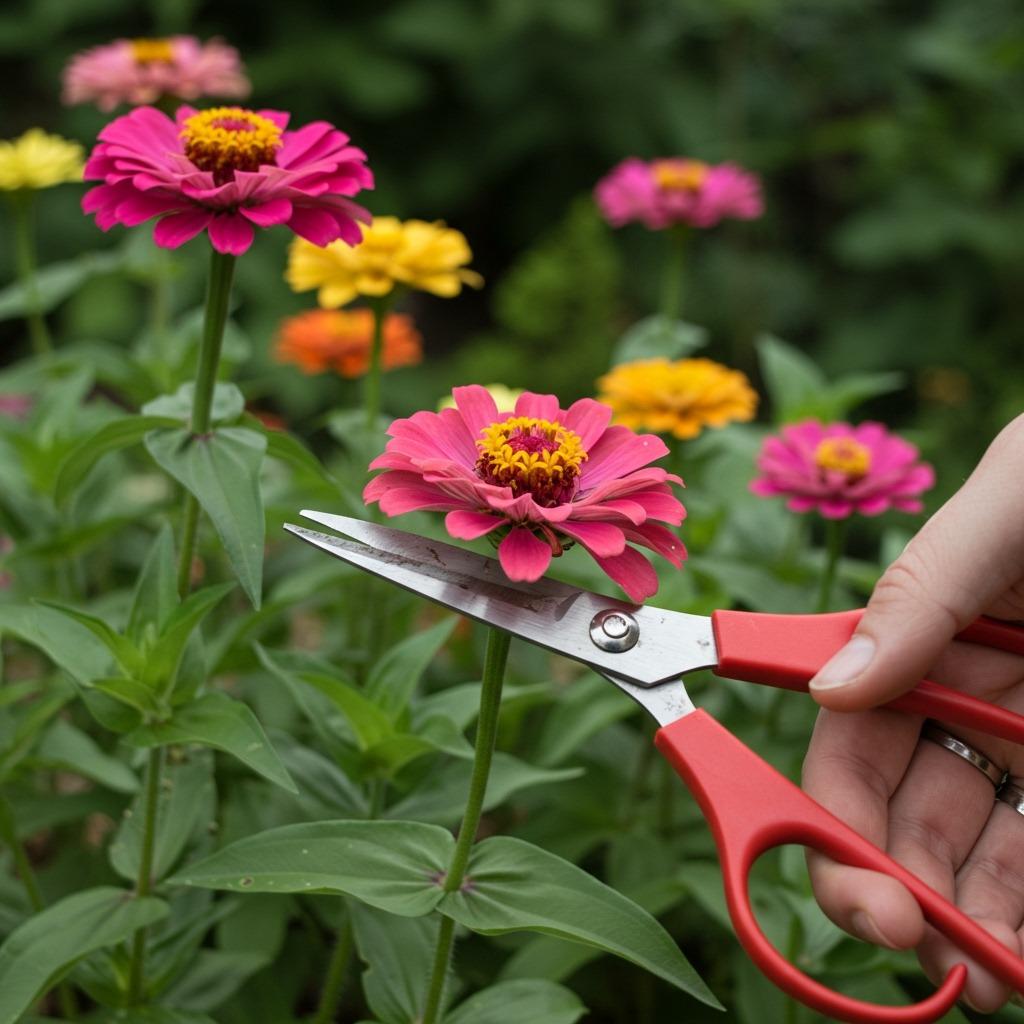
When flowers fade, snip them off just below the flower head. This process (called deadheading) tells the plant to produce more blooms instead of setting seed. It’s like a gentle reset button that keeps flowers coming all season.
For plants like petunias, marigolds, and zinnias, regular deadheading can double or triple your blooms. Use scissors or pruners for clean cuts. Don’t just pull flowers off with your fingers – you might damage the stem.
Not all plants need deadheading. Some are “self-cleaning” and drop old flowers on their own. Others you might want to leave so they produce attractive seed heads for winter interest. Pay attention to how your specific plants behave.
15. Watch for Disease Signs Early
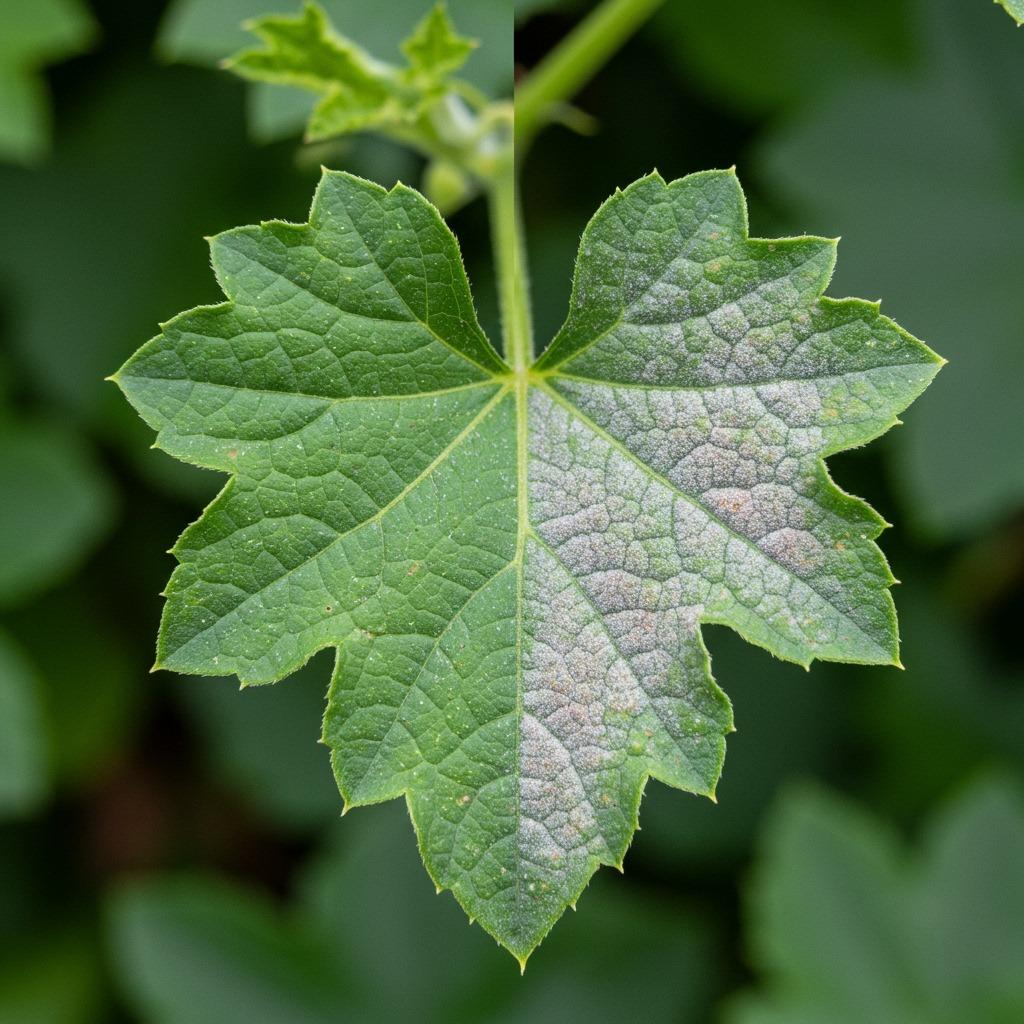
Yellow leaves, white powder on foliage, or strange spots often signal disease. Catching problems early means you can often fix them. Waiting until half the plant is affected makes recovery much harder.
Common beginner issues include powdery mildew (white coating), blight (dark spots spreading from leaves), and root rot (plants wilting despite wet soil). Research the symptoms you see and identify the specific problem before treating it.
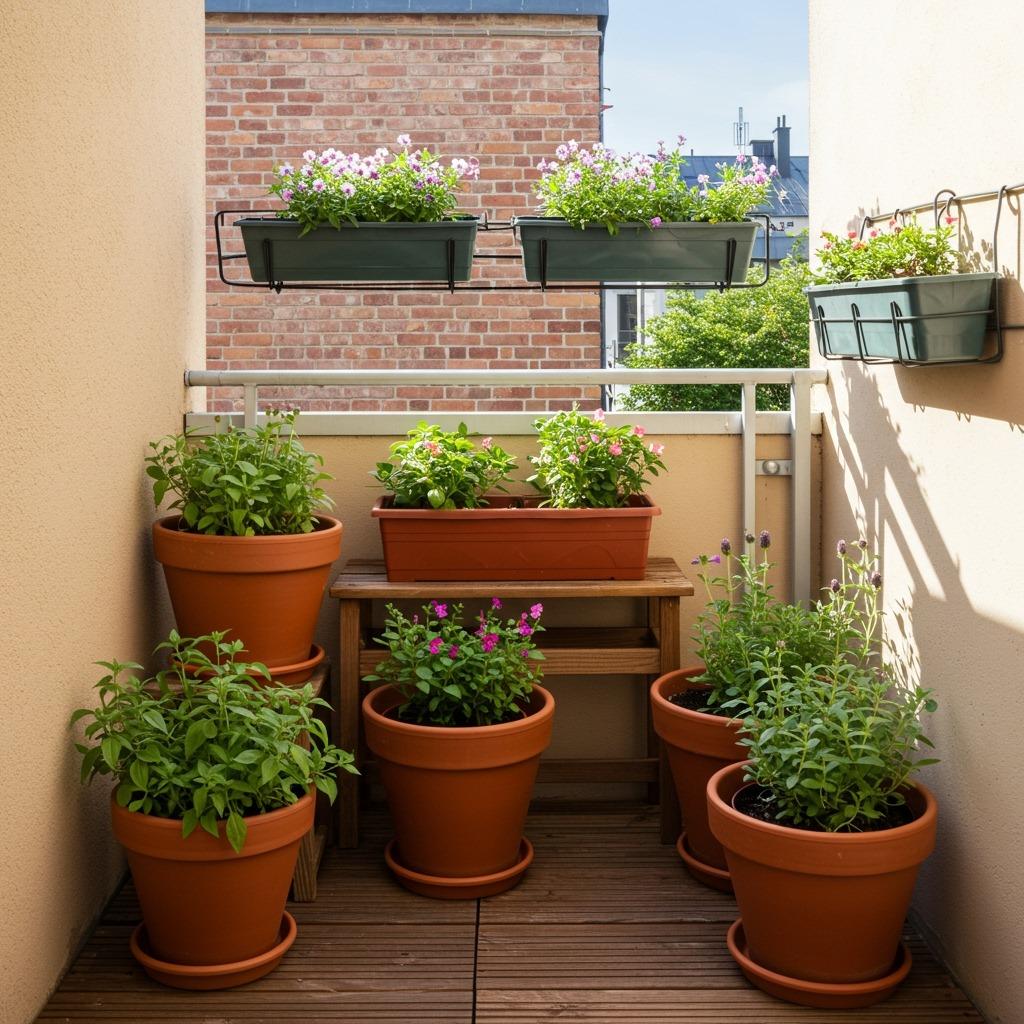
Sometimes the best solution is prevention: proper spacing, morning watering, and good air circulation stop most diseases before they start. If you’re dealing with small spaces and want healthy greenery, small space gardening approaches can help you work within limitations while keeping plants healthy.
16. Harvest Regularly to Encourage Production
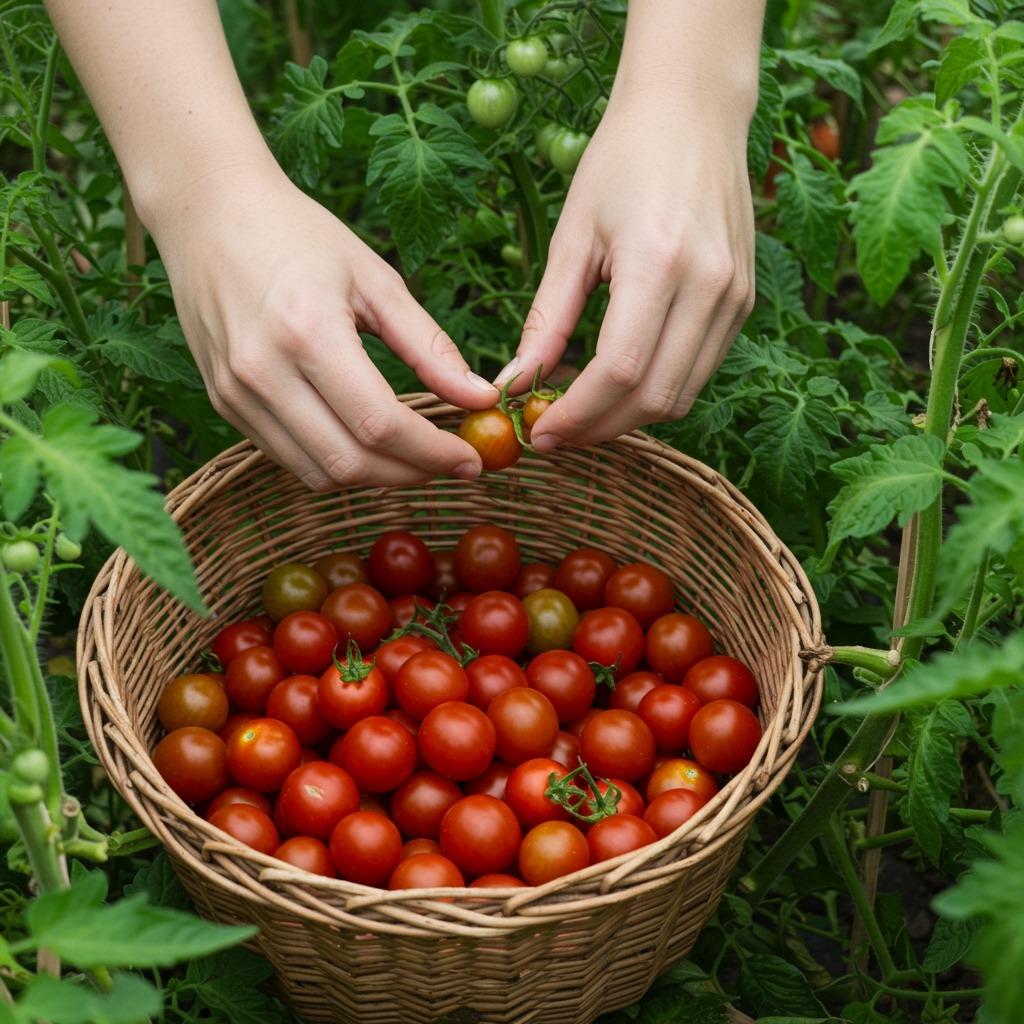
Most vegetables produce more when you harvest frequently. Zucchini, beans, cucumbers, and herbs all respond to regular picking by creating more fruit or foliage. Let everything mature fully and production slows down.
Harvest in the morning when plants are most hydrated and crisp. Use clean, sharp scissors or pruners to avoid damaging plants. Handle produce gently – bruising reduces quality and storage life.
Don’t wait for perfect timing on everything. Many vegetables taste better picked slightly young (think tender green beans or small zucchini). Experiment to find what you prefer, and remember that homegrown produce rarely looks magazine-perfect but tastes incredible anyway.
17. Protect Plants from Extreme Weather
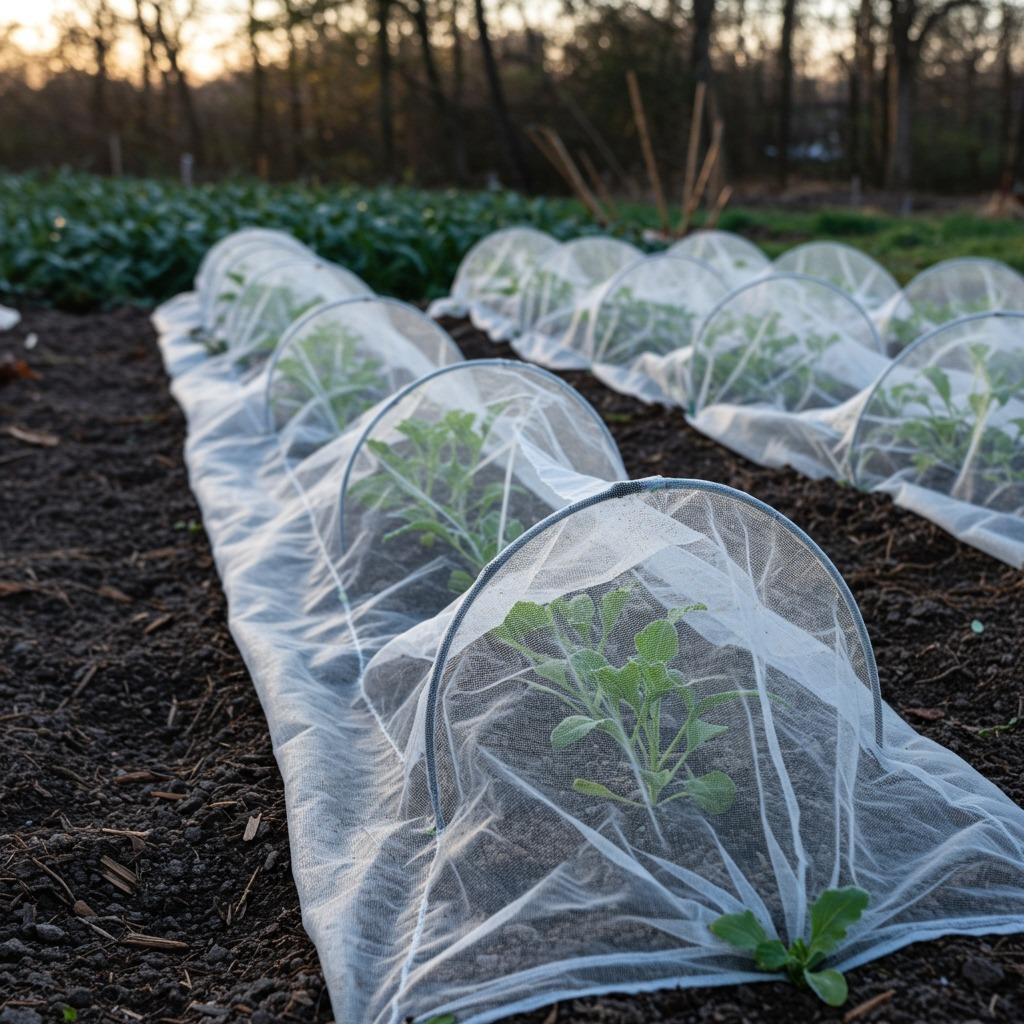
Late spring frosts, heat waves, and heavy storms can damage or kill plants overnight. Check weather forecasts regularly during your growing season. If frost threatens, cover tender plants with sheets, blankets, or row covers overnight.
During heat waves, provide temporary shade for sensitive plants with shade cloth or even an old bedsheet propped on stakes. Extra mulch helps soil retain moisture when temperatures soar. Water deeply in the morning so plants enter the hot afternoon well-hydrated.
Heavy rain can flatten plants and spread soil-borne diseases. Staking vulnerable plants helps them survive storms intact. After severe weather, inspect for damage and remove any diseased foliage promptly to prevent spread.
18. Keep a Garden Journal
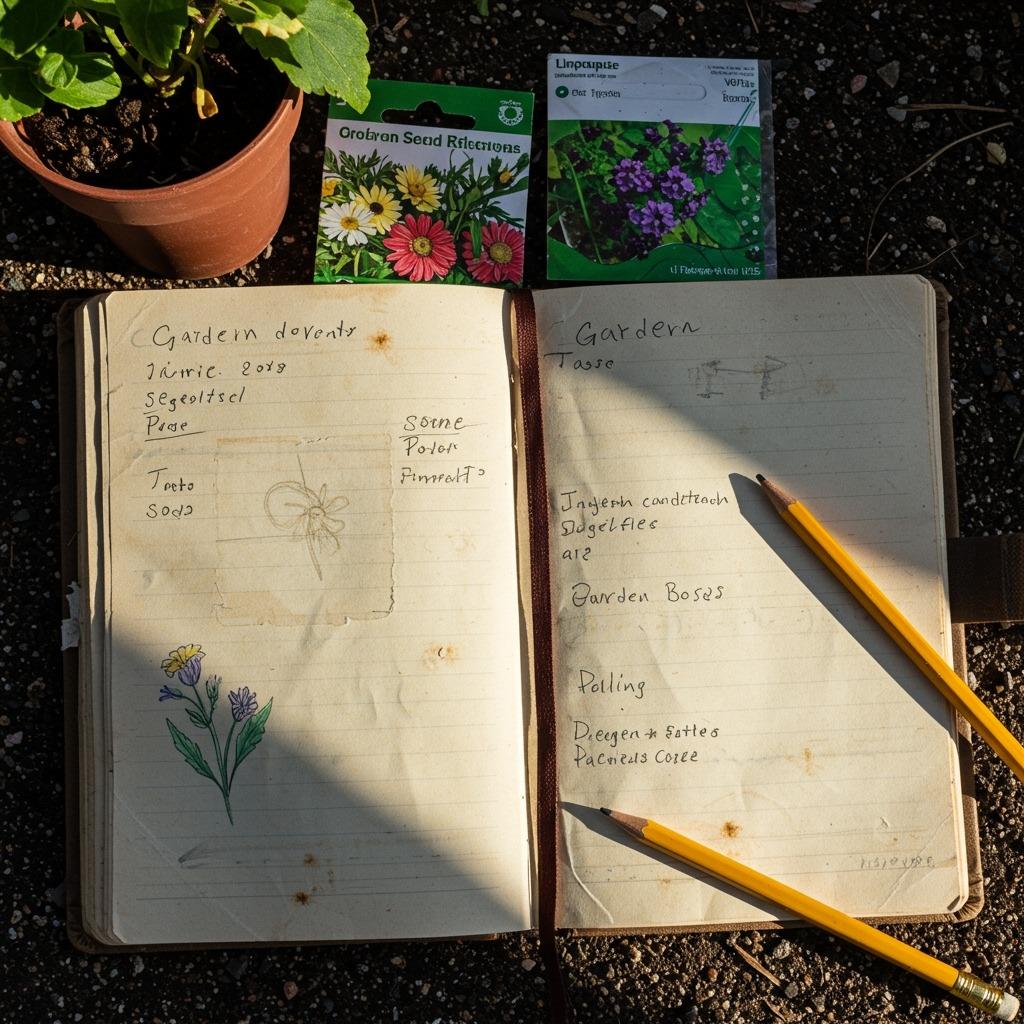
Your memory isn’t as good as you think. Write down what you planted, when you planted it, what worked, and what flopped. Include weather notes, pest problems, and harvest dates. These details seem memorable now but vanish by next spring.
A simple notebook works perfectly. Note which varieties produced well and which disappointed. Record spacing that worked versus crowding that caused problems. This personalized guide beats any generic gardening book because it’s specific to your yard, your soil, and your climate.
Garden journaling also helps you notice patterns. Maybe aphids always show up in June, or certain plants consistently struggle in one bed. These observations guide better decisions next season, turning random experiences into actual knowledge. For other areas of your home, keeping organized notes works equally well when planning home improvements.
19. Join Your Local Gardening Community
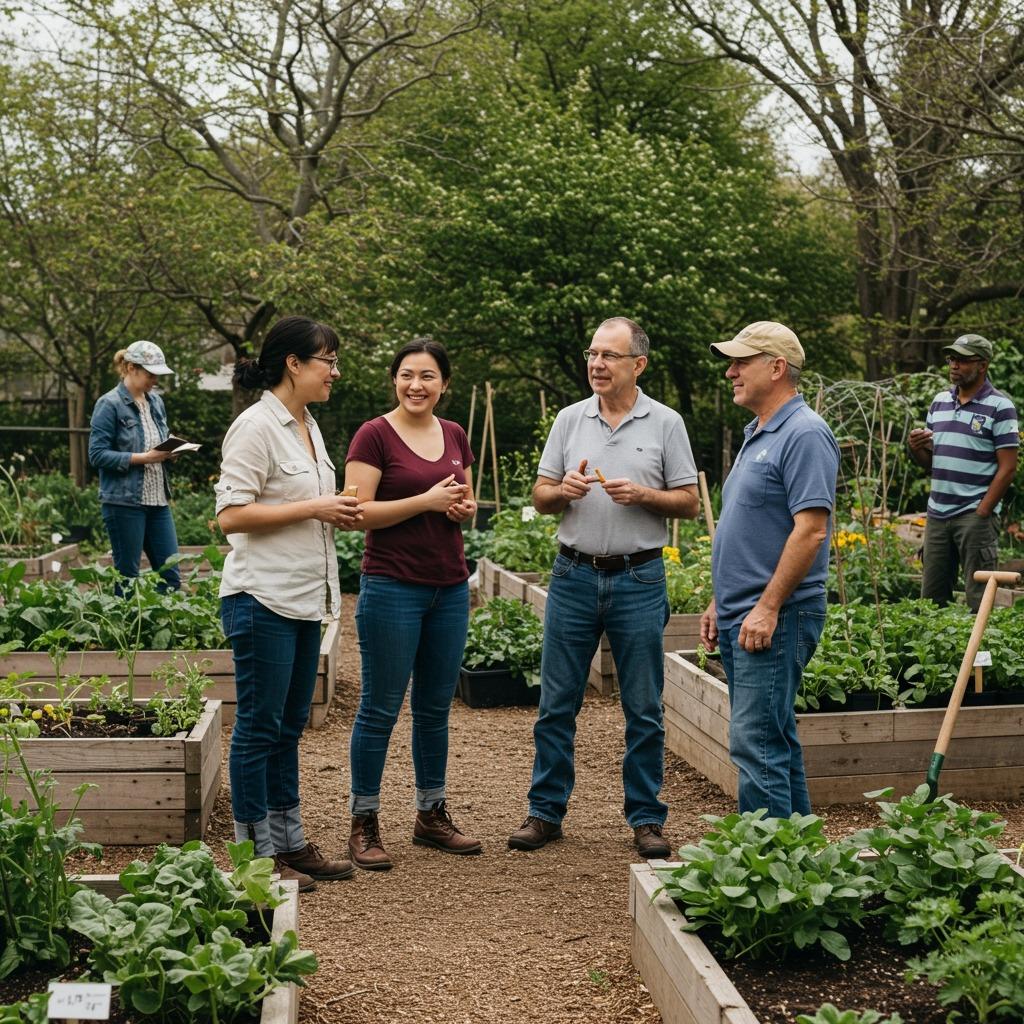
Other gardeners in your area know exactly what grows well where you live. They understand your soil, weather patterns, and local pest issues. Find a community garden, join a gardening Facebook group, or attend local extension office workshops.
Don’t be shy about asking questions. Most gardeners love sharing what they know and hearing about what’s working (or not working) for others. You’ll learn faster and avoid common local mistakes.
Local plant swaps and seed exchanges let you try new varieties without spending much money. You might discover that your neighbor has the perfect solution to your tomato problem or knows where to find the best compost in town. Gardening doesn’t have to be a solo activity.
20. Accept That Some Plants Will Fail
Even experienced gardeners lose plants. Sometimes seeds don’t germinate. Sometimes a plant just decides it doesn’t like your garden and dies for no clear reason. This doesn’t mean you’re terrible at gardening – it means you’re gardening.
Plants are living things dealing with weather, pests, diseases, and soil conditions you can’t completely control. Instead of feeling defeated by failures, treat them as information. What might have gone wrong? What would you do differently next time?
Every gardener has a plant cemetery in their past. The difference between beginners and experienced gardeners isn’t fewer failures – it’s better recovery and willingness to try again. Give yourself the same grace you’d extend to a friend learning something new.
21. Enjoy the Process (Really)
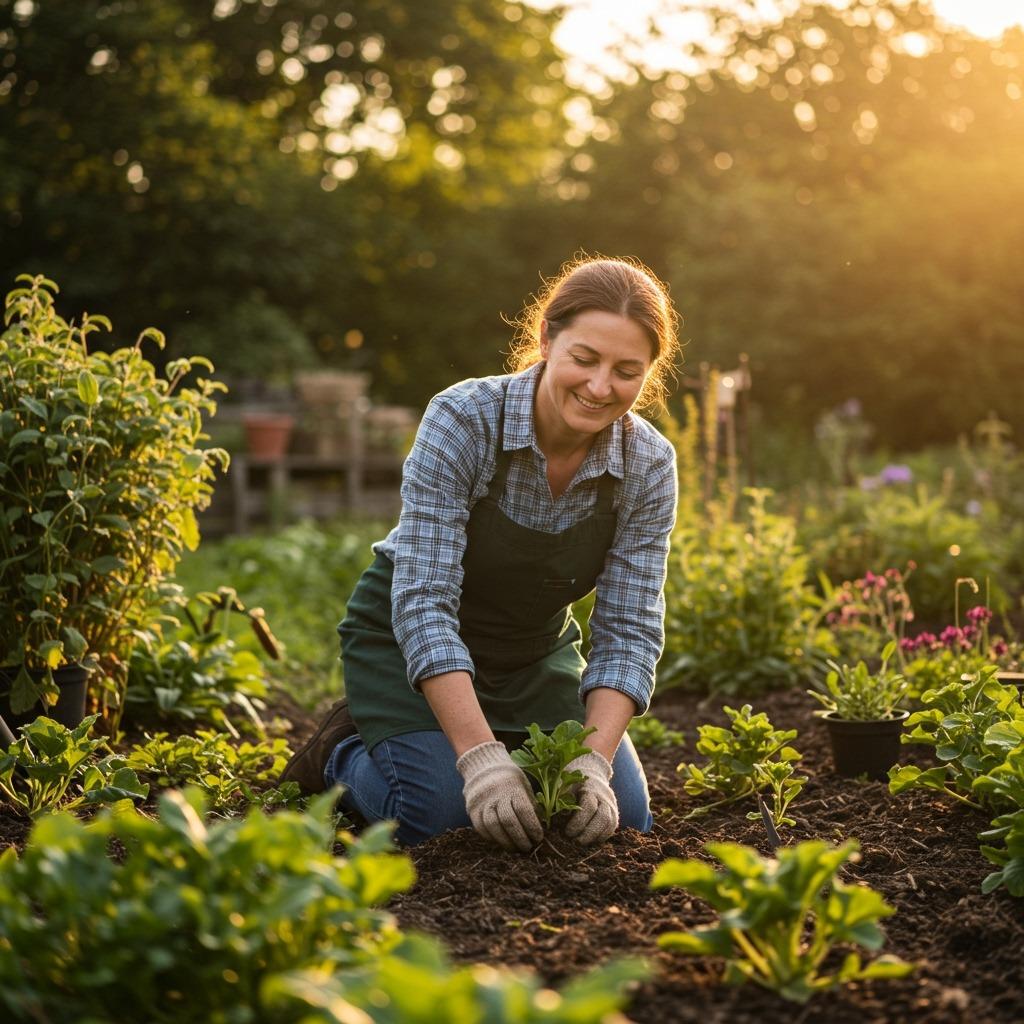
Gardening isn’t just about the harvest or the finished flower bed. It’s about the daily check-ins, noticing new growth, and the satisfaction of keeping something alive. If you only focus on end results, you’ll miss most of the actual experience.
Some days your garden looks rough. Leaves get chewed, things grow slowly, and nothing goes as planned. That’s normal. The weird thing about gardening is that imperfection becomes part of what you love about it. A caterpillar-munched tomato plant still produces tomatoes.
Step outside each morning (or evening) for a few minutes just to observe. Notice what changed, what’s thriving, and what needs attention. These small moments of connection are actually the point. The vegetables and flowers are just happy bonuses. Looking for more ways to enjoy your outdoor space? Garden and nursery ideas can expand your thinking beyond basic vegetable beds.
Growing Confidence Along with Your Garden
These 21 tips cover the fundamentals, but real learning happens when you actually plant something and pay attention to what it does. You’ll develop instincts about when plants need water, which pests require action versus which you can ignore, and what varieties love your specific garden.
Start with just a few easy plants this season. Master the basics of soil preparation, watering, and observation. Don’t try to implement everything at once – gardening skills build gradually, and rushing leads to overwhelm rather than success.
Your first garden won’t be perfect. Your second won’t be either. But each season, you’ll understand a little more, and your plants will respond to that growing knowledge. The journey from nervous beginner to confident gardener happens one planted seed at a time.