
You know that sinking feeling when you scroll through gorgeous home tours and think, “I could never afford that”? Here’s a secret: most of those high-end looks don’t actually require a luxury budget. The right affordable home upgrades can completely transform your space without emptying your savings account.
I’ve spent years figuring out which budget-friendly home improvements actually deliver that expensive, designer look. Some upgrades take an afternoon, others might stretch over a weekend, but none will require you to take out a second mortgage. Whether you’re sprucing up before guests arrive or finally tackling that tired-looking bathroom, these low-cost renovations prove that style doesn’t have to come with a steep price tag.
The homes that look most expensive often share a common thread: attention to detail. It’s not about buying the priciest furniture or ripping out entire rooms. Sometimes, swapping outdated hardware or adding the right lighting makes all the difference. Ready to give your home that polished, pulled-together look? Let’s explore the quick upgrades that deliver maximum impact.
1. Swap Out Cabinet Hardware

Cabinet hardware is like jewelry for your kitchen and bathroom. Old, tarnished pulls scream “dated,” while sleek new hardware instantly modernizes the space. You can find beautiful options for just a few dollars per piece, and installation takes minutes with a screwdriver.
Matte black, brushed gold, and polished nickel are having a moment right now. The style you choose can completely shift the vibe of your room. Modern bar pulls create clean lines, while vintage-inspired knobs add character to traditional kitchen spaces.
Don’t underestimate this simple swap. For under $50, you can update an entire kitchen’s worth of hardware and make it look like you invested thousands in a remodel.
2. Add Crown Molding

Crown molding bridges that awkward gap between your walls and ceiling, adding architectural interest that screams custom home. While professional installation can get pricey, lightweight foam molding makes this a surprisingly doable DIY project.
Pre-primed options mean you can paint them to match your walls in no time. The visual lift crown molding provides makes ceilings appear higher and rooms feel more finished. It’s one of those details people don’t consciously notice, but it elevates the entire space.
Start with one room to get comfortable with the process. Living rooms and dining rooms benefit most from this upgrade, though bedrooms look equally polished with this classic touch.
3. Install a Statement Light Fixture
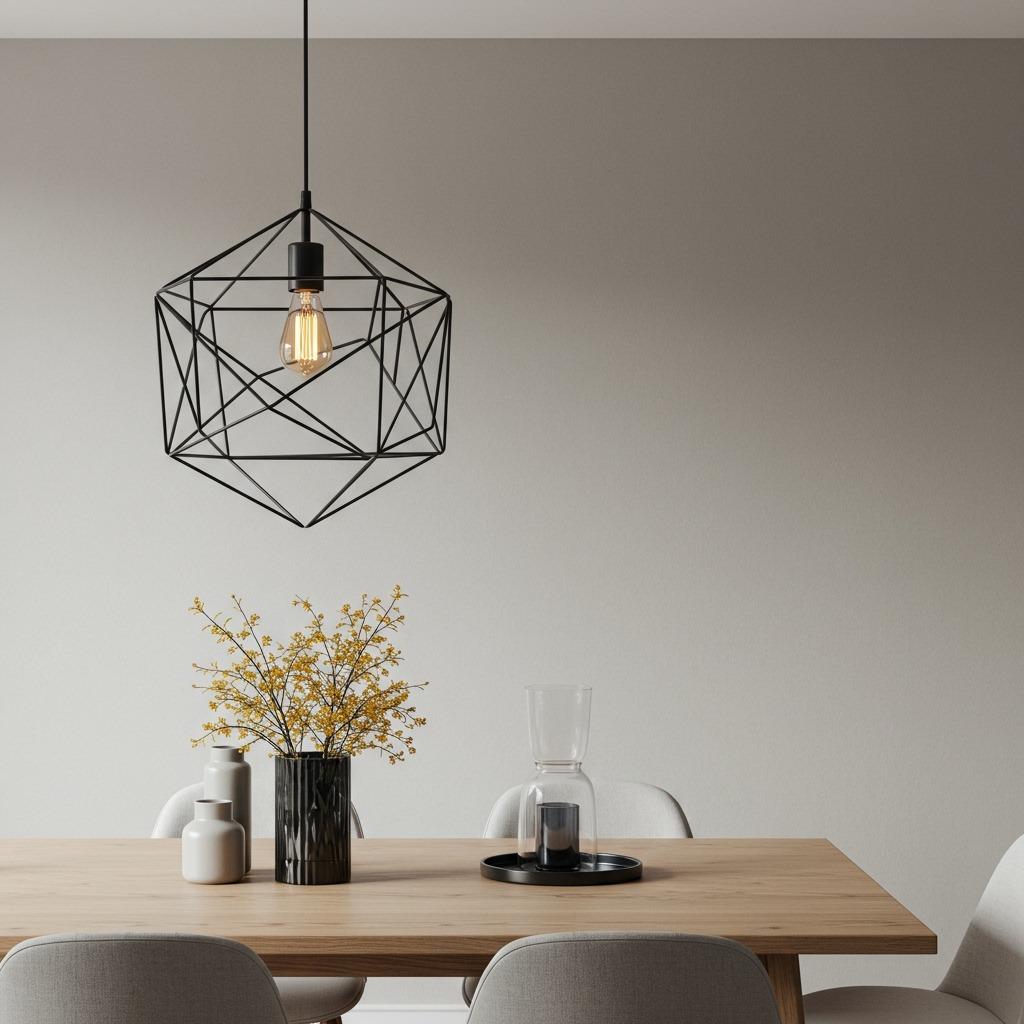
Lighting might be the most underrated element in home design. Swap that builder-grade fixture for something with personality, and suddenly your room has a focal point. You don’t need an electrician for most replacements if you’re comfortable turning off the breaker.
A sculptural pendant in the dining room or an oversized flush-mount in the bedroom creates instant drama. Thrift stores and online marketplaces overflow with affordable options that look far more expensive than their price tags suggest. Even a $40 fixture can look like it cost hundreds when you choose the right style.
The key is going bigger than you think you should. A too-small light fixture makes a room feel cheap, while a properly scaled statement piece adds sophistication and draws the eye upward.
4. Paint an Accent Wall
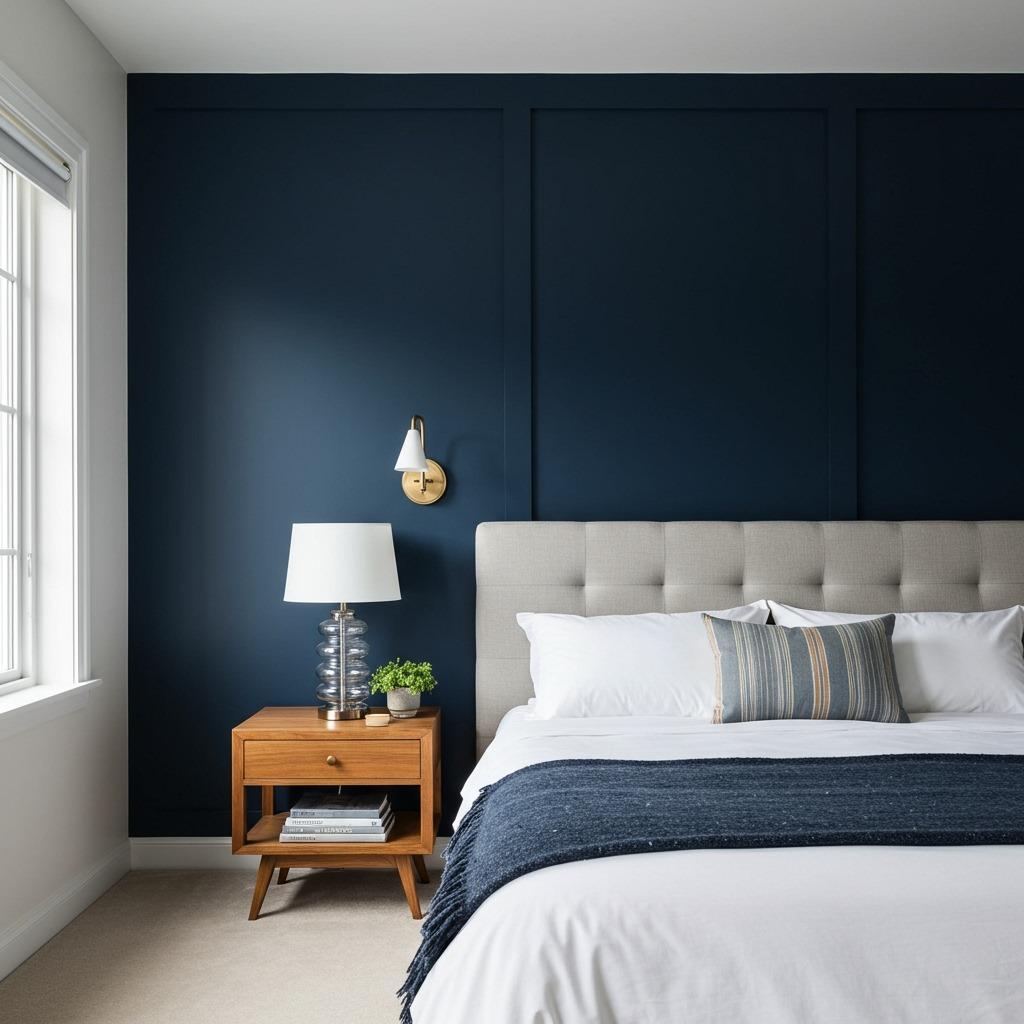
One gallon of paint and a weekend afternoon can dramatically change how a room feels. An accent wall adds depth without overwhelming your space with color. The technique works especially well behind beds, sofas, or in dining areas.
Deep, moody colors like forest green or charcoal create a luxurious backdrop that makes lighter furniture pop. You could also try a warm terracotta or soft sage for something more approachable. The contrast between your accent wall and the surrounding neutral walls creates dimension that flat, single-color rooms lack.
Don’t stress about perfect technique. Even slightly imperfect edges add character. Just tape off your lines carefully, use quality paint, and watch your bedroom transform into something magazine-worthy.
5. Upgrade Your Shower Curtain and Rod
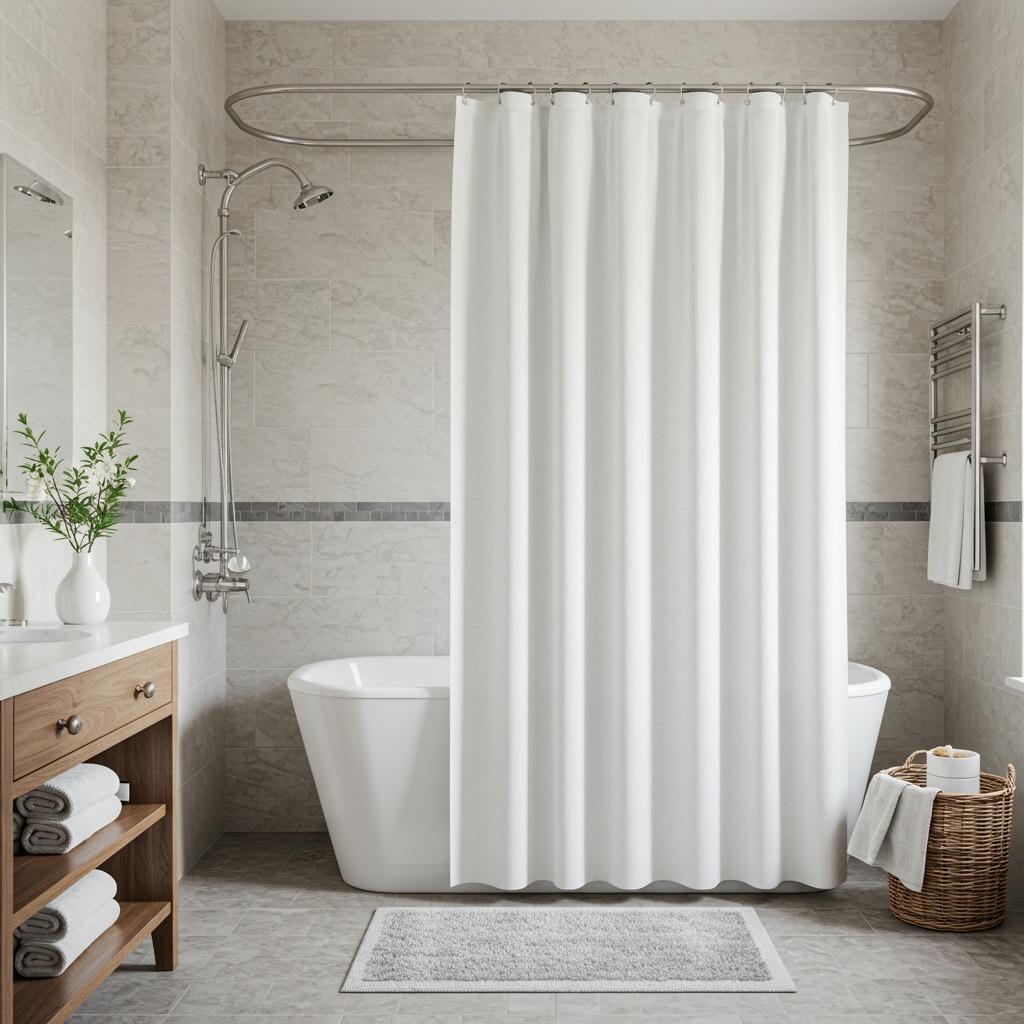
Flimsy plastic shower curtains and basic tension rods make even the nicest bathrooms look cheap. A substantial fabric curtain paired with a quality rod instantly elevates your bathroom’s aesthetic. Look for curtains that reach all the way to the floor for that hotel-luxe vibe.
Curved shower rods create the illusion of more space while adding visual interest. They’re surprisingly easy to install and cost around $30-40 for decent quality. Pair it with a textured linen or waffle-weave curtain in white or a soft neutral.
This simple swap transforms your bathroom from functional to spa-like. The fabric curtain also lasts longer than plastic alternatives and looks infinitely more sophisticated.
6. Replace Outlet Covers and Switch Plates

Those yellowed, paint-spattered outlet covers are probably something you’ve stopped noticing. But fresh, matching plates throughout your home create a cohesive, well-maintained look. Screwless options provide an especially clean, modern appearance.
You can grab a whole house’s worth of covers for $20-30. Choose a finish that complements your hardware and fixtures. White, almond, or even matte black options exist depending on your style.
This might seem trivial, but these little details add up. When every finish in your home looks intentional and coordinated, the overall effect is far more expensive than the individual parts.
7. Add Floating Shelves
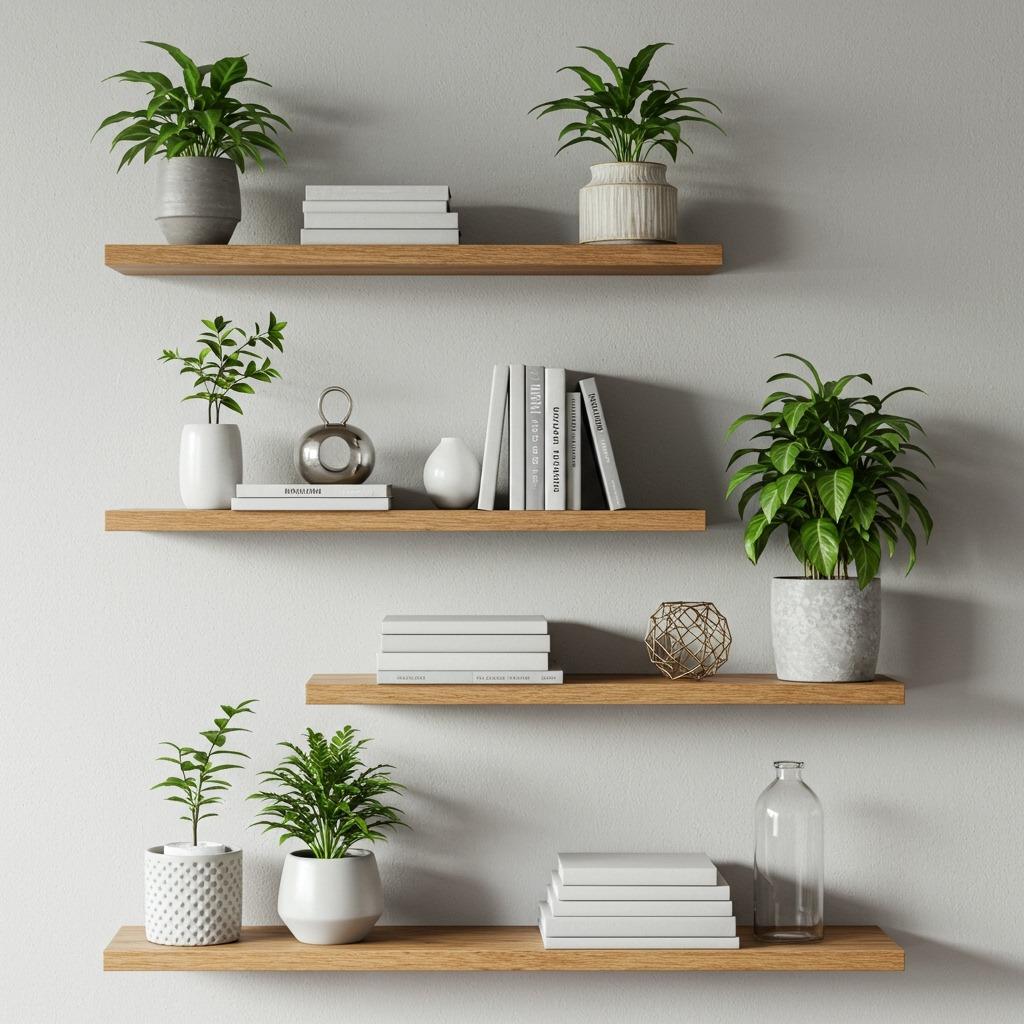
Floating shelves provide storage and display space while adding architectural interest to blank walls. They create the custom built-in look without the custom price tag. You can find beautiful options at home improvement stores for $15-30 each.
The key is styling them thoughtfully. Mix books, plants, and decorative objects in varying heights. Leave some breathing room rather than cramming every inch. The negative space is what makes styled shelves look expensive rather than cluttered.
Install them above a desk, flanking a TV, or in awkward spaces like that narrow wall in the hallway. Floating shelves work especially well in small spaces where you need storage that doesn’t feel heavy or bulky.
8. Install Peel-and-Stick Tile Backsplash
Real tile installation requires tools, skill, and often a professional. Peel-and-stick tile has come so far that most people can’t tell the difference from across the room. The adhesive options now include gorgeous marble, subway tile, and even intricate mosaic patterns.
A kitchen backsplash protects your walls from splashes while adding a designer touch. The materials cost around $50-100 for an average-sized backsplash area, and you can complete the project in a few hours. No grout mixing or special saws required.
Make sure your surface is clean and smooth before application. Take your time lining up the pattern, and the result looks incredibly polished. This quick upgrade works in bathrooms too, behind sinks or in shower surrounds.
9. Add Trim to Builder-Grade Doors
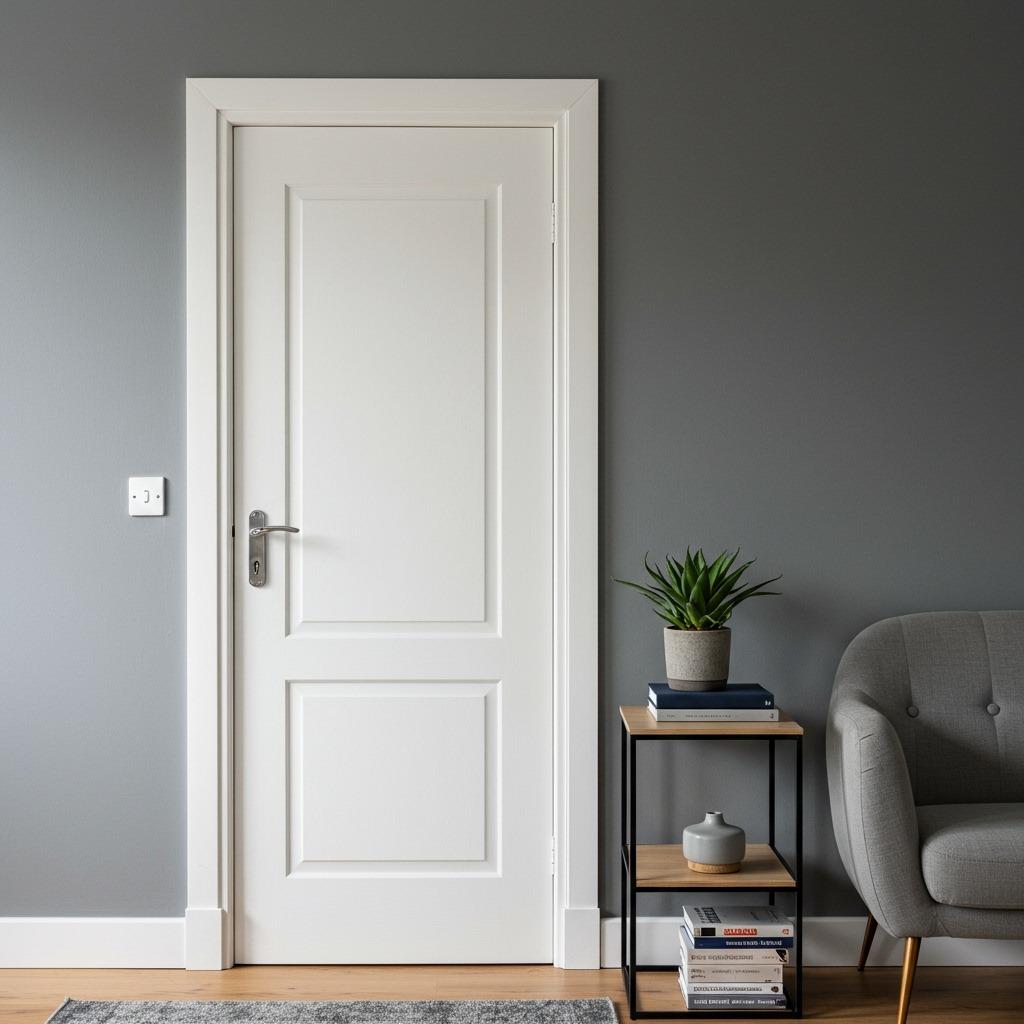
Flat, hollow-core doors are standard in most homes, and they look exactly as cheap as they are. Adding trim molding to create a panel effect gives them character and substance. You can use simple pine lattice strips from the hardware store for just a few dollars per door.
Measure and cut your trim to create a frame pattern on the door face. Attach with wood glue and small finishing nails, then fill holes and paint everything the same color. The transformation is remarkable.
This works on any door in your home but makes the biggest impact on bedroom and bathroom doors that you see frequently. The added dimension tricks the eye into thinking these are solid, quality doors.
10. Refresh Grout Lines
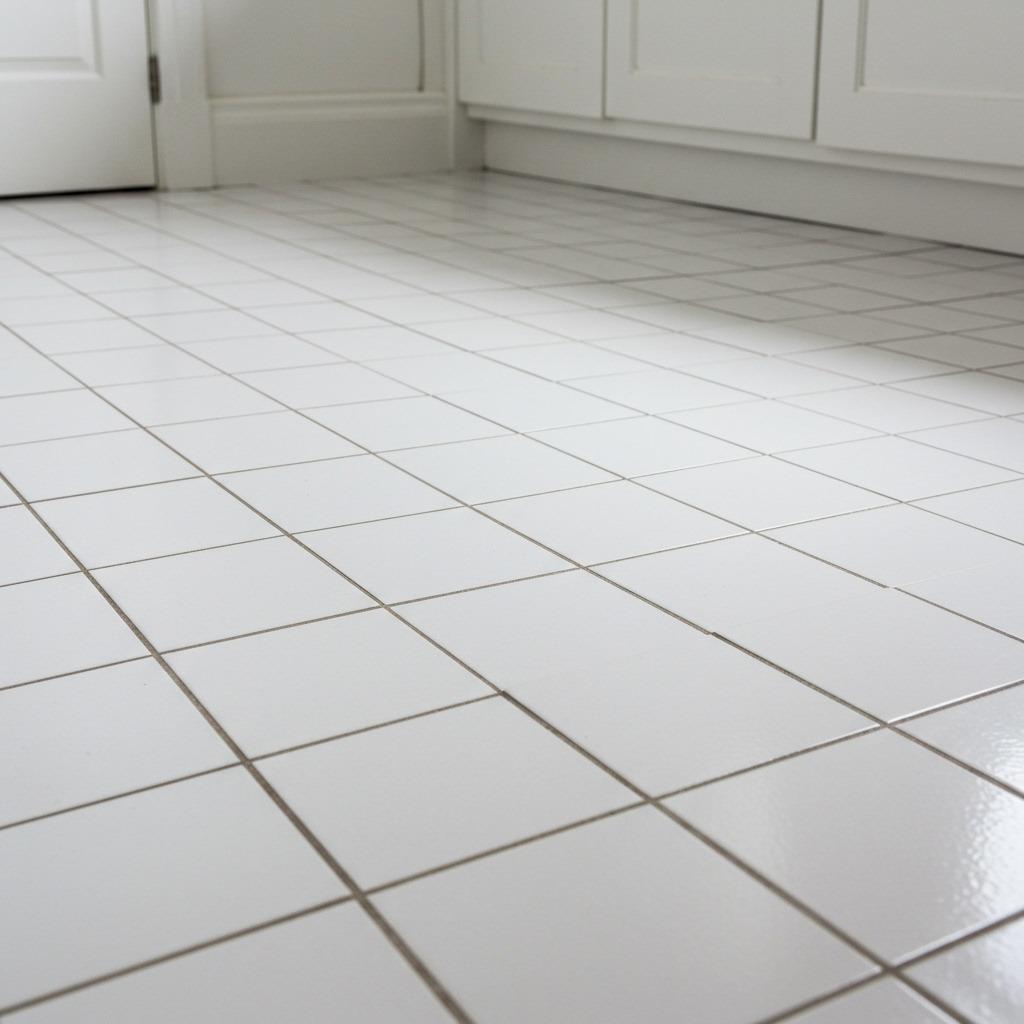
Dingy grout makes your entire bathroom or kitchen look dirty, no matter how much you scrub. A grout pen costs about $10 and can refresh tile in under an hour. The bright white lines make your tile look brand new again.
For deeper cleaning, a mixture of baking soda and hydrogen peroxide works wonders before you resort to regrouting. Apply it, let it sit for 10 minutes, then scrub with an old toothbrush. The chemical reaction lifts years of buildup.
If your grout is beyond saving, regrouting isn’t as scary as it sounds. While it’s more involved than other projects here, the cost is still minimal compared to replacing tile entirely. Fresh grout makes a dated bathroom feel clean and modern.
11. Install Window Film or Update Window Treatments
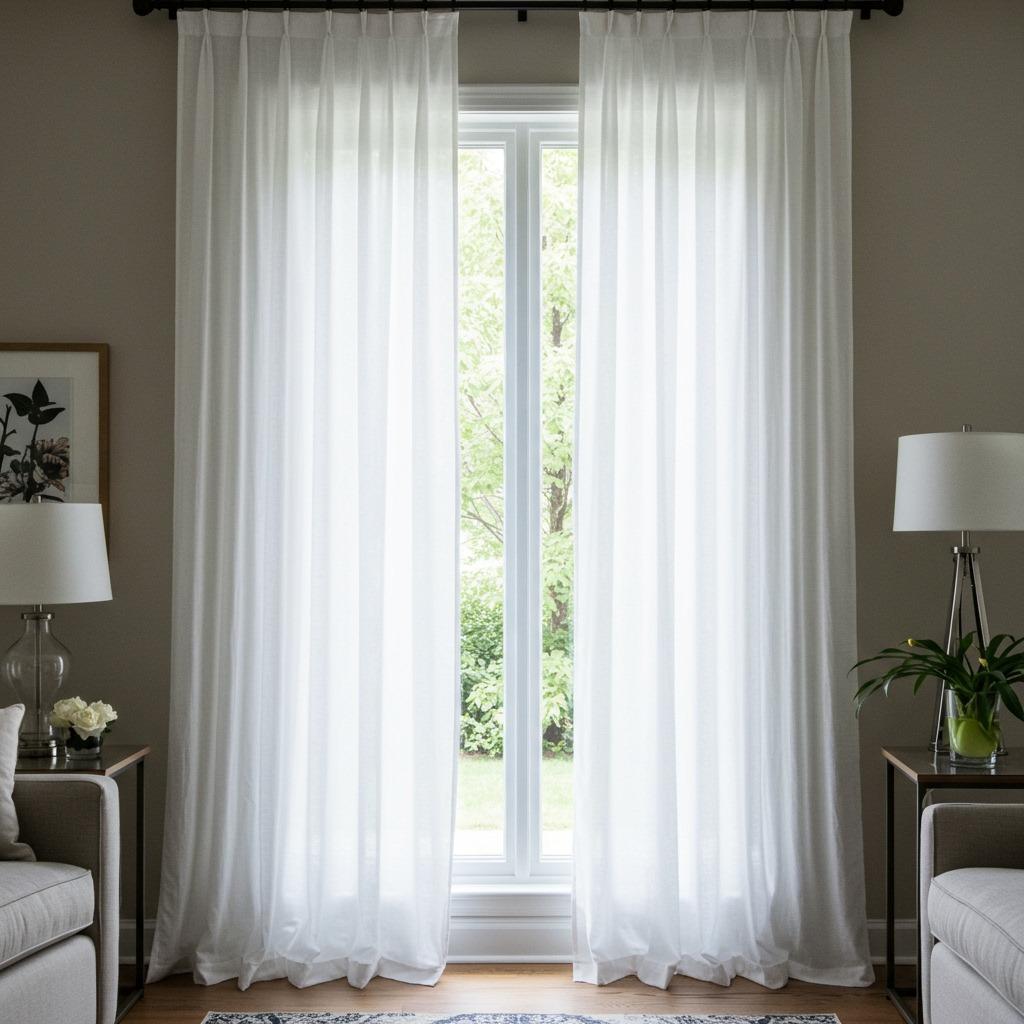
Windows frame your view but also how your room feels. Cheap blinds or outdated curtains drag down even beautifully furnished spaces. Hanging curtains higher and wider than the actual window makes the whole room appear more spacious and well-designed.
Choose panels that reach the floor (or even puddle slightly for drama). Mount your rod close to the ceiling rather than right above the window frame. This simple styling trick makes your ceilings look taller and windows more impressive.
For privacy without blocking light, frosted or decorative window film transforms plain glass. It’s especially useful in bathrooms or front doors where you want privacy without heavy curtains. The film costs $20-40 per window and applies easily with soapy water.
12. Add a Fresh Coat of Paint

Paint is probably the most powerful affordable home upgrade you can make. Fresh walls erase scuffs, update dated colors, and make everything else in your room look newer. You can paint an entire room for under $100 in materials.
Don’t underestimate the power of simply painting everything the same updated neutral. Greige (gray-beige) tones or soft whites create a cohesive backdrop that makes your furniture and decor shine. Your space immediately feels more pulled together.
Invest in quality paint even if it costs a bit more. The coverage, durability, and final appearance justify the expense. Two coats of good paint look infinitely better than three coats of cheap stuff that never quite covers.
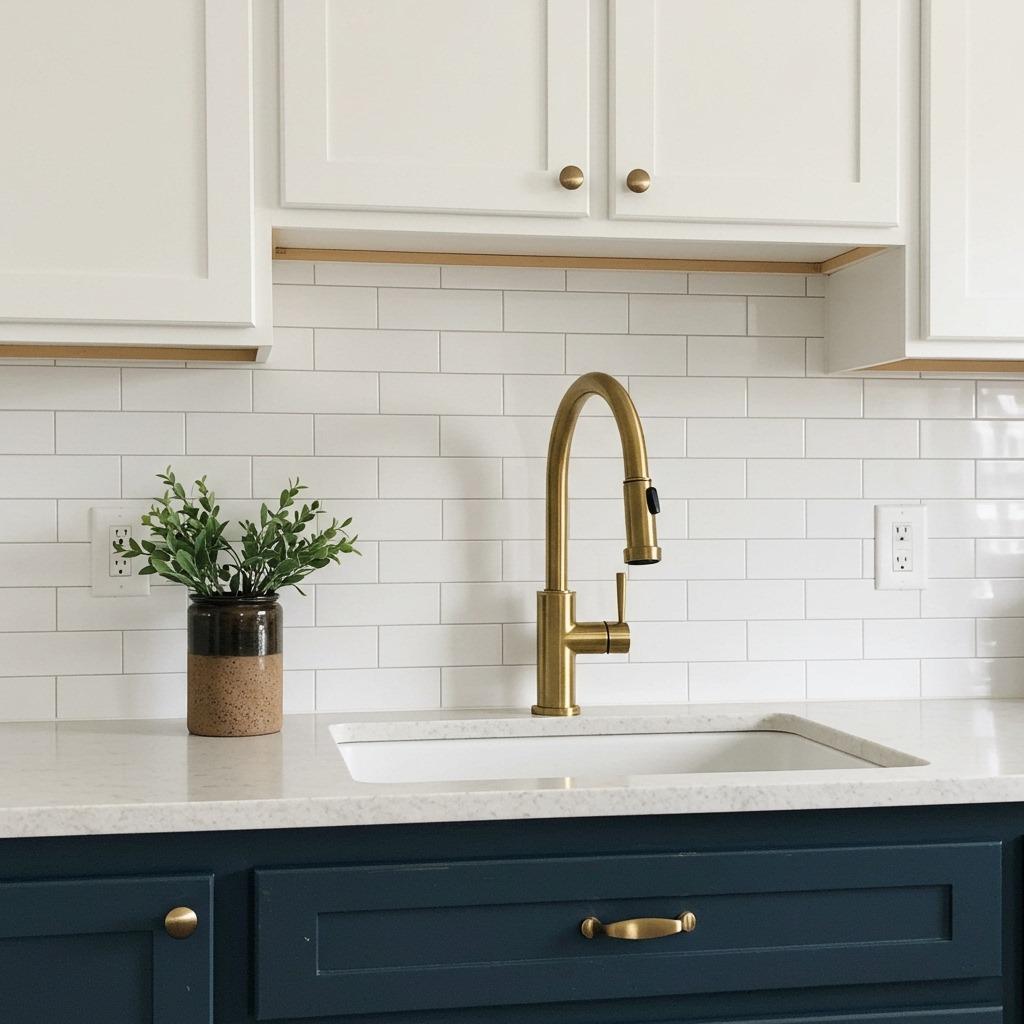
13. Update Bathroom Fixtures
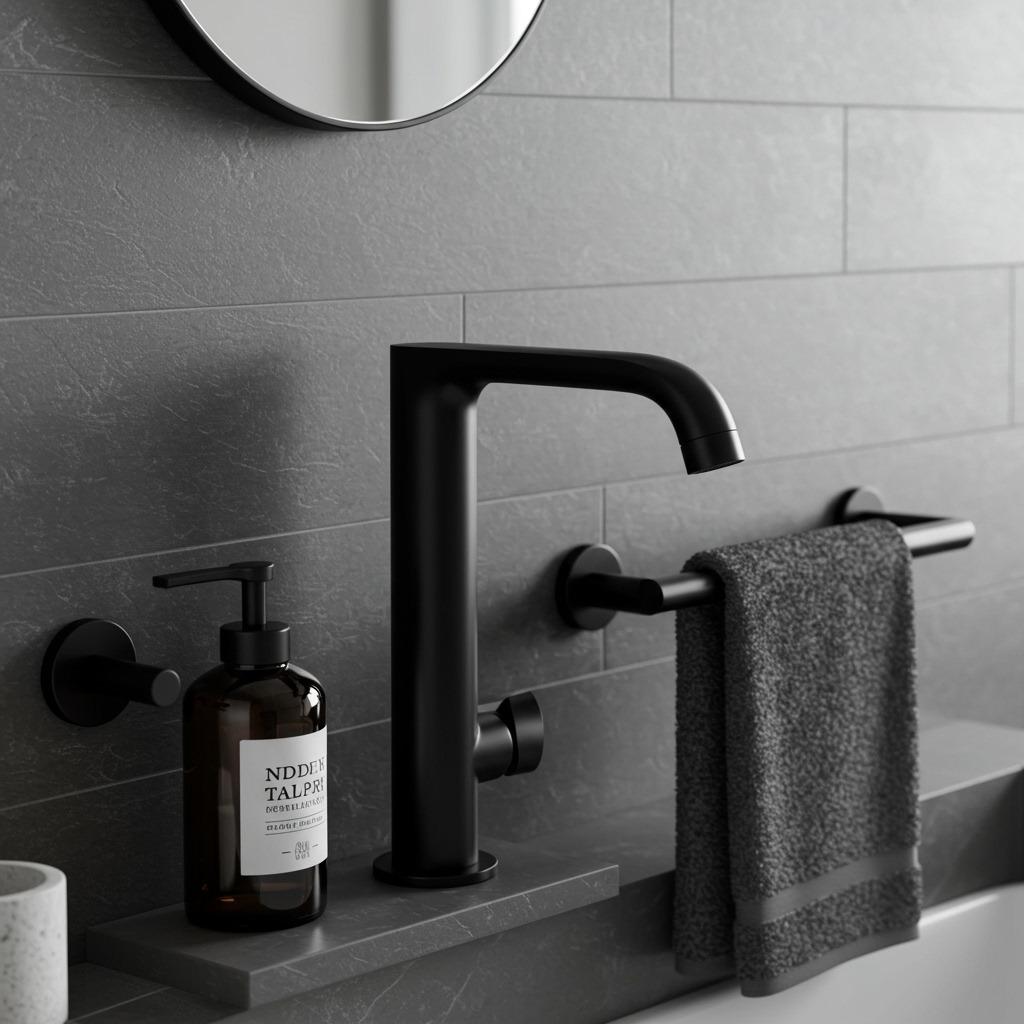
Replacing a faucet sounds intimidating, but most mount from above and require just basic tools. New fixtures in a coordinated finish transform a bathroom from builder-basic to boutique hotel. Matching faucets, towel bars, and toilet paper holders create that intentional, designed look.
You don’t need the priciest options to get a high-end appearance. Mid-range fixtures in trending finishes like matte black, brushed gold, or oil-rubbed bronze deliver serious visual impact. The key is coordinating everything in the same finish.
This upgrade pairs perfectly with other bathroom ideas like new lighting or a fresh shower curtain. When all the finishes work together, your bathroom feels custom rather than assembled from whatever was on sale.
14. Install a Programmable Thermostat
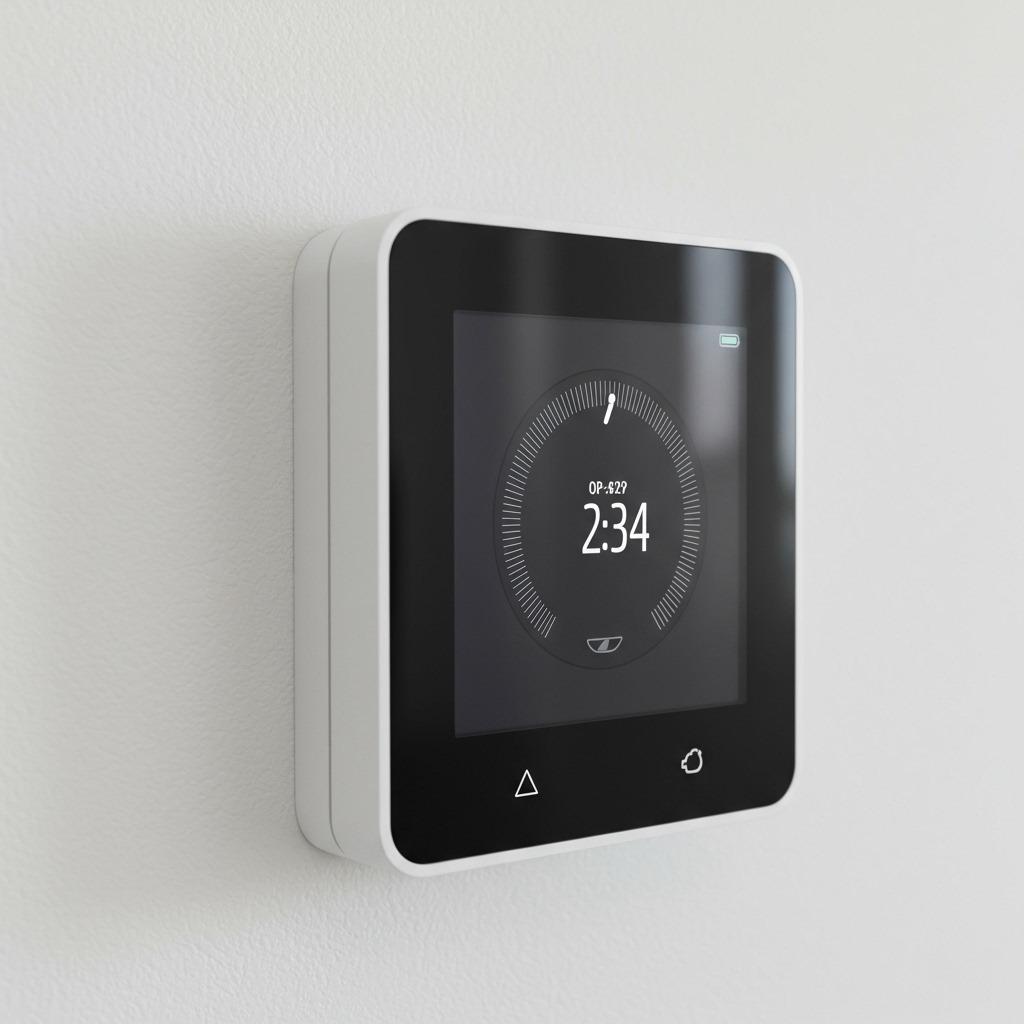
A dated thermostat is a subtle signal that your home hasn’t been updated. Modern programmable thermostats look sleek, save energy, and cost as little as $40-80. Installation takes about 30 minutes if you can follow basic wiring instructions.
Beyond aesthetics, you’ll actually save money on heating and cooling. Set schedules so your system isn’t working hard when you’re not home. Many models include apps so you can adjust temperatures remotely.
The visual upgrade alone is worth it. That clunky beige box on your wall gets replaced with something that looks intentionally designed. It’s one of those small touches that suggests the whole home is thoughtfully maintained.
15. Add Under-Cabinet Lighting
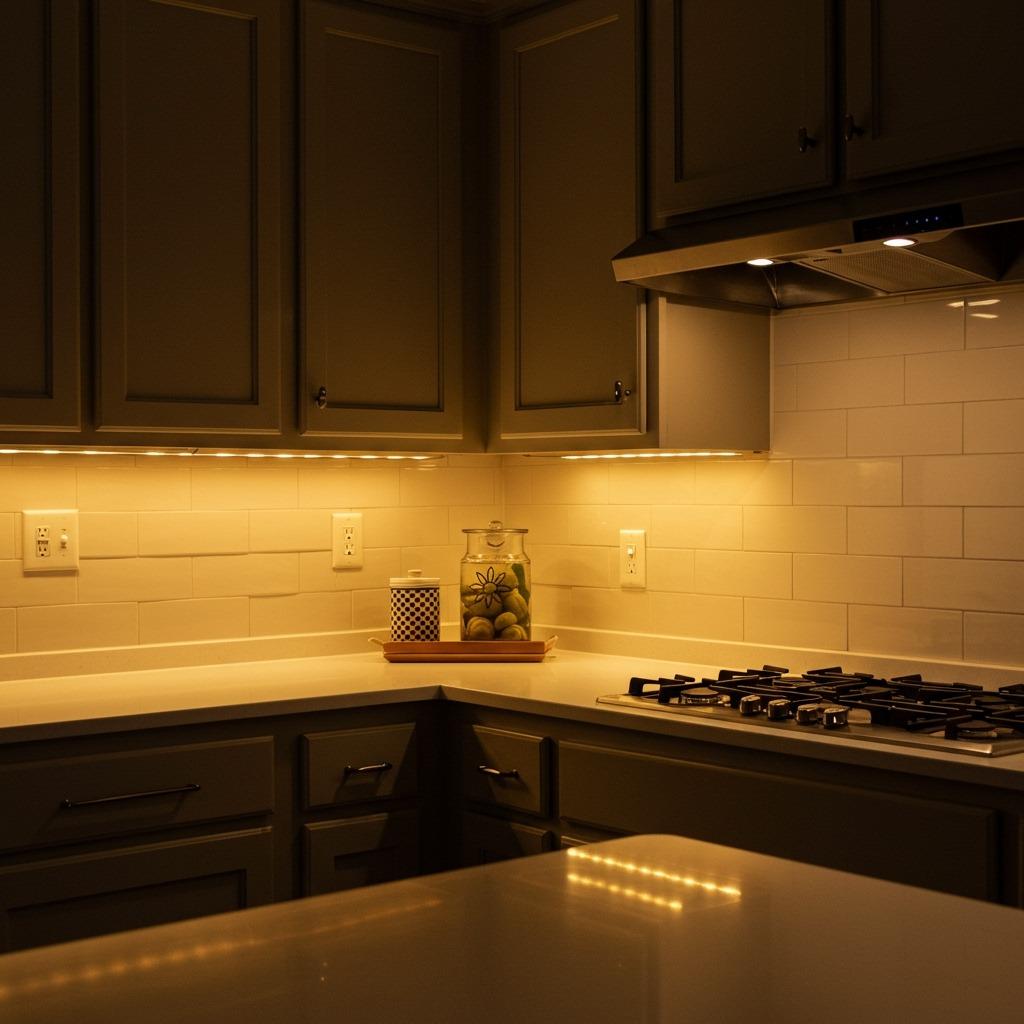
Under-cabinet lighting eliminates shadows on your countertops while adding ambiance to your kitchen. LED strip lights with adhesive backing make installation shockingly simple. No electrician needed, just plug them in and stick them up.
The lighting makes your kitchen more functional for food prep, but it also highlights your backsplash and countertops. If you’ve invested in nice finishes, proper lighting shows them off. Even basic materials look elevated when lit correctly.
Battery-operated options exist if you don’t have outlets under your cabinets, though plug-in versions are brighter and more reliable. Either way, you’re looking at $30-60 for materials. The sophisticated look rivals much pricier kitchen renovations.
16. Frame Your Bathroom Mirror
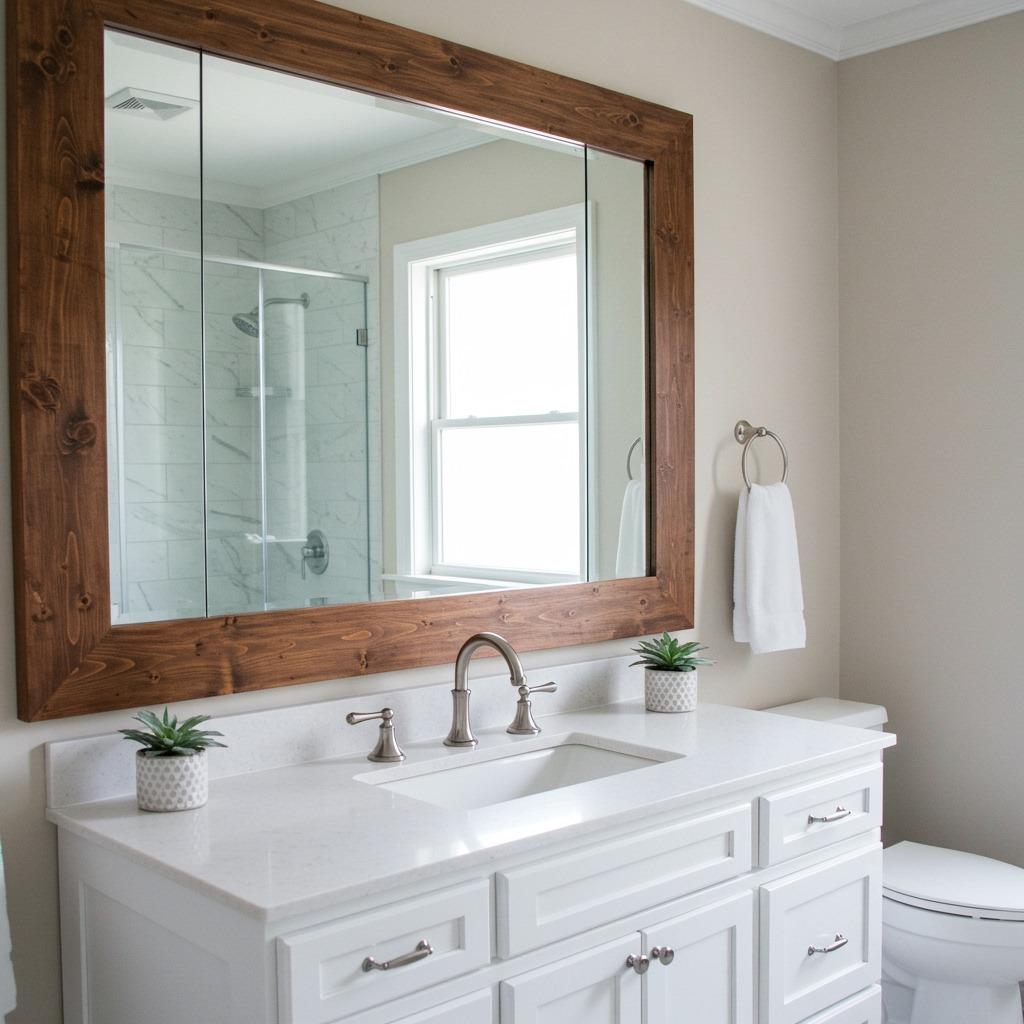
Builder-grade bathrooms typically include plain mirrors mounted directly to the wall. Adding a frame transforms that basic mirror into a statement piece. You can use trim molding, reclaimed wood, or even premade frame kits designed for this purpose.
Measure your mirror, miter your corners, and attach the frame with construction adhesive. Paint or stain it to match your aesthetic. The depth and dimension a frame adds makes your bathroom feel intentionally designed rather than developer-basic.
This works particularly well when you update other bathroom elements simultaneously. Combine it with new fixtures and lighting for a complete refresh that looks like you hired a designer.
17. Install Closet Organization Systems

Closet chaos makes your entire bedroom feel messy, even when everything else is tidy. Budget-friendly organization systems from big box stores cost $100-200 and install in an afternoon. The visual and functional improvement is immediate.
Double hanging rods maximize vertical space. Shoe racks keep pairs together and visible. Shelving provides homes for folded items. When everything has a designated spot, your closet looks expensive rather than overcrowded.
The organized closet also makes getting dressed easier. You can actually see what you own, which often means you feel like you have more outfit options. It’s one of those home improvement ideas that improves daily life while looking sharp.
18. Add Baseboards or Quarter Round
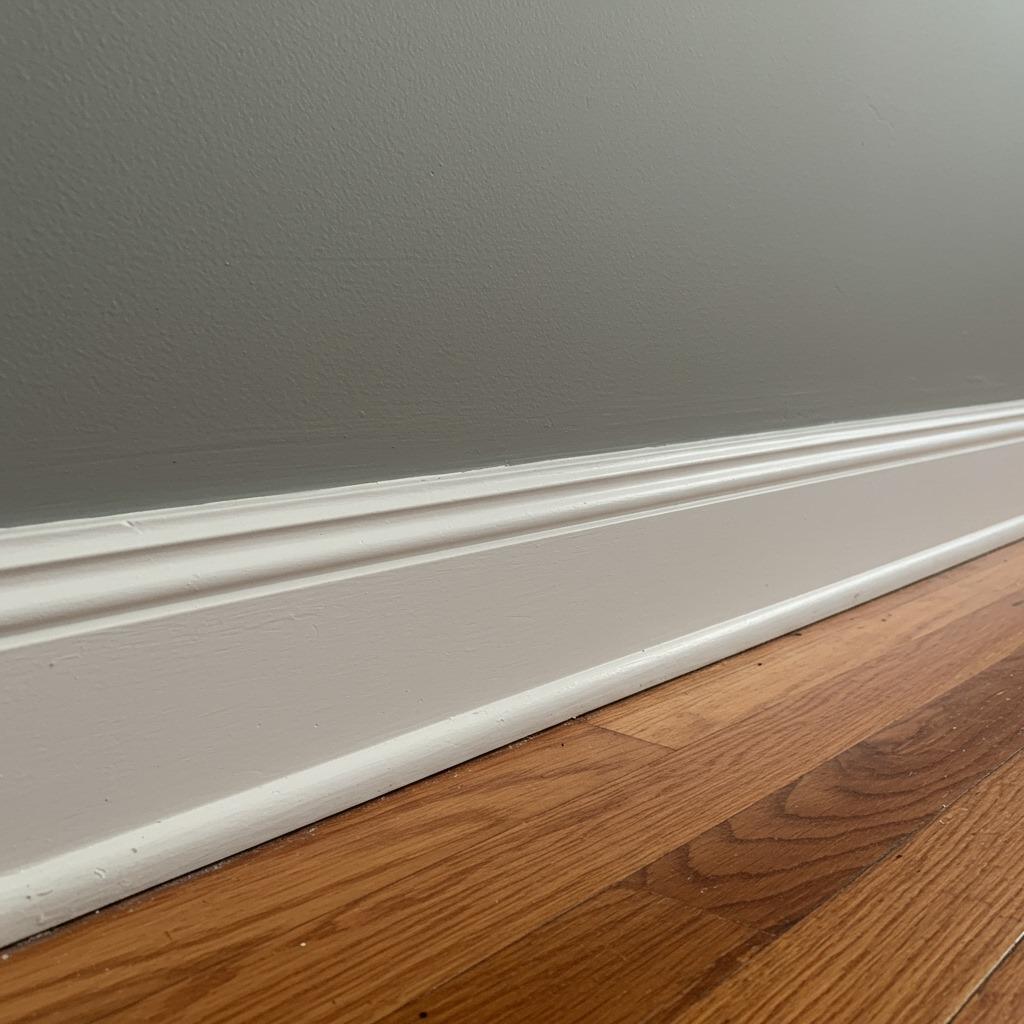
Baseboards hide the gap between your walls and floors while adding architectural character. Many older homes have thin, outdated baseboards or none at all. Upgrading to taller, more substantial molding creates a finished, expensive look.
Quarter round at the base hides any gaps and creates a cleaner line. Pre-primed options mean you just need to paint them to match your trim color. The materials for an average room cost $30-50, and installation just requires a miter saw and finishing nails.
This upgrade works beautifully with new paint. The crisp white trim against freshly painted walls gives your room that professionally finished appearance. It’s especially impactful in older homes that could use some sprucing up.
19. Create a Gallery Wall
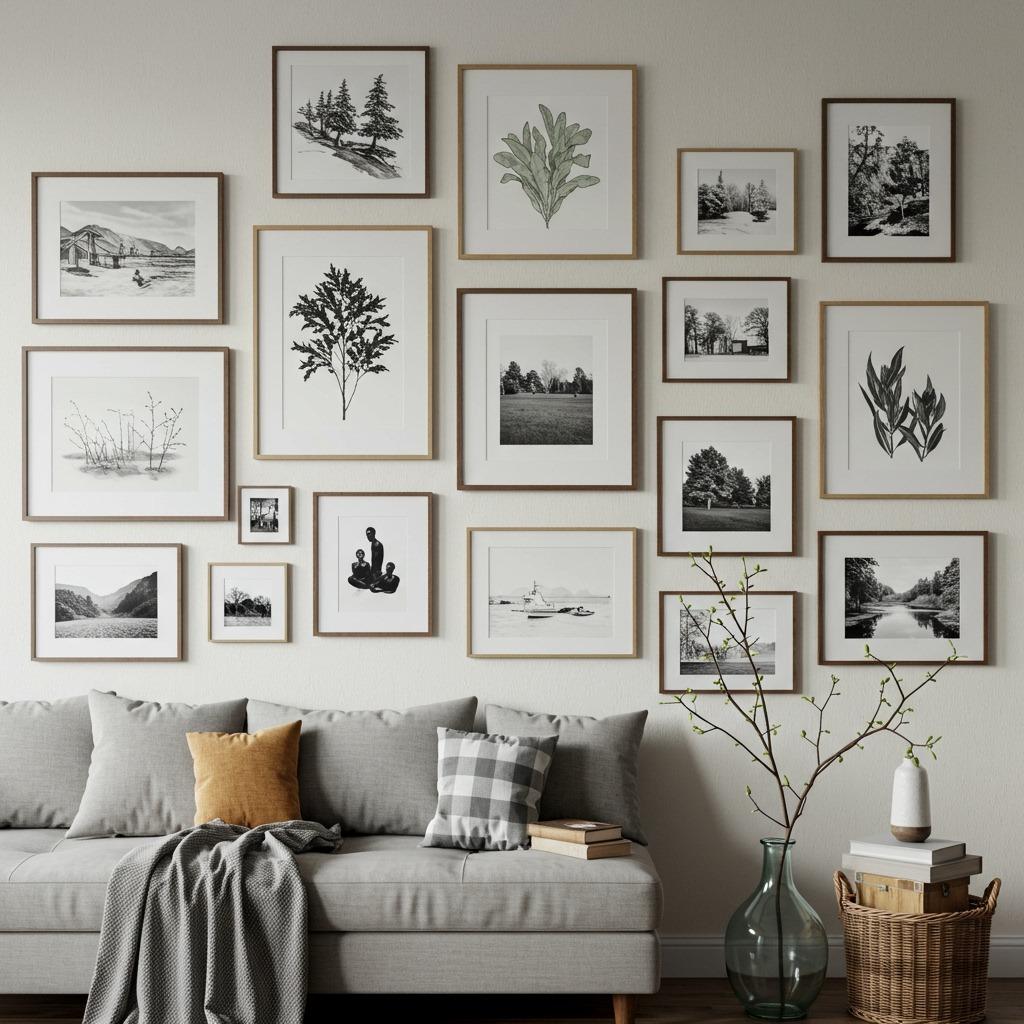
Blank walls make rooms feel unfinished and cold. A thoughtfully arranged gallery wall adds personality and polish without major renovation. You can create one entirely with thrifted frames and printed photos or artwork.
The key is planning your layout before hammering nails. Trace your frames on kraft paper, arrange them on the floor until you’re happy, then tape the paper templates to the wall as a guide. Mix frame sizes and orientations for visual interest.
Start with an anchor piece and build around it. Keep spacing consistent between frames, usually 2-3 inches. The collected, curated look suggests you’ve been thoughtfully decorating over time rather than buying everything at once. It works beautifully in living rooms, hallways, or stairwells.
20. Replace Air Vents and Registers

Those basic white plastic vent covers are easy to ignore until you upgrade them. Metal registers in a matching finish instantly look more intentional and expensive. You can coordinate them with your door hardware and light fixtures for a cohesive design.
Floor registers come in decorative patterns that add visual interest. Wall vents in contemporary finishes blend into your decor rather than standing out as eyesores. The upgrade costs $10-20 per vent, which adds up but creates a unified look throughout your home.
This is one of those finishing touches that elevates everything around it. When even your vent covers look deliberately chosen, your entire home feels more designed and valuable.
21. Style Open Shelving or Add Plants

Plants breathe life into any space while purifying your air. A few well-placed houseplants make your home feel fresh, curated, and expensive. You don’t need a green thumb – pothos, snake plants, and ZZ plants practically thrive on neglect.
Choose planters that match your style. Ceramic pots in neutral tones, woven baskets, or modern concrete planters all elevate basic plants into decor elements. Vary heights and textures for visual interest. A tall fiddle leaf fig in the corner or trailing pothos on a shelf adds dimension.
If you already have open shelving, styling it properly makes the difference between cluttered and curated. Group items in odd numbers, vary heights, and leave breathing room. Mix practical items with decorative ones. The result looks collected and intentional rather than thrown together. This approach works particularly well if you’re creating an indoor garden atmosphere.
Make Your Home Look Expensive Without the Price Tag
These budget-friendly home improvements prove that style doesn’t require unlimited funds. The most expensive-looking homes share common traits: attention to detail, cohesive finishes, and thoughtful styling. Whether you tackle one project this weekend or systematically work through the list over a few months, each upgrade compounds the overall effect.
Start with the changes that bother you most or the rooms you use daily. A DIY home renovation doesn’t have to mean gutting rooms down to the studs. Sometimes the most impactful transformations come from these smaller, strategic updates that layer together into something truly special.
Which upgrade are you trying first? The beauty of these low-cost renovations is that you can experiment without major commitment. If something doesn’t work, you’re only out a small investment. But when you nail it, your home transforms into a space that looks like you spent thousands more than you actually did.

