Ever opened your pantry door and wondered where that can of tomatoes disappeared to? You’re not alone. Most of us have stood in front of our pantry shelves, staring at the chaos, wishing for a system that actually sticks.
Here’s the thing – kitchen pantry organization doesn’t require buying hundreds of matching containers or spending an entire weekend color-coding everything. What it does need is a strategy that fits your actual cooking habits and your family’s real-life routines.
This guide walks you through practical ways to transform your pantry from overwhelming to effortless. Whether you’re working with a spacious walk-in or a single cabinet, these tips will help you create efficient food storage that saves time, reduces waste, and maybe even makes meal planning a little less stressful.
Why Your Pantry Gets Messy (And How to Fix It)
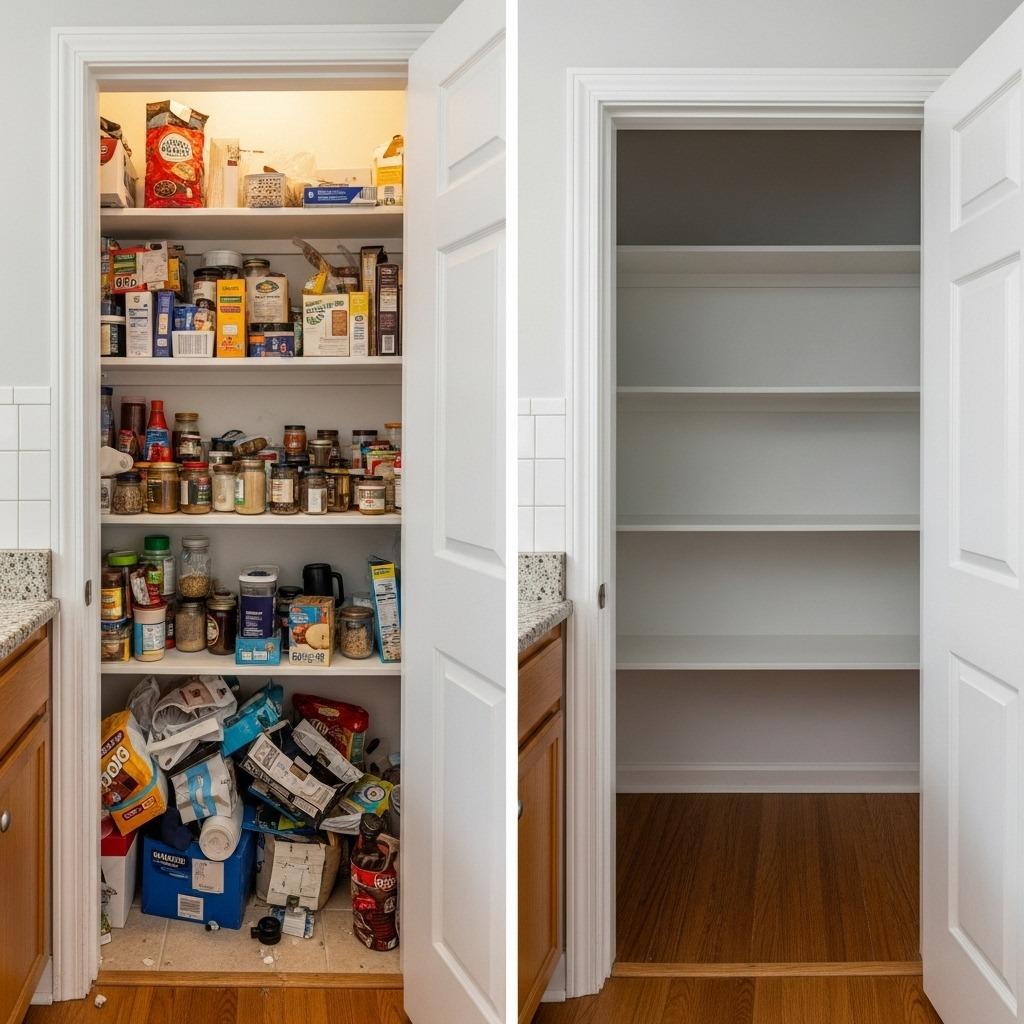
The problem with most pantries isn’t lack of space. It’s that we treat them like storage units instead of working kitchens. We buy groceries, shove them wherever they fit, and hope we’ll remember what’s hiding in the back.
Sound familiar? The boxes pile up, things expire before we use them, and suddenly we’re buying duplicate items because we forgot we already had them. It’s frustrating, wasteful, and completely fixable with the right approach.
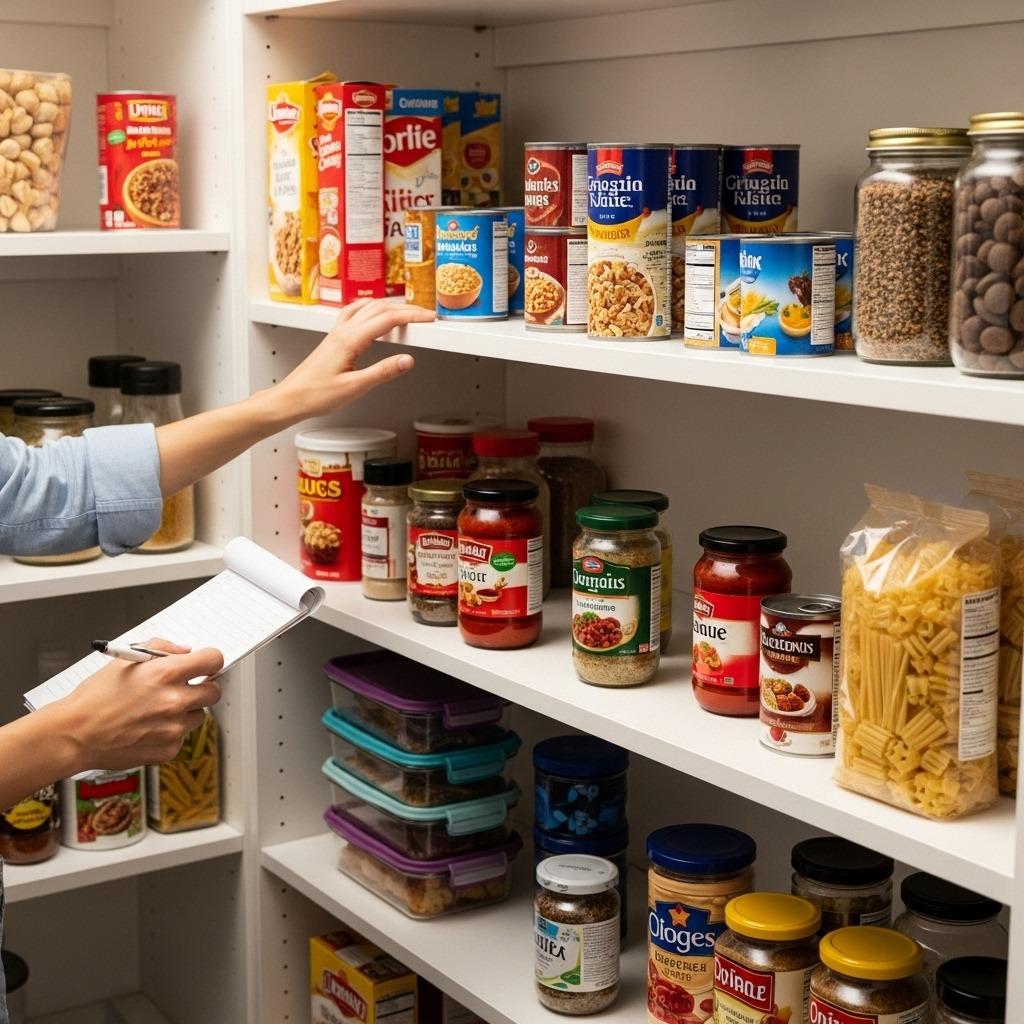
Before you start reorganizing, take everything out. Yes, everything. You need to see what you’re working with – the expired items, the duplicates, the random things you bought for a recipe three years ago. This step feels tedious, but it’s the foundation of a system that actually works.
Zone Your Pantry Like a Pro
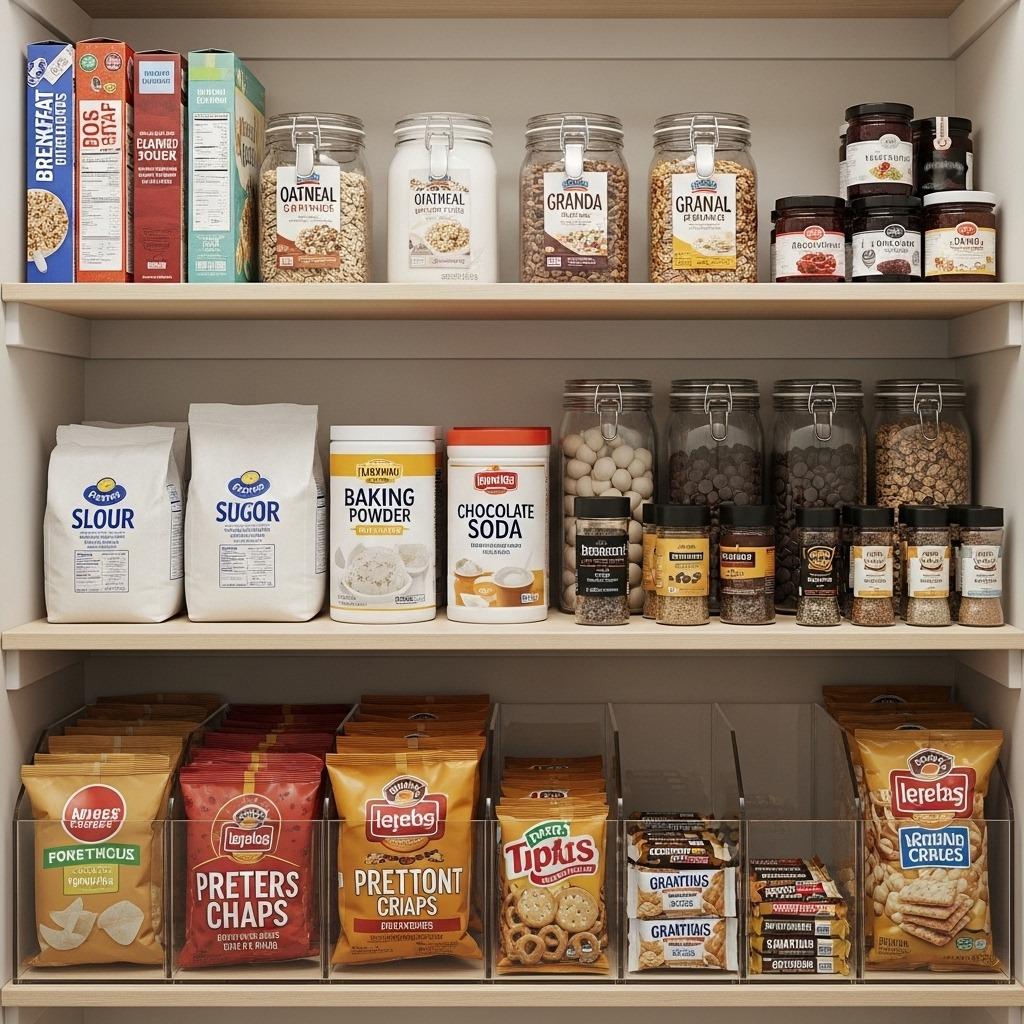
Think about how you move around your kitchen and dining space. You grab breakfast items in the morning, reach for snacks throughout the day, and pull out dinner ingredients in the evening. Your pantry should mirror these natural patterns.
Create dedicated zones based on meal types and usage frequency. Put breakfast items on one shelf, baking supplies together, snacks at kid-friendly heights. This isn’t about perfection – it’s about reducing the mental load when you’re trying to throw dinner together on a Tuesday night.
The top shelves? Perfect for items you rarely use or bulk purchases. Middle shelves get your daily essentials. Lower shelves work great for heavy items like bags of flour or your collection of canned goods. If you have kids, give them their own snack zone they can access independently.
Containers That Actually Make Sense
Let’s talk about those picture-perfect pantries you see online. Beautiful, right? But here’s what they don’t tell you – not everything needs to be in a matching container. Some items work better in their original packaging, and that’s completely fine.
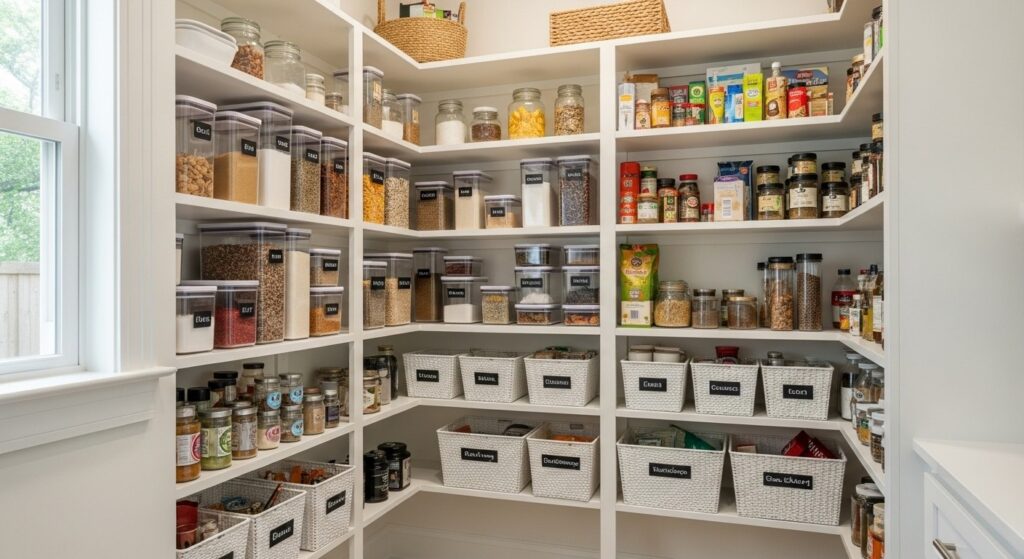
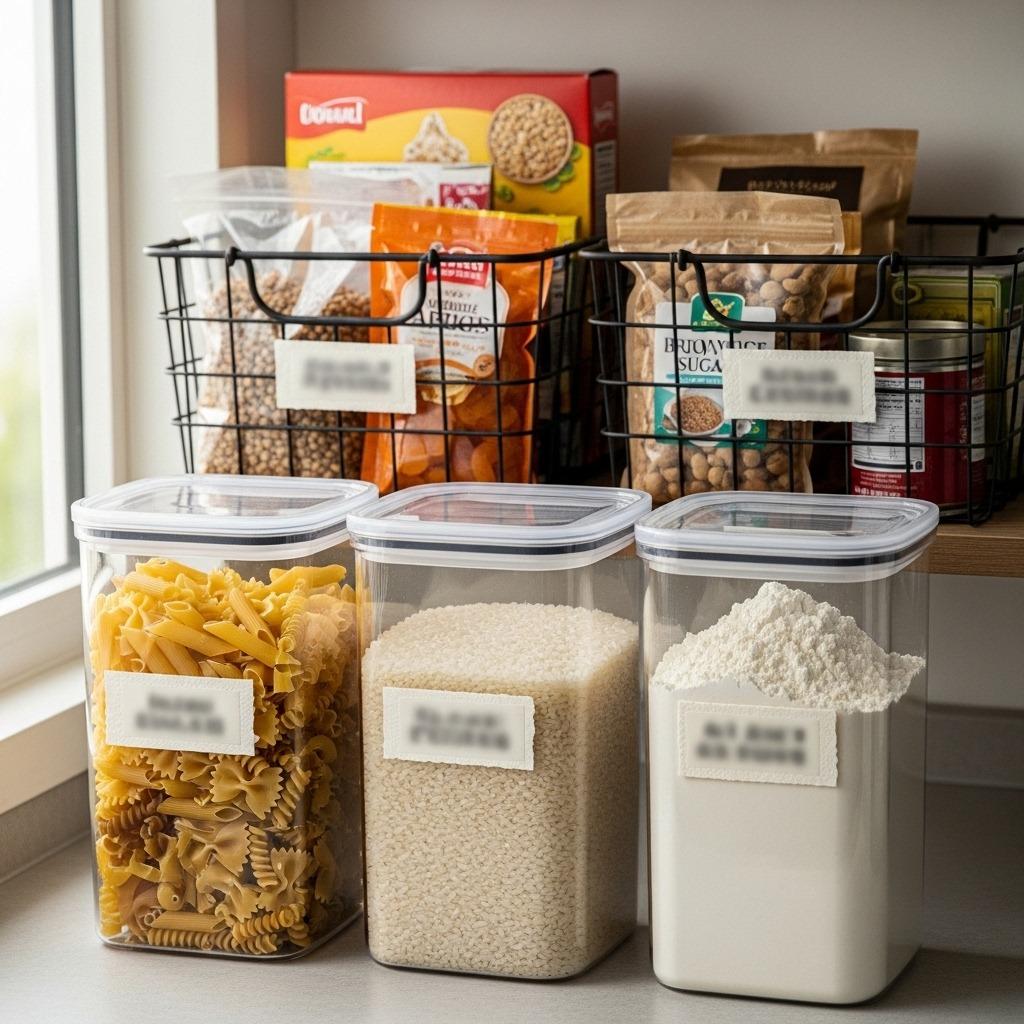
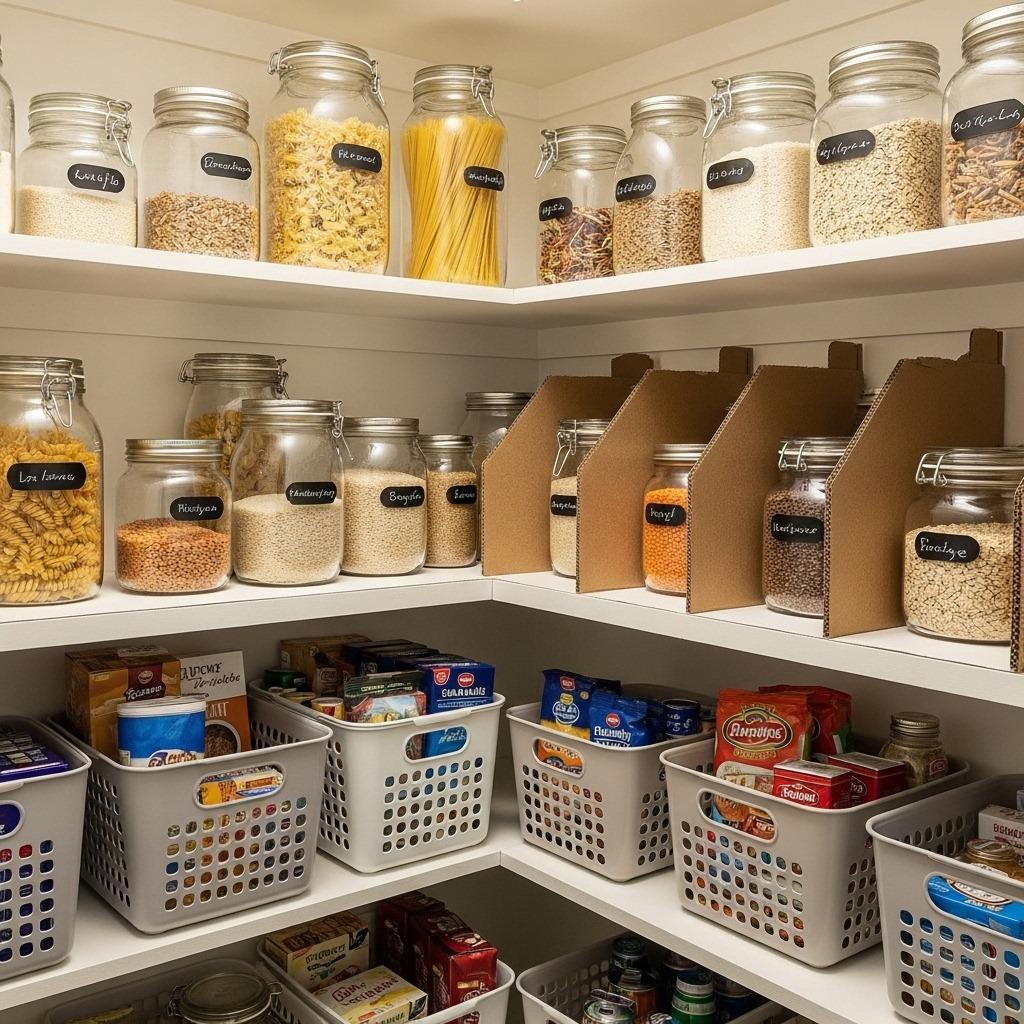
Focus on transferring items that actually benefit from airtight storage. Flour, sugar, pasta, rice, cereal, nuts – these are pantry staples that stay fresher in sealed containers. They also stack better and you can see at a glance when you’re running low.
Skip the containers for things like canned goods, jarred sauces, or individually wrapped snacks. They’re already packaged for storage. Instead, use smart storage solutions like bins or baskets to group similar items together. A basket for pasta boxes, another for soup cans – simple groupings that make everything easier to find.
1. The Door Space Game-Changer
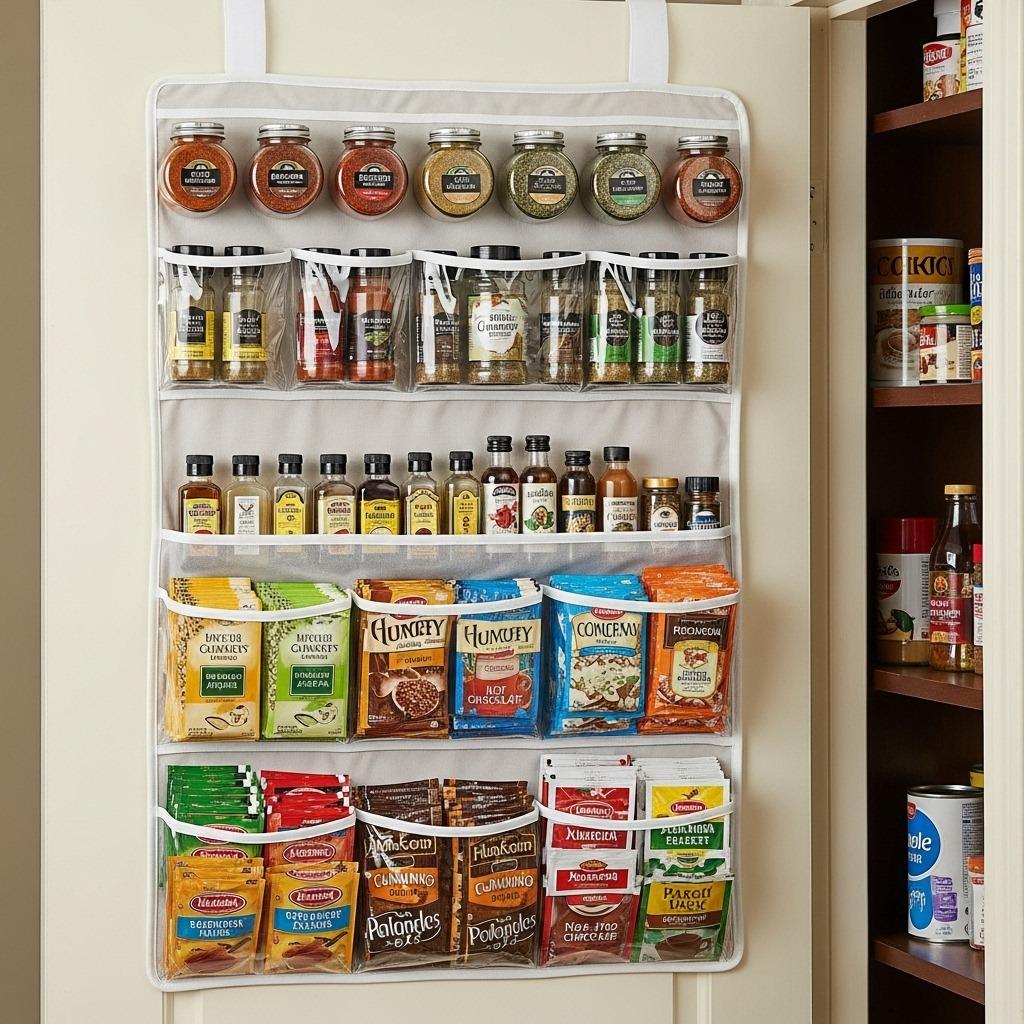
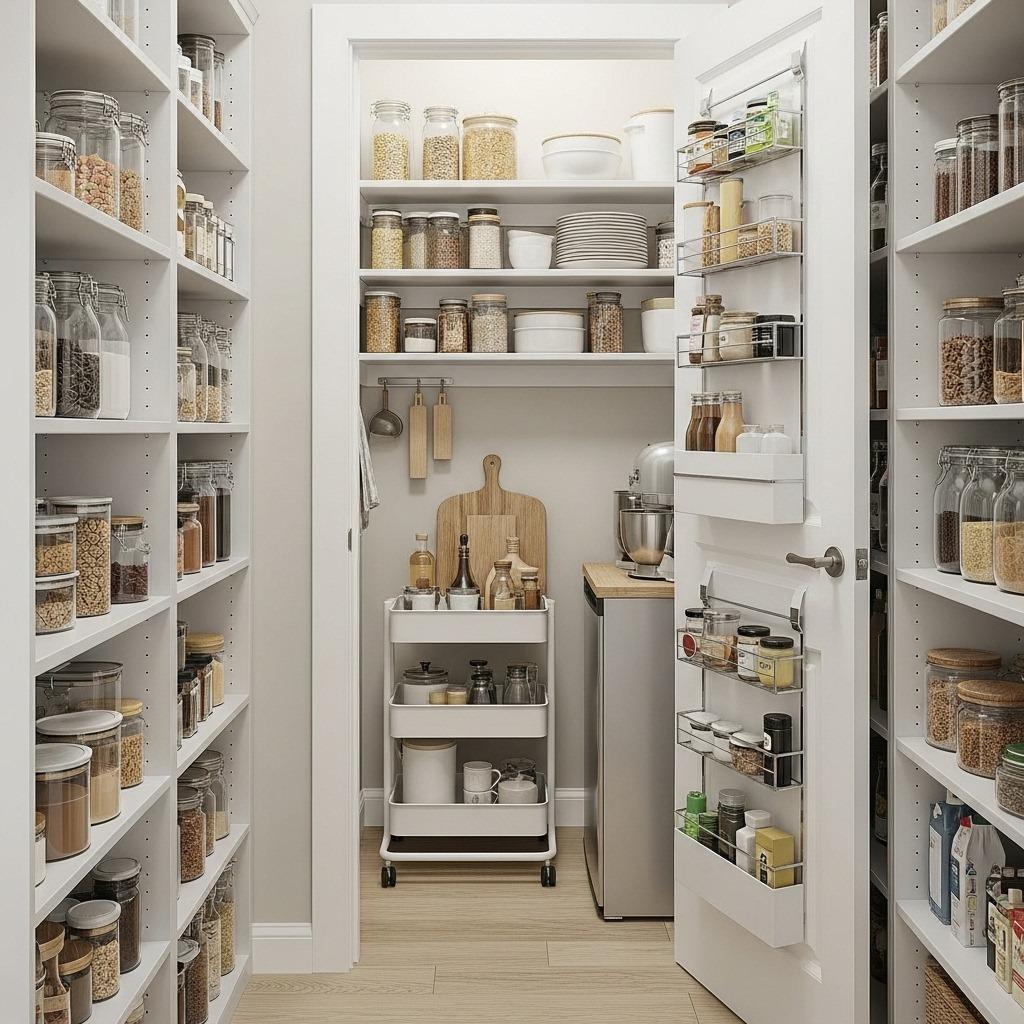
That space on the back of your pantry door? Stop ignoring it. An over-the-door organizer can hold spices, small packets, or those random seasoning mixes that always get lost.
Spices deserve special attention because they’re small, numerous, and incredibly annoying to search through. A door-mounted spice rack puts everything at eye level and saves precious shelf space for bulkier items.
You can also use door space for frequently grabbed items like snack bars, tea bags, or cooking oils. Just make sure whatever you hang there isn’t too heavy – you don’t want to damage the door or create a safety hazard every time someone opens it.
2. Lazy Susans Aren’t Just for Dining Tables
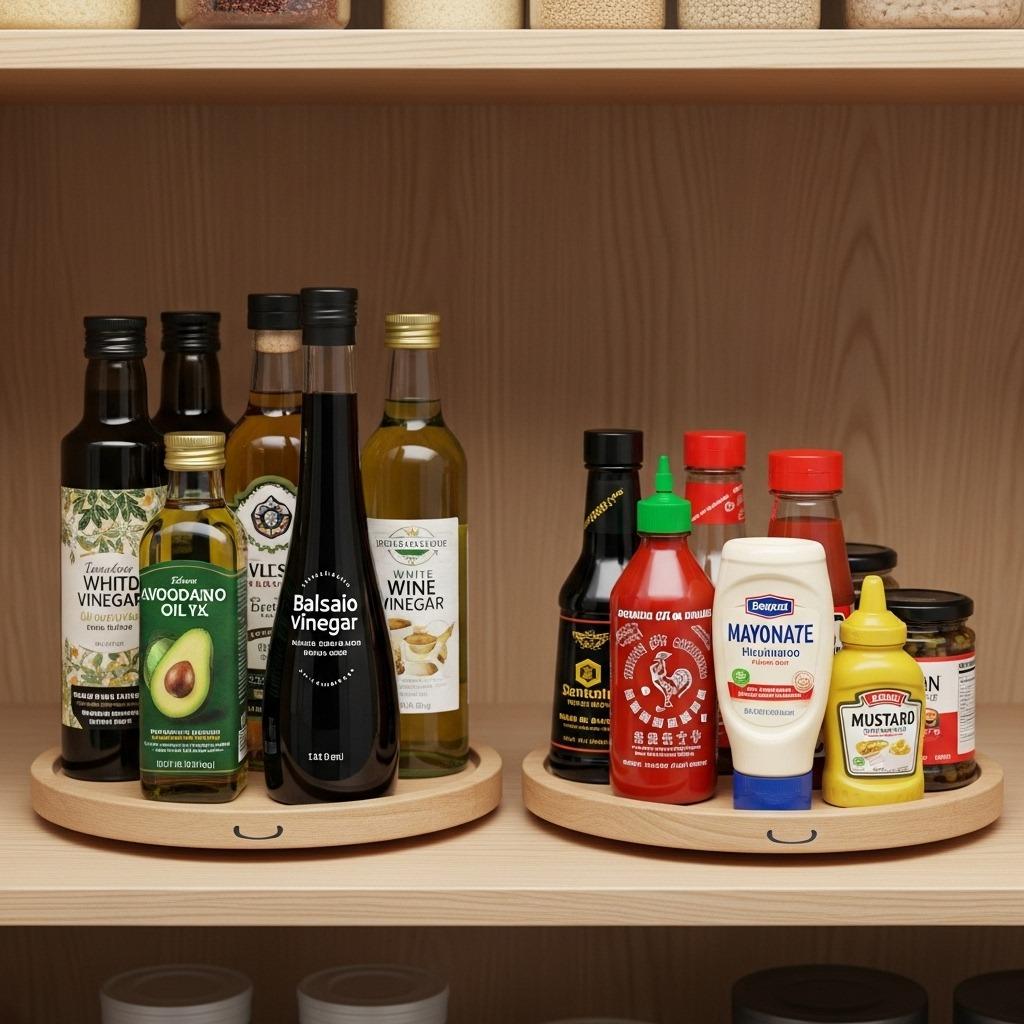
Corner spaces and deep shelves are where food goes to die. You push items to the back, forget about them, and discover them six months past their expiration date. Lazy Susans solve this problem brilliantly.
Place turntables in corners or on deep shelves for items like oils, vinegars, sauces, and condiments. One spin brings everything into view. No more knocking over bottles trying to reach the back, no more mystery items hiding in the shadows.
Use different sizes strategically. Smaller lazy Susans work well for spices or small jars. Larger ones can hold bigger bottles or canned goods. This simple addition transforms those frustrating dead zones into usable, accessible space.
3. Drawer Dividers for Small Items
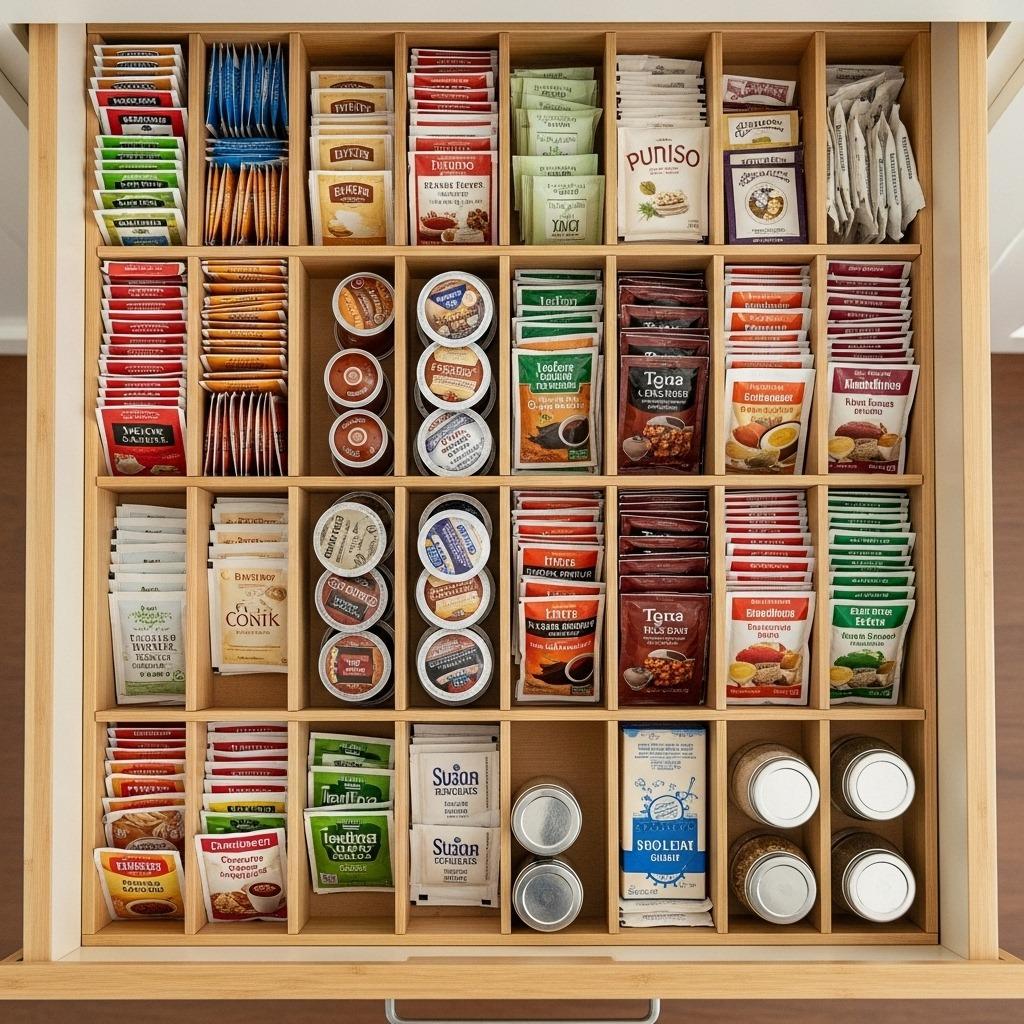
If your pantry has drawers, you’re lucky – but only if you use them correctly. Without dividers, drawers become black holes where small items disappear forever.
Invest in adjustable drawer dividers or even repurpose small boxes to create compartments. Dedicate sections to specific categories like tea bags, hot chocolate packets, seasoning envelopes, or those little sauce packets you save from takeout (we all do it).
This system works especially well for small kitchen renovations where every inch counts. When everything has its spot, you maximize space and eliminate that frantic digging through piles trying to find what you need.
4. Risers and Shelf Inserts

Standard pantry shelves leave a ton of vertical space unused. The solution? Stackable shelf risers that create additional levels within your existing shelving.
These work especially well for canned goods and jars. Instead of stacking cans precariously (and inevitably causing an avalanche), use tiered organizers that let you see and access every item. No more buying duplicate cream of mushroom soup because you couldn’t see the three cans hiding in the back.
Expandable shelf inserts also help corral items that tend to scatter. Use them for packets, seasoning mixes, or those small boxes that tip over constantly. The key is creating visibility – if you can’t see it, you won’t use it, and that’s just wasted money.
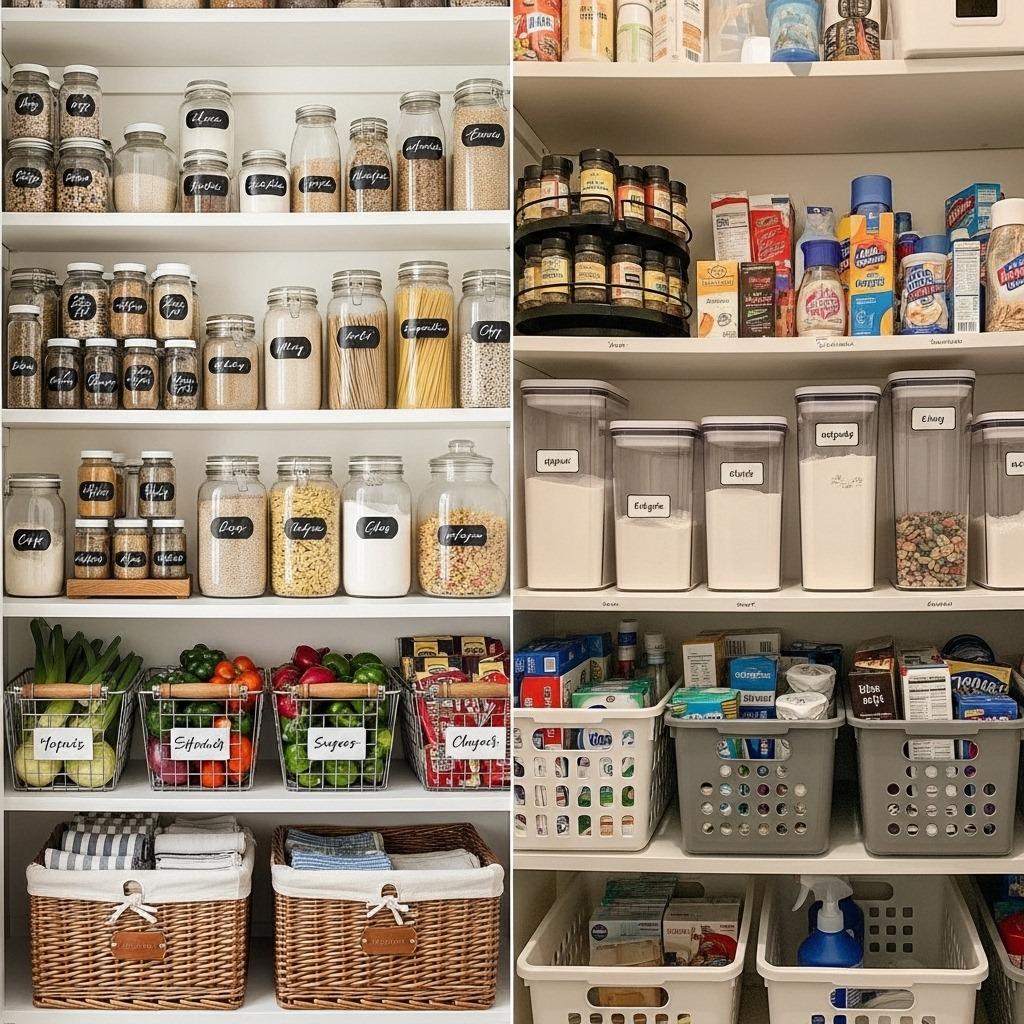
5. Label Everything (Yes, Really)
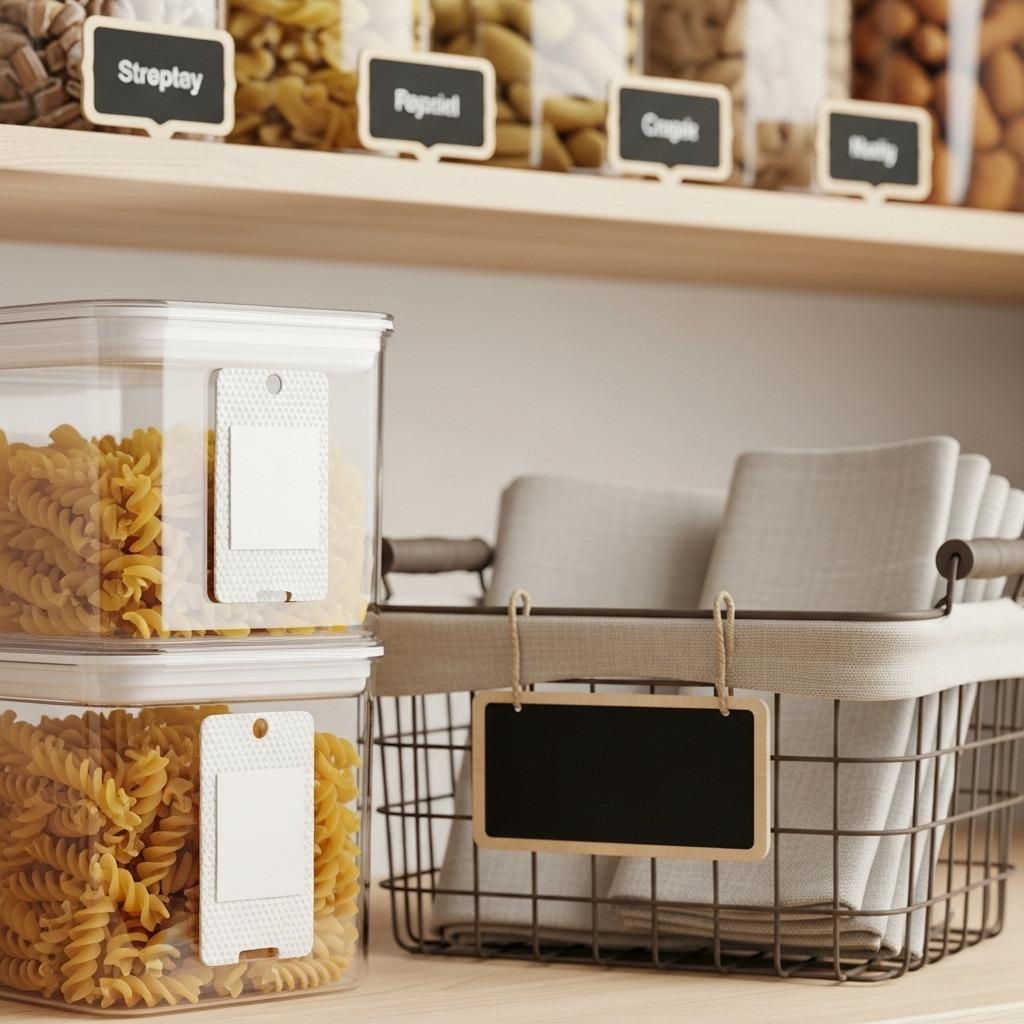
You might think labels are overkill, but they’re the secret to maintaining your organized pantry. Labels aren’t just for containers – use them on shelves, bins, and zones too.
When everything is labeled, other people in your household can find things without asking you. Kids can pack their own snacks, partners can grab ingredients without the “where’s the…” question, and groceries get put away in the right spots consistently.
Use whatever labeling method you’ll actually maintain. A label maker is nice but not necessary. Chalkboard labels, masking tape and marker, or even printed labels work fine. The goal is clarity, not perfection. If your system is too fussy, you won’t keep it up.
6. The First-In-First-Out Method
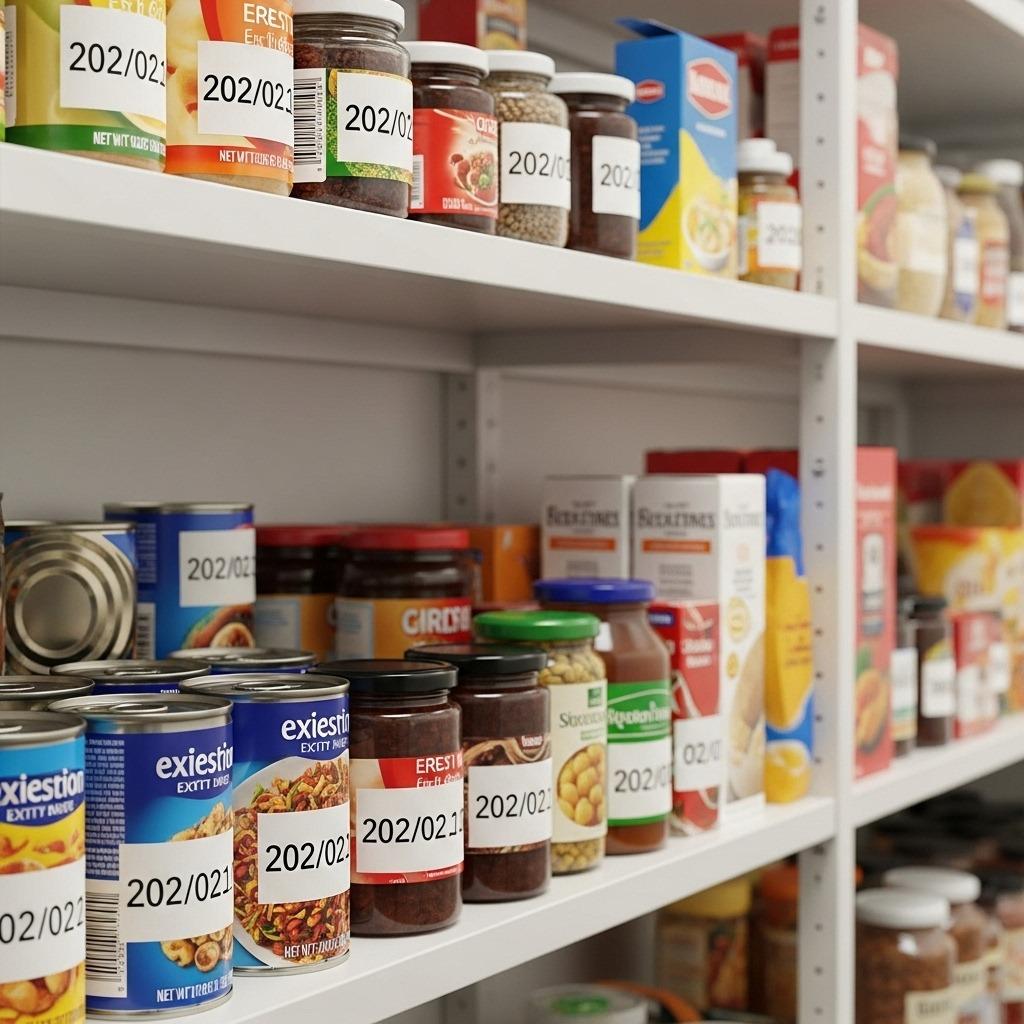
Grocery stores use this technique, and you should too. When you bring home new items, move older ones to the front. This rotation system prevents food waste and ensures you actually use what you buy.
This practice matters most for items with expiration dates like snacks, baking mixes, and canned goods. It takes an extra minute when putting groceries away, but it saves money and reduces the guilt of throwing out expired food.
Make it easier by dedicating specific spots for each item type. If pasta always goes in the same bin, rotating stock becomes second nature.
7. Decant Bulk Purchases Smartly
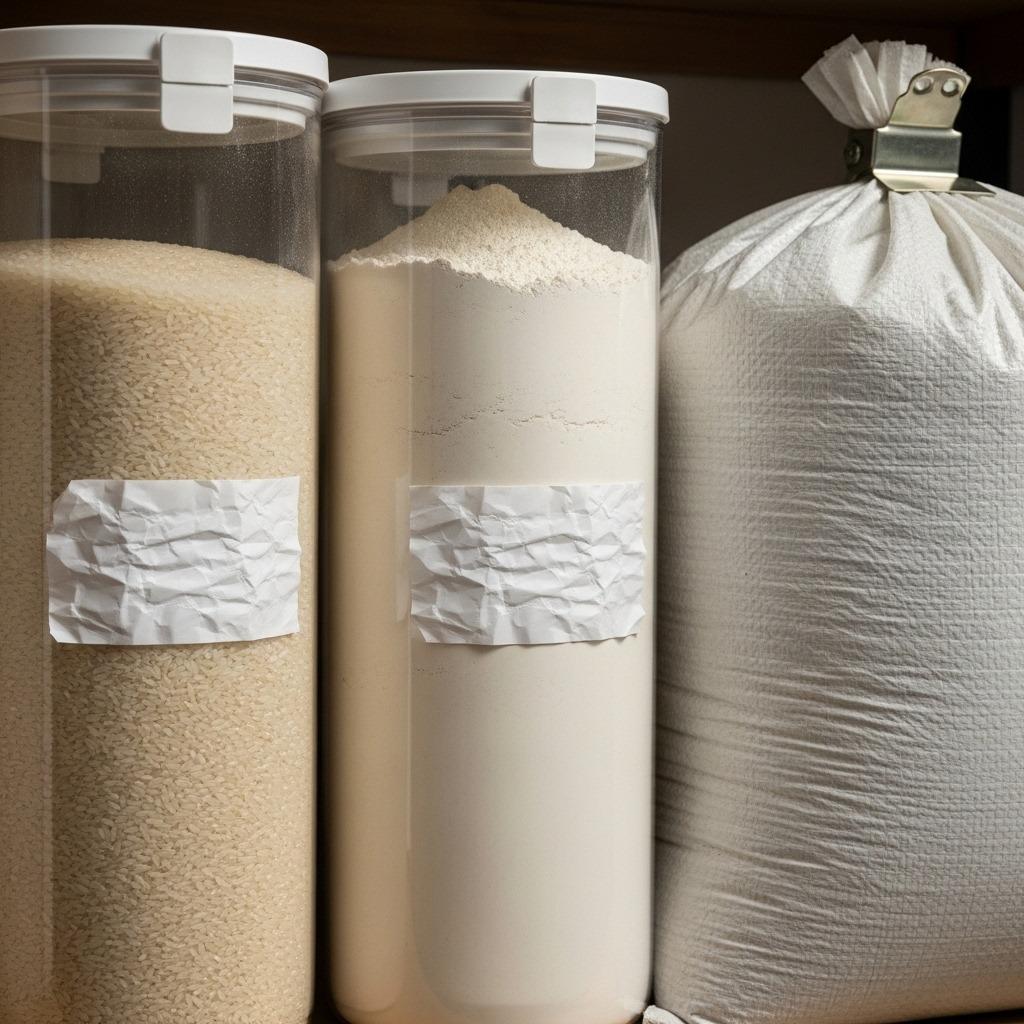
Buying in bulk saves money, but those enormous bags and boxes create storage nightmares. The trick is transferring bulk purchases into more manageable containers while keeping important information visible.
For dry goods like rice, flour, or oats, use large airtight containers that protect against moisture and pests. Cut out the cooking instructions from the original packaging and tape them to the container. Future you will thank present you when you can’t remember the rice-to-water ratio.
Not everything needs decanting though. Sometimes it makes more sense to keep bulk items in their original packaging and use a clip to keep them sealed. Reserve containers for items you use frequently or those that benefit from better storage. Your kitchen organization system should simplify your life, not create extra work.
8. Snack Station for Kids
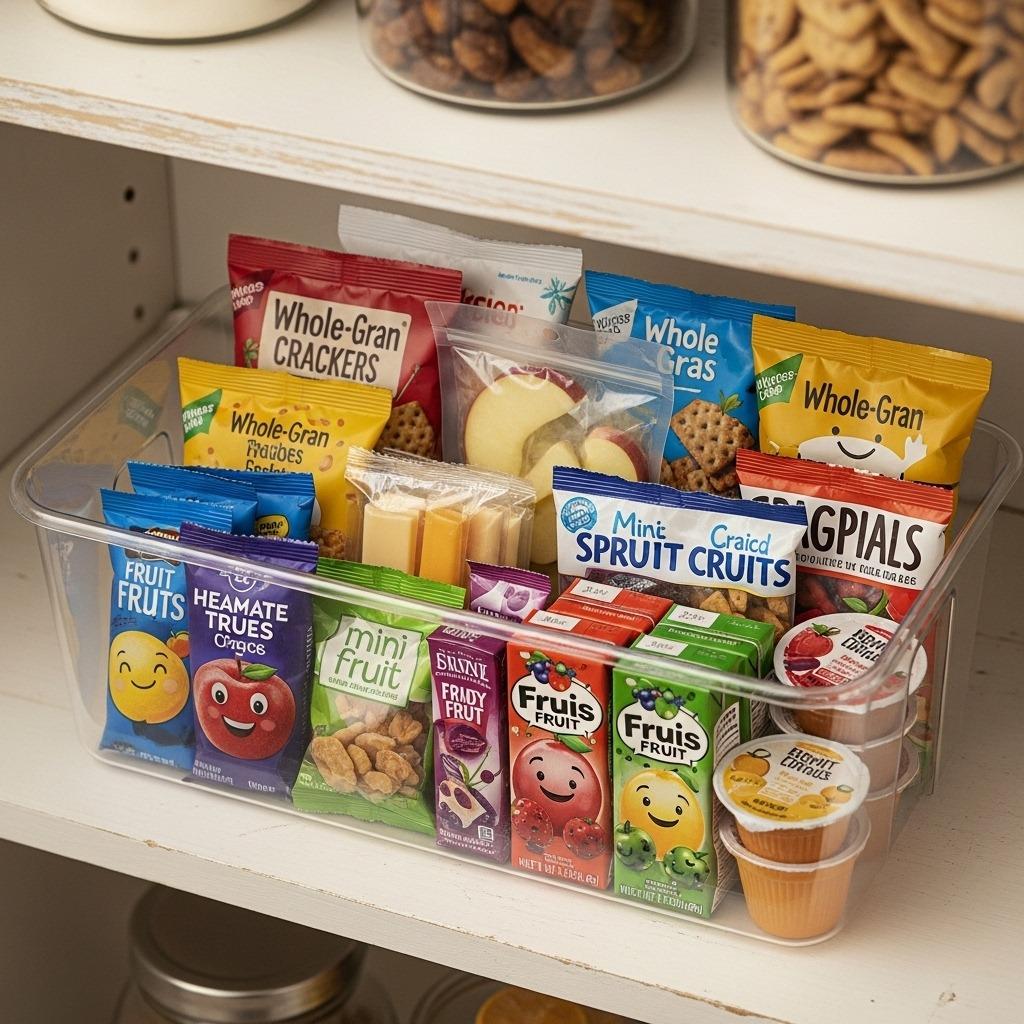
Creating a designated snack zone transforms your pantry from a free-for-all into a teaching tool. Give kids a specific shelf or bin filled with pre-approved snacks they can grab independently.
This approach reduces the constant “Can I have a snack?” questions and builds decision-making skills. Use clear bins or baskets so kids can see their options without pulling everything out. Refill the snack station weekly so it doesn’t become a negotiation every time.
Position this zone at kid height – no one wants children climbing shelves to reach snacks. If your pantry doesn’t have lower shelves, consider a rolling cart or designated drawer they can access safely. Similar to kids’ bedroom organization, making items accessible encourages independence.
9. Inventory List System
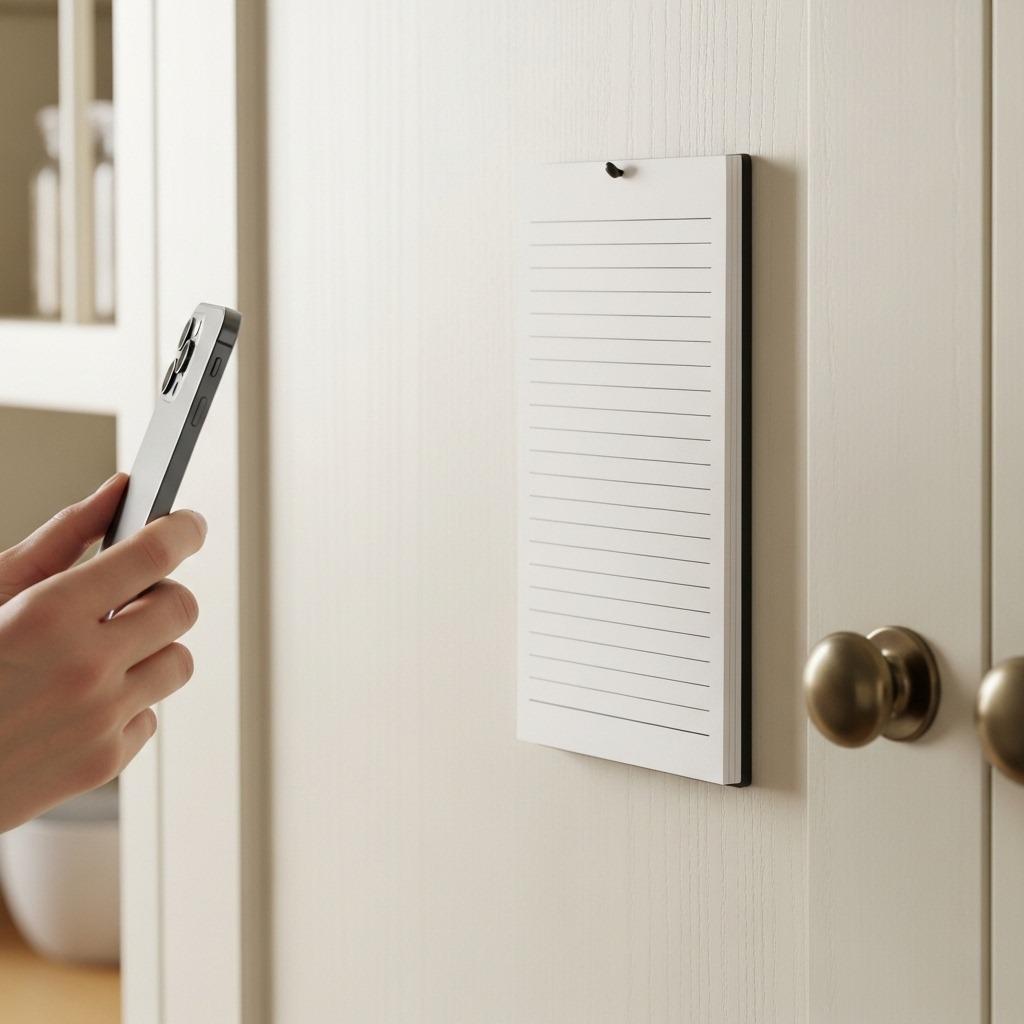
Keeping a running inventory list sounds tedious, but it’s a game-changer for meal planning and grocery shopping. You don’t need anything fancy – a magnetic notepad on the pantry door works perfectly.
When you use the last of something, write it on the list. Before shopping, snap a quick photo of the list with your phone. This system eliminates duplicate purchases and those frustrating moments when you’re halfway through a recipe and realize you’re out of a crucial ingredient.
Some people love digital inventory apps, others prefer pen and paper. The best system is the one you’ll actually use consistently. If technology helps you stay organized, explore smart home solutions that can help track pantry items. Otherwise, stick with simple and accessible.
10. Basket and Bin Strategy
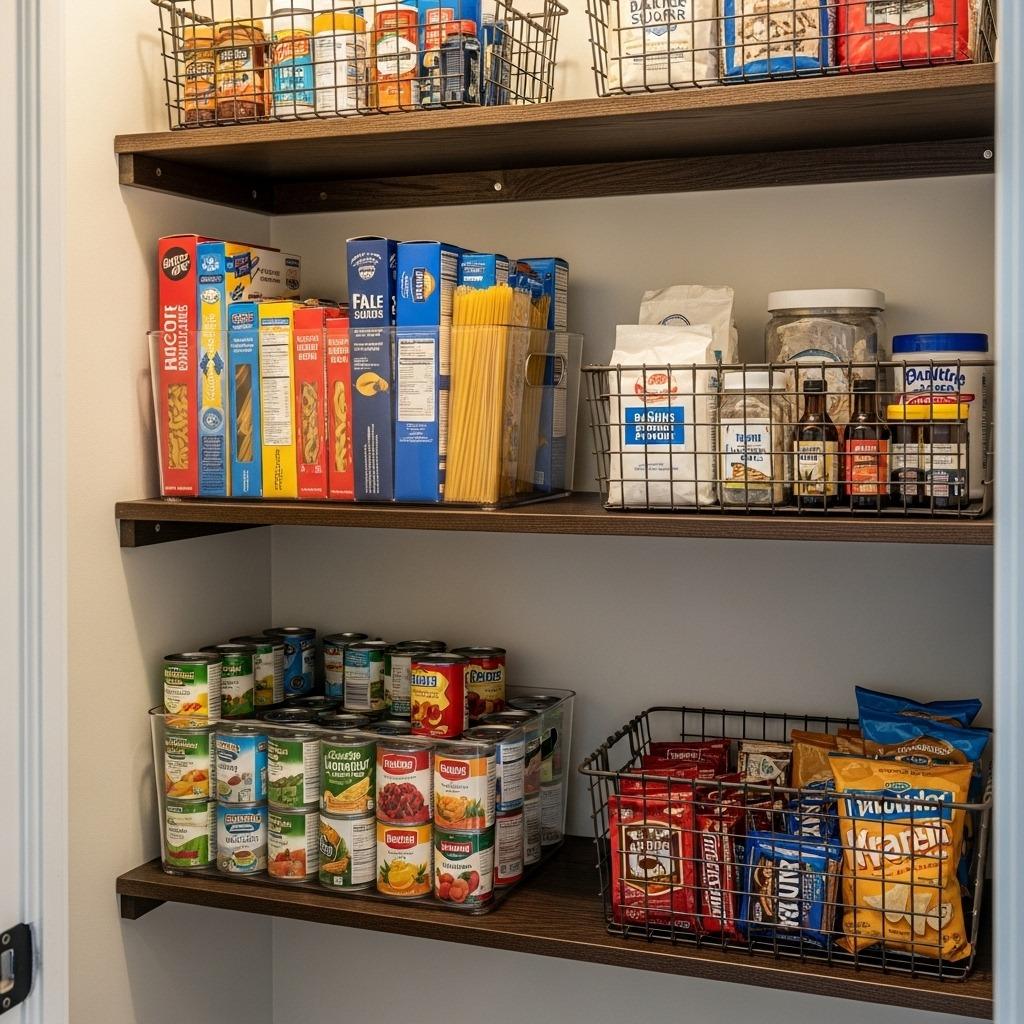
Baskets and bins are your best friends for kitchen inventory ideas. They group similar items, contain messes, and make it easy to pull everything out when you need to access items in the back.
Use open bins for things you grab frequently. Wire baskets work well because you can see contents without lifting them out. Save solid bins for items you want hidden or things that might spill.
Size matters here. Bins that are too large become catchalls for random items. Bins that are too small waste space and create more clutter. Measure your shelves before buying organizers, and choose sizes that maximize your available space while still being easy to handle.
Maintaining Your Organized Pantry
Here’s the truth – organization isn’t a one-time event. Your pantry will drift back toward chaos without regular maintenance. The good news? Quick weekly check-ins prevent the need for massive overhauls.
Every week when you meal plan or make your shopping list, spend five minutes tidying the pantry. Push items forward, check for spills, toss anything expired. This small habit keeps your system functional without requiring hours of work.
Monthly deep cleans catch what weekly maintenance misses. Wipe down shelves, reorganize categories that have gotten jumbled, reassess what’s working and what isn’t. If you find yourself constantly fighting with a particular zone, change the system. Your home organization approach should work for your life, not against it.
Common Pantry Organization Mistakes
Even with the best intentions, certain mistakes can sabotage your pantry organization efforts. Buying too many organizational products before assessing your actual needs wastes money and often creates more problems.
Another common error? Organizing for Instagram instead of your real life. Those color-coordinated pantries look stunning, but if maintaining that aesthetic stresses you out, it’s not sustainable. Choose systems that match your tolerance for maintenance.
Finally, don’t ignore your family’s habits. If everyone dumps backpacks in front of the pantry door, your beautifully organized space becomes inaccessible. Consider the flow of your entire kitchen layout and how people actually move through the space.
Pantry Organization on a Budget
You don’t need to spend hundreds on matching containers to get organized. Start with what you have – repurpose glass jars, use shoeboxes as dividers, or cut cardboard to create shelf sections.
Dollar stores carry surprisingly good organizational supplies. Baskets, bins, and even some clear containers cost a fraction of specialty organizing stores. They might not match perfectly, but they function just as well.
Gradual upgrades work better than trying to do everything at once anyway. Start with one shelf or category, see what works, then expand your system. This approach lets you invest in quality items for things you use constantly while keeping costs down elsewhere. Similar to affordable home upgrades, smart spending makes a bigger impact.
Small Pantry Solutions
Limited space doesn’t mean limited organization. Small pantries actually benefit from strict systems because there’s no room for error. Every inch must work hard.
Install shelving on every available wall, including narrow spaces that seem useless. Those 6-inch gaps? Perfect for slim rolling carts that can hold spices or canned goods. The space above the door frame can hold seasonal items you rarely access.
Think vertically. Stackable containers, over-the-door organizers, and wall-mounted racks multiply your storage capacity. When floor space is limited, use small space renovation techniques to maximize every surface.
Seasonal Pantry Adjustments
Your pantry needs change throughout the year. Summer brings fresh produce and lighter meals, while winter calls for hearty soups and baking ingredients. Adjust your organization to match seasonal cooking patterns.
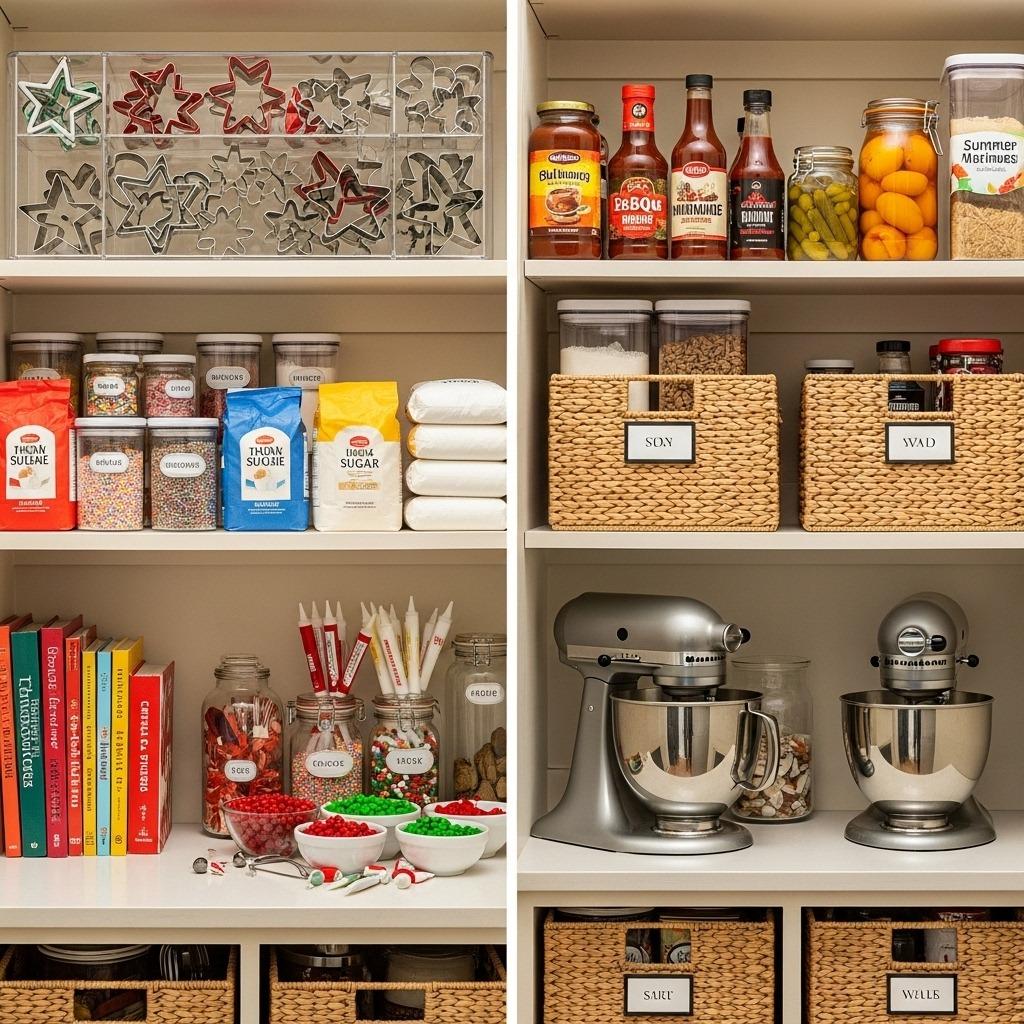
Before major holidays, create temporary zones for seasonal items. Move baking supplies to prime real estate before holiday cookie season. Make room for grilling sauces and marinades when summer arrives. These small shifts keep your pantry aligned with how you actually cook.
Rotate seasonal items to storage when they’re out of season. Those holiday-specific ingredients don’t need premium shelf space in July. This flexibility ensures your pantry shelving works efficiently year-round.
When to Call It Done
Perfectionism is the enemy of organization. Your pantry doesn’t need to look like a magazine spread. It needs to function for your household’s actual habits and cooking style.
If you can find what you need within seconds, if items don’t fall on your head when you open the door, if you’re not buying duplicates because you forgot what you had – congratulations, your pantry is organized. The goal is functionality, not perfection.
Give your system at least a month before judging whether it works. Initial organization always feels a bit awkward. Your family needs time to adjust to new spots, and you need time to refine categories that aren’t quite right. Patient tweaking beats starting over.
Getting your pantry organized isn’t about achieving some impossible standard. It’s about creating a system that reduces daily friction, saves money, and makes cooking feel less chaotic. The strategies in this guide work because they’re flexible enough to adapt to your space, your budget, and your real life.
Start small if the whole project feels overwhelming. Tackle one shelf this weekend. Add containers as your budget allows. Adjust categories when something isn’t working. The kitchen pantry organization that sticks is the one built gradually, tested in real use, and modified until it fits your household perfectly.
Your future self – the one who can actually find the vanilla extract when baking, who doesn’t buy a fourth bottle of soy sauce, who can send the kids to grab their own snacks – will be grateful you took the time to get this right.